Carpo 3, Carpo 4, Carpo 3D, Carpo 4D
2021-05
Content
Installation manual
- 7 -
EN
NL
PL
CS
To disassemble:
•
Switch the scooter off.
•
Remove the seat (see user manual).
•
Lift off the rear plastic cover of the batteries.
•
Loosen the straps used to keep the batteries
in place.
•
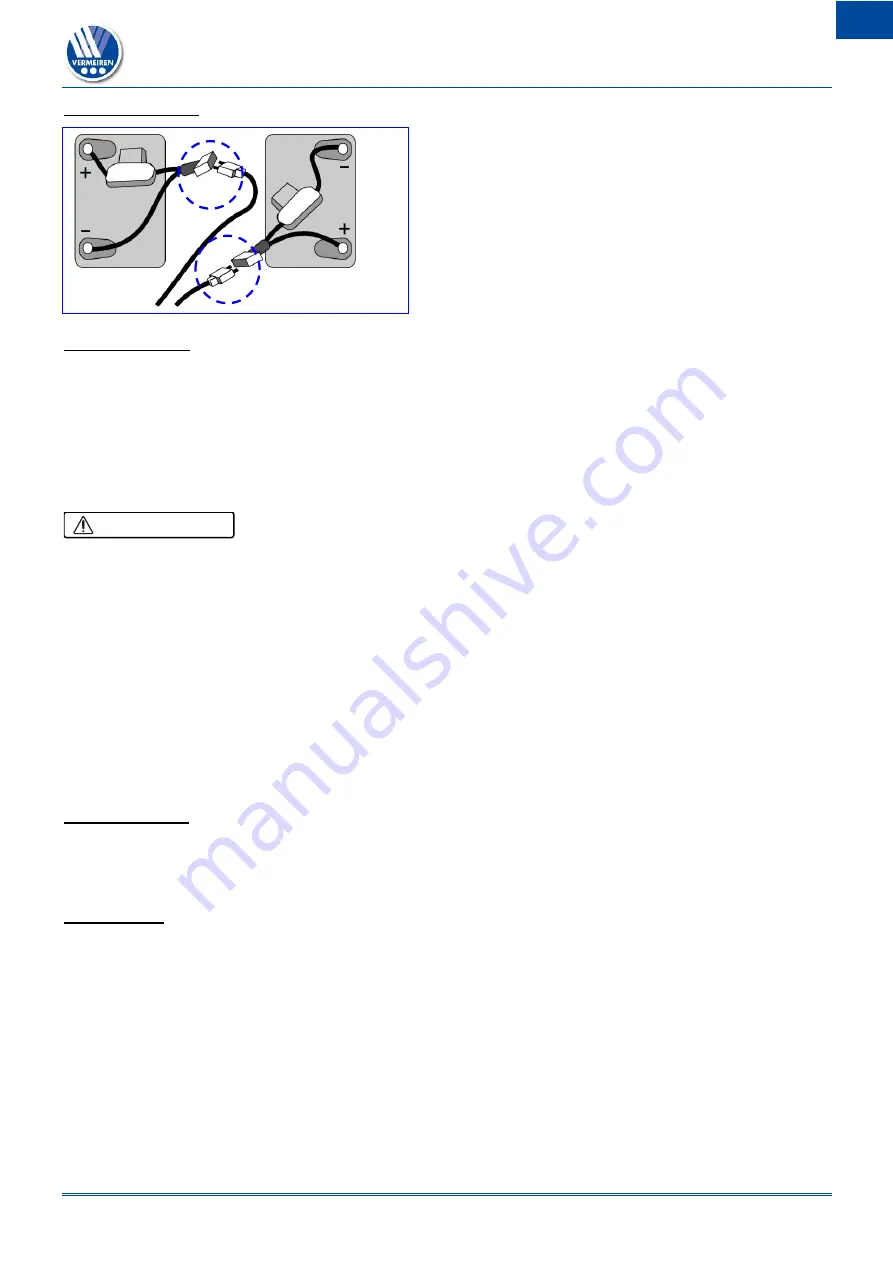
Unplug all battery plugs (not the pole
connectors) and all cable plug- and socket
connections.
•
Lift the batteries out.
To reassemble:
•
Put the batteries back in and connect to the battery plugs (plugs of the same color go together).
•
Check that the cables are installed properly and replace both batteries together.
•
Use the straps to fasten the batteries in such a way that they will not move, even during drives.
•
Mount the rear plastic cover over the batteries.
•
Mount the seat (see user manual).
3.4
Tyre changing
Risk of injuries and damage
•
Make sure that all air is released from the tyre, before removing it.
•
Make sure that no body parts, the inner tube nor any other objects are pinched between tyre
and rim.
•
Handle carefully to prevent damage to the rim.
•
Make sure that the tyre pressure is correct, see the pressure indication on the tyres.
•
Inflate the tyre using inflating equipment which complies to regulations and with a pressure
indication in “bar”.
•
Make sure all screws are firmly secured by hand before driving with the scooter. Screw
adhesive (ex. Loctite) should be applied to the screws on the flange. Screw adhesive will only
work if the thread is free of grease and particles.
3.4.1 Front tyre Carpo 3, Carpo 3D
DISMANTLING
1.
Unscrew and remove the middle screw that attaches the tyre to the front fork of the scooter.
2.
Let the air out of the wheel by lightly pressing the pressure pin on the valve.
3.
Unscrew the 4 screws of the rim. Separate the rim sides.
ASSEMBLY
1.
Insert the partly-filled inner tube into the tyre.
2.
Connect the two sides of the rim on the tyres and fasten them again with the 4 screws.
3.
Put the air valve through the hole in the rim.
4.
Put the wheel and flange back on the front fork of the scooter and secure this connection with
the middle screw. Inflate the wheel to the recommended tyre pressure.
Check all around on both sides that the tube is not pinched between the rim and the edge of the
tyre. Lightly push the air valve inwards and pull it out again to make sure that the tyre is positioned
properly in the region of the air valve.
CAUTION


