Page 61
VP-X Installation and Operating Manual
Rev. D (August 5, 2020)
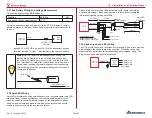
End Point
Extent
Only applies if Flap Control is set to
Position
. Time in
seconds that the flaps will run extra when at the top and
bottom travel limits. This is to eliminate the slop inherent in
the position sensor, which is used to stop the flaps at the
top, bottom and intermediate position. We recommend this
is set to about 0.5 seconds.
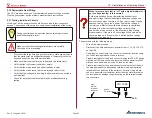
Use the example below to see how using this feature can
eliminate slop in the position sensor. For the settings at both
the top and bottom stops, you should set the value so some
number “inside” the range so that the sensor will cause it to
stop early, then the
end point extent
time will run the flaps to
the end. Additionally, air loads during flight will likely change
the readings somewhat, and this technique will account for
that as well. Note that the actual readings may be reversed
in your installation.
Top
Bottom
15°
Not used
12
Actual
Reading
248
48
20
Recommended
Setting
240
48
0
Max Flap
Speed
The IAS above which the flap down switch is disabled and
the flap over speed alarm is triggered. Set this value to 0 to
disable both the flap down switch disable function and the
flap over speed alarm.
Over speed
Position
The flap position below which the flap over speed alarm is
triggered. If the flaps are BELOW this setting and the IAS is
higher than the Max Flap Speed, the Flap Over speed alarm
is activated. Since each aircraft is different, this speed may
correspond to 10° of flaps, or maybe 30°. We recommend
you set it somewhere just a bit BELOW the flap up setting.
When we say BELOW we mean the actual physical flap
position, not the numerical value used to show the position.
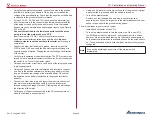
Following are some examples:
Flaps Up
Flaps 20
Flaps 40
220
110
30
Not used
0
200
Overspeed position
Flaps Up
Flaps 20
Flaps 40
20
140
250
Not used
0
40
Overspeed position
O
ve
rs
pe
ed
rang
e
O
ve
rs
pe
ed
rang
e
•
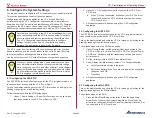
From the Flap Configuration page, enable the flap circuit and press
Update.
•
Set the flaps to momentary.
• Set the circuit breaker value.
•
Press Update. Run the flaps using the buttons on the Configurator.
If the flap motor direction is backwards, change the motor polarity
setting. Press Update.
•
Run the flaps using the flap switch. If the flaps run backwards, the
flap switch inputs are wired backwards.
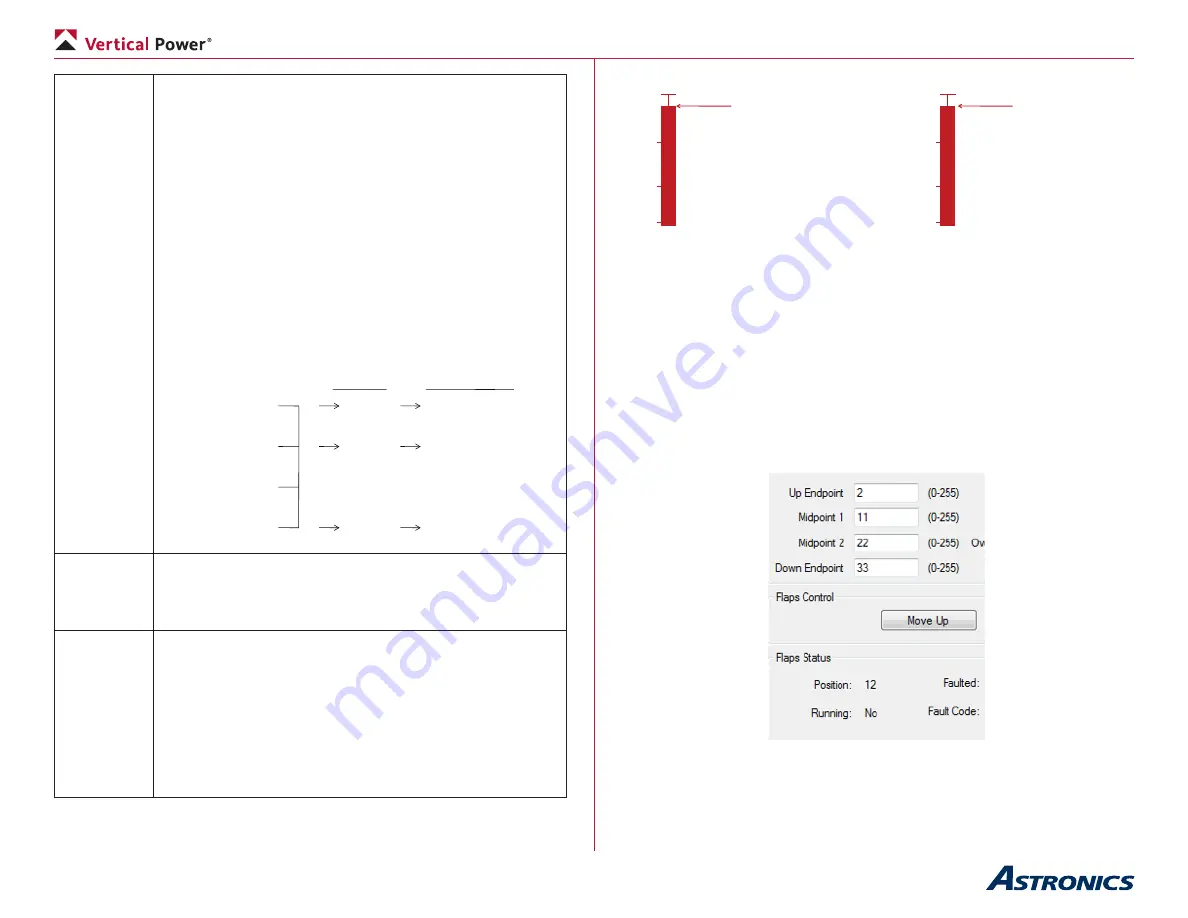
• Calibrate the top and bottom positions, and optionally the middle
stops.

