LIEBERT® GXT5™ UPS HV GXT5‑8000/10KHVRT5UXLN
Quick Installation Guide
SL-70529_REV0_11-19
3
5. Connecting AC Input
Refer to the wiring table above
for the recommended
overcurrent protection.
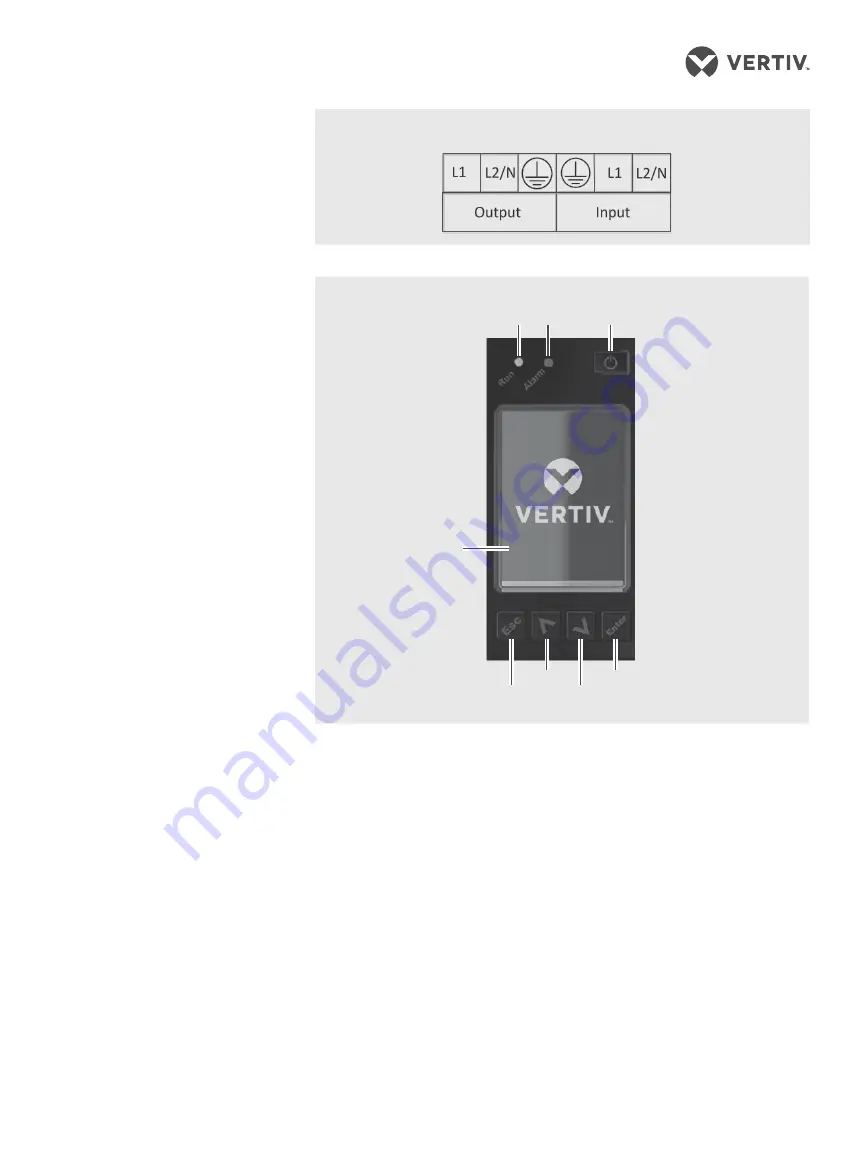
Refer to the figure at the upper-
right for the terminal-block
connections. Connect to an
input-power supply that is
properly protected by a circuit
breaker in accordance with
national and local electrical
codes.
NOTE:
Allow the batteries to
charge at-least 8 hours before first
start-up to ensure adequate
back-up time. The batteries charge
when the UPS is connected to AC
input regardles of the off/on status
of the UPS.
POWERING THE UPS
NOTE:
Do not start the UPS until
the installation is finished, the
system is commissioned by an
authorized engineer, and the
external input circuit breakerss are
closed.
1. Make sure the maintenance
bypass switch is in the open
“OFF” position and that the
guard is secured in place.
2. Ensure that the REPO
connector on the rear of the
unit has a jumper between
pins 1-2 or that it is properly
wired to an Emergency Power-
Off circuit (normally closed).
3. Make sure the breaker
supplying power to the UPS is
closed, and close the input
breaker and bypass breaker on
the rear of the UPS.
4. If necessary, use the LCD
display or a connected
computer to adjust any
required settings. (Refer to the
User Guide for configuration
set up.)
5. Close all output breakers on
the rear of the UPS (or in an
external panel board, if used).
6. If external battery cabinets are
included, close the breakers on
the rear of each cabinet.
7. Power-on the UPS using the
Operation and Display Panel
(see the illustration above) by
pressing and holding the power
button until the confirmation
dialog appears. Use the Up/
Down arrows to select “YES”,
then press Enter.
NOTE:
During operation, the UPS
may sound an alarm as the output
receptacles are powered. You may
press the Esc button for 2 seconds
to silence the audible alarm.
Terminal Block Connections
Display
screen
Power
Operation and Display Panel
Run Alarm
Enter
Down
Up
Escape


