22 Chapter 3 Web Page Of RDU-A G2
RDU-A G2 Intelligent Monitoring Unit User Manual
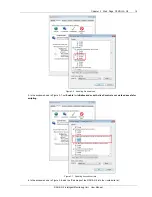
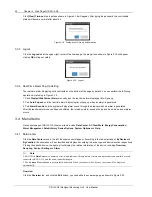
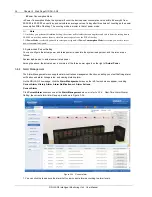
Click
[Clear] Time-out
, the input box shown in Figure 3-18 will appear. After typing the password, the controllable
status will become normal after about 5s.
Figure 3-18 Dialog box of Security authentication
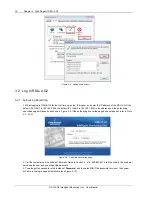
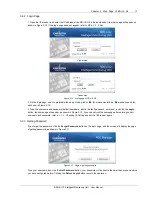
3.3.5 Logout
Click the
Logout
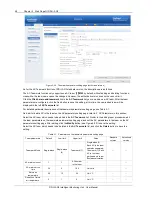
link at the upper right corner of the homepage, the prompt box shown in Figure 3-19 will appear,
clicking
OK
will log out safely.
Figure 3-19 Logout
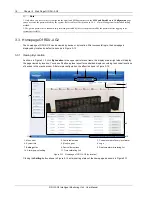
3.3.6 Real-Time Alarm Pop-Up Setting
The real-time alarm displaying list is contracted on the bottom of the page by default. You can perform the following
operation by referring to Figure 3-12:
1. Click
Display/Hide Current Alarm
manually, and the real-time alarm displaying list will pop up;
2. Tick
Auto Pop-out
, and the real-time alarm displaying list will pop up when an alarm is generated;
3. Tick
Alarm Sounds
, and the system will play alarm sound through the browser when an alarm is generated.
After the real-time alarms have all been confirmed, the turned-on alarm sound will stop and be on when a new alarm
occurs.
3.4 Menu Items
On the homepage of RDU-A G2, the menu items include
Data Center
,
AC TeamWork
,
Energy Consumption
,
Alarm Management
,
Data&History
,
Device Options
,
System Options
and
Help
.
3.4.1 Data Center
Click the
Data Center
menu in the left, the submenus will appear. According to the two selections of
By Device
and
By Location
, the submenus will be classified and displayed according to device type and device location respectively.
Clicking the specific device, the right part will display the relative information of the device, including
Overview
,
Sampling
,
Control
,
Setting
and
Alarm
.
Note
1. ENV-TH in
Data Center
is a dummy device, which indicates all temperature sensors, and temperature and humidity sensors
connected to RDU-A G2, and the name cannot be changed.
2. The
Camera View
submenu is not displayed by default. When you connect video devices, the menu will be displayed
automatically.
Overview
Click the
Overview
tab, and click the
Edit
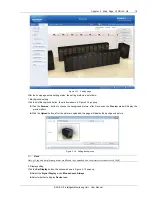
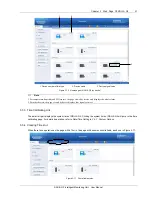
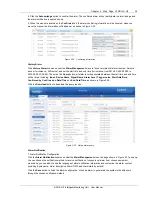
button, you can define the overview page, as shown in Figure 3-20.

