12
10.5
Cutting head assembly
x
Before the assembly, please ensure that the cutting head is always to the right
x
Please assemble the cutting head after installing the stylus.
1. If you lift the cutting arm release lever, the cutting arm lifts up. Please ensure the release lever is
locked. Slide the cutting head into the arm from the front.
2. Using the screwdriver, secure the cutting head on the cutting arm with supplied two screws.
N.B.
x
Please ensure the cutting head is totally secured or cutting result will be imperfect.
x
The magnet on the cutting head is very strong – therefore make sure your wristwatch is removed.
3. Connect the multipin cutting head cable into the cutting head, ensuring it locks. N.B. when you
disconnect, gently pull back the metal sheath.
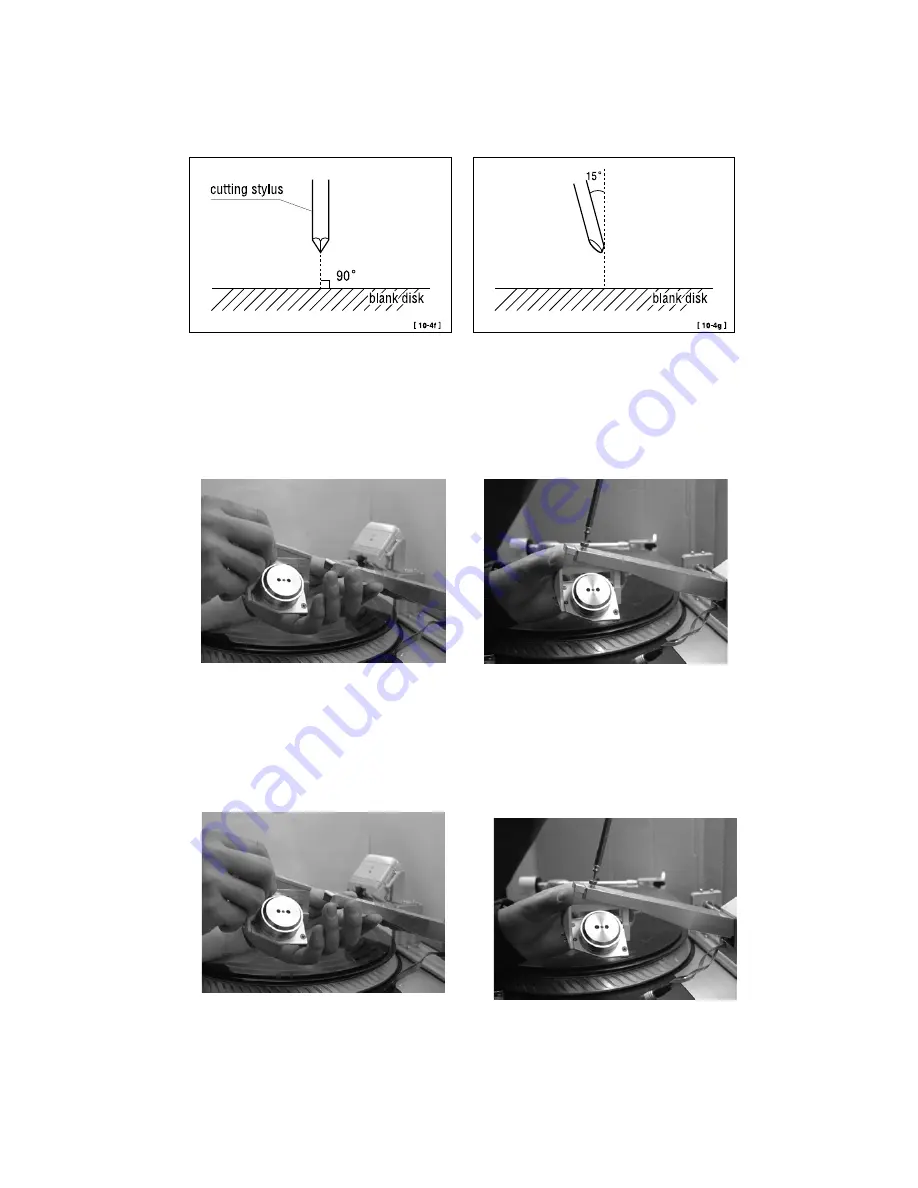
FIG10.4‑F FIG10.4‑G


