EN
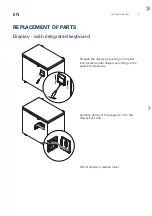
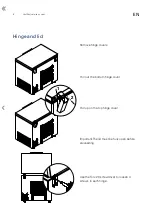
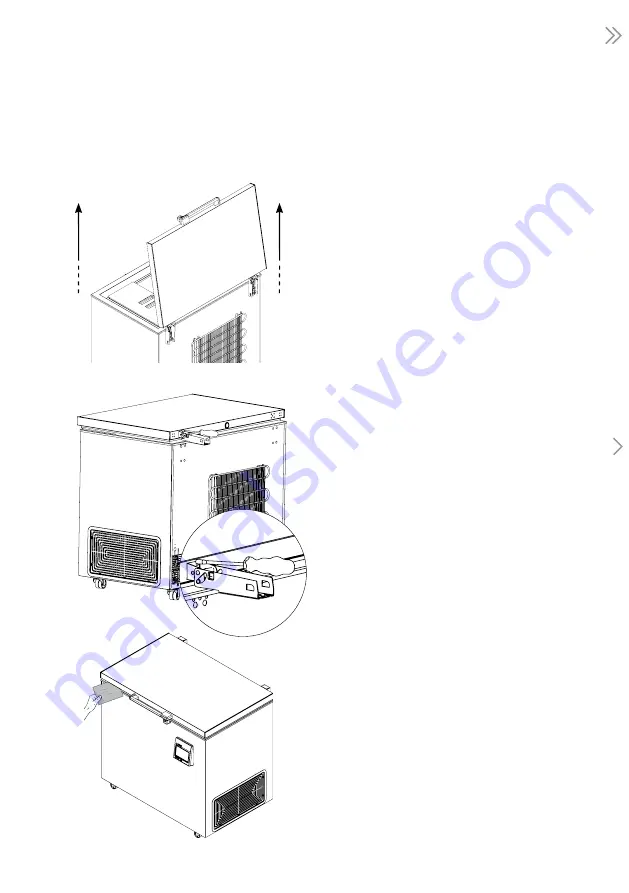
The lid is removed with a light lift.
Place the lid on top of the unit
Use the Torx 20 screwdriver to remove 4
screws in each hinge
Mount the new hinde/lid in reverse order
IMPORTANT
check that the lid flush with the
cabinet (mounted straight) ...
... that the sealing strip closes tightly. Check-
with a piece of paper
Summary of Contents for ULTF-C198i
Page 2: ......
Page 16: ...16 Vestfrostsolutions com EN ELECTRICAL SYSTEM Wire diagram ULTF C198i ULTF C296i ULTF C383i ...
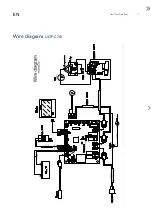
Page 17: ...Vestfrost Solutions 17 EN Wire diagram ULTF C74i ...
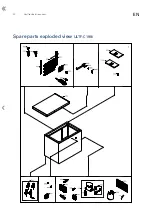
Page 18: ...18 Vestfrostsolutions com EN Spare parts exploded view ULTF C74i SPARE PARTS ...
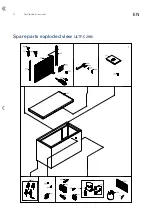
Page 20: ...20 Vestfrostsolutions com EN Spare parts exploded view ULTF C198i ...
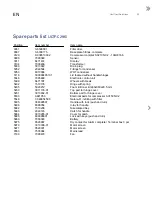
Page 22: ...22 Vestfrostsolutions com EN Spare parts exploded view ULTF C296i ...
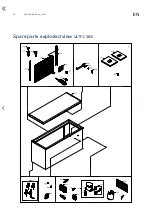
Page 24: ...24 Vestfrostsolutions com EN Spare parts exploded view ULTF C383i ...
Page 29: ......
Page 30: ......
Page 31: ......

