EN - 35
3.3.5 Stand-By Mode
How To Activate ?
Set “-16” set value and push set button until
all leds are blink three times.
How It Works?
In stand-by mode; all components will be
disabled. If user push set button while in
stand-by mode, all leds will blink three
times to show stand-by mode is active.
How To Deactivate ?
Push and hold set button until display
returns to normal working.After the mode
is deactivated, the “Alarm LED” may light
on the display because the product may be
hot. The “Alarm LED” will turn off when the
product reaches normal temperature.
Temperature Settings Warnings
Your appliance is designed to operate in
the ambient temperature ranges stated
in the standards, according to the climate
class stated in the information label. It
is not recommended that your fridge is
operated in the environments which are
outside of the stated temperature ranges.
the appliance.
Temperature adjustments should be
made according to the frequency of
door openings, the quantity of food kept
inside the appliance and the ambient
temperature in the location of your
appliance.
allow it to run for 24 hours in order to
reach operating temperature. During this
time, do not open the door and do not
keep a large quantity of food inside.
A 5 minute delay function is applied
to prevent damage to the compressor
of your appliance when connecting
or disconnecting to mains, or when
an energy breakdown occurs. Your
appliance will begin to operate normally
after 5 minutes.
Climate class and meaning:
T (tropical):
This refrigerating appliance
is intended to be used at ambient
temperatures ranging from 16 °C to 43 °C.
ST (subtropical):
This refrigerating
appliance is intended to be used at ambient
temperatures ranging from 16 °C to 38 °C.
N (temperate):
This refrigerating appliance
is intended to be used at ambient
temperatures ranging from 16 °C to 32 °C.
SN (extended temperate):
This
refrigerating appliance is intended to be
used at ambient temperatures ranging from
10 °C to 32 °C.
3.4 Accessories
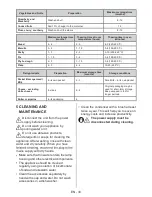
Visual and text descriptions in the
accessories section may vary according
to the model of your appliance.
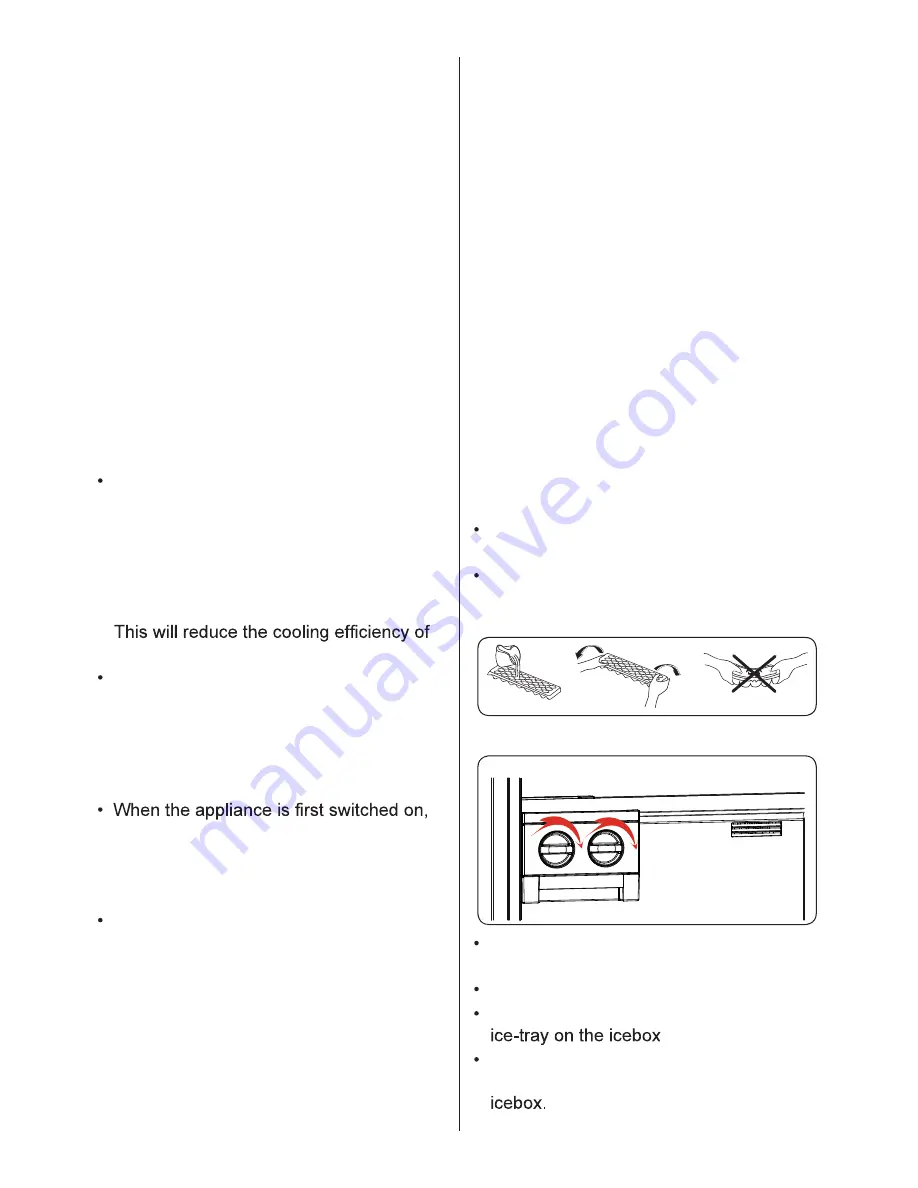
3.4.1 Ice Cube Tray
(In some models)
Fill the ice tray with water and place in
the freezer compartment.
After the water has completely frozen,
you can twist the tray as shown below to
remove the ice cubes.
3.4.2 The Icematic
(In some models)
(The images are representative)
Pull the lever towards you and remove
the ice maker tray
Fill with water to the marked level
Hold the left end of the lever and set the
When ice cubes have formed, twist
the lever to drop the ice cubes into the
Summary of Contents for VIF 105177 S
Page 107: ...NO 107...
Page 108: ...52373656...

