Rev. 7/16/2021
SPS3 MANUAL
COPYRIGHT 2021 VESTIL MANUFACTURING CO. PAGE 6 OF 7
INSPECTIONS & MAINTENANCE
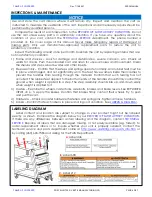
NOTICE
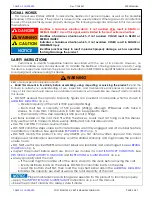
Use and store the cart indoors where it will remain dry. Inspect and maintain the cart as
instructed to maximize the usable life of the cart. Inspections and all necessary repairs should be
performed by qualified persons.
Compare the results of each inspection to the
RECORD
OF SATISFACTORY CONDITION
. Do not
use the cart unless every part is in satisfactory condition. If you have any questions about the
condition of your cart, contact the
TECHNICAL SERVICE
department. The phone number is
provided on the cover page of this manual.
Never make temporary repairs of damaged or
missing parts
. Only use manufacturer-approved replacement parts to restore the unit to
satisfactory condition.
I
nspect the following at least once per month. Maintain the cart by replacing all items that are
not in satisfactory condition.
1)
Frame and shelves – Look for damage and deformation, severe corrosion, etc. Check all
welds for cracks. Push the unloaded cart and listen for unusual noises and movement. Clean
the shelves and steps. Absorb water and other liquids.
2)
Step assembly – Confirm that the steps and springs operate normally. All 4 rubber feet must be
in place, undamaged, and not significantly worn. The feet have washers inside their cavities to
prevent the handles from tearing through the material. Confirm that such tearing has not
occurred. The rubber feet applied to the bottom ends of the handles should firmly contact the
ground when weight is applied to a step. The step assembly should slide up-and-down easily
when weight is applied to it.
3)
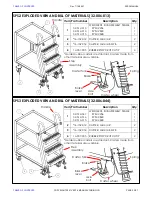
Casters – Examine the wheels, caster forks, axle bolts, brakes, and brake levers. See
EXPLODED
VIEWS
on p. 3. Apply the brakes. Confirm that brakes firmly contact their wheels. Try to push
and pull the cart.
4)
Hardware – Check all caster hardware/fasteners and spring pins. Tighten all loose fasteners.
5)
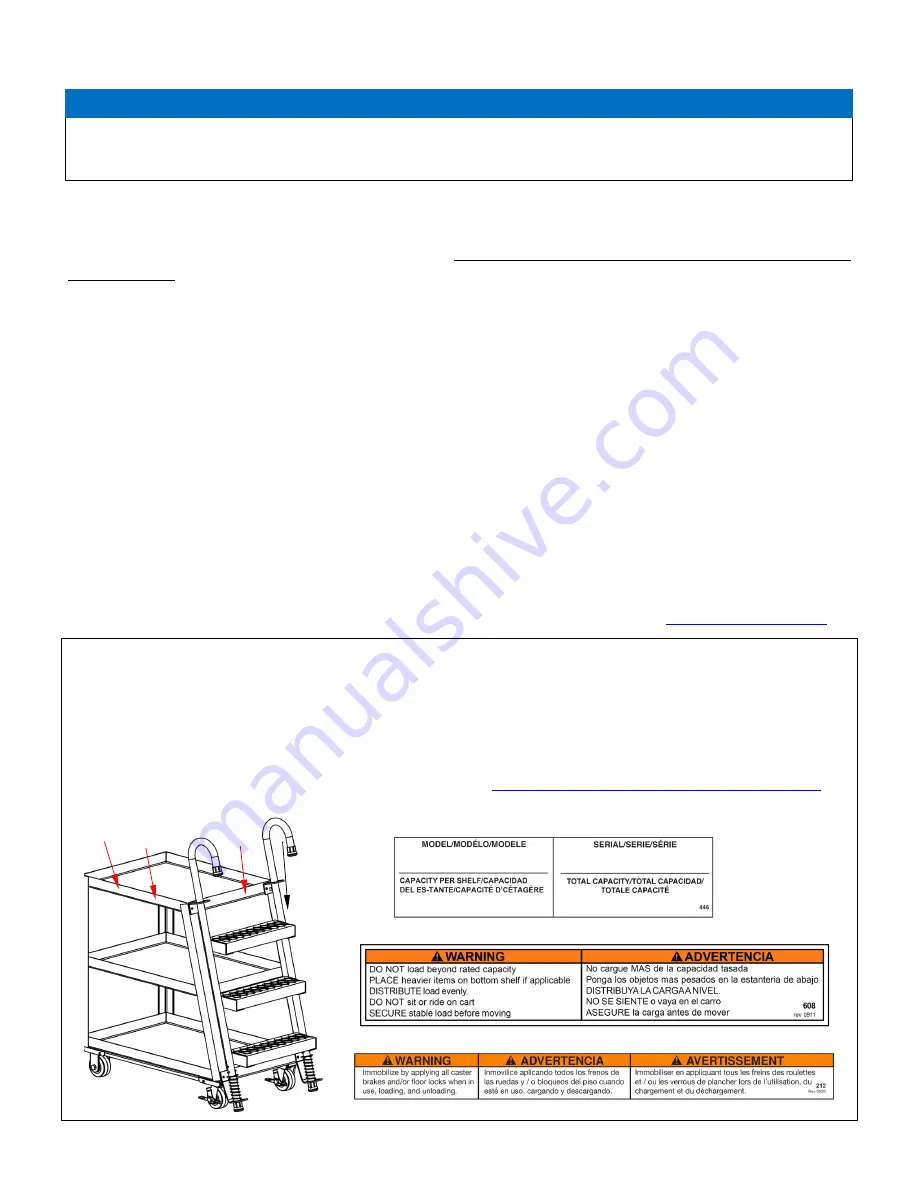
Labels – Confirm that each label is in place and in good condition. See
LABELING DIAGRAM
Label content and location are subject to change so your product might not be labeled
exactly as shown. Compare the diagram below to your
RECORD OF SATISFACTORY CONDITION
If there are any differences between actual labeling and this diagram, contact
TECHNICAL
SERVICE
. Replace all labels that are damaged, missing, or not easily readable (e.g. faded). To
order replacement labels or to inquire whether your unit is properly labeled, contact the
technical service and parts department online at
http://www.vestilmfg.com/parts_info.htm
by calling (260) 665-7586 and asking for the Parts Department.
A
:
Label 446
A
B
:
Label 608
B
C
C
:
Label 212


