13
1.
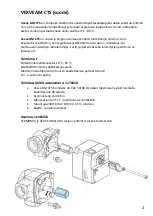
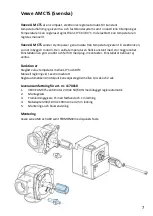
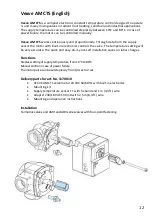
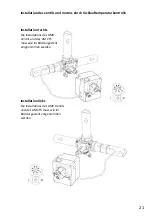
Check the rotation direction of the valve. By default the valve open clockwise.
2.
Position the valve to zero and remove the knob
3.
Install the adapter on the valve stem and make sure that it is fully in place.
4.
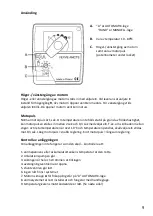
Make sure that the switch on the front side of the motor unit is set to manual
operation (points to the hand symbol) and check that the motor is also positioned to
zero = it has the same position as the valve.
5.
Install the motor unit on the valve. Use the handle to check that the valve and motor
together turns 90 degrees with reasonable torque.
6.
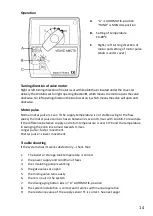
Install the two-sided 0-10 indicating panel in place so that the indicator of the handle
points at the zero position when the valve is closed.
7.
Tighten the screw to fasten the motor in place and rotate the handle to check that the
valve can easily be turned 90 degrees. Leave the equipment at the zero position and
set the switch on front side of the motor unit to automatic operation (A).
NOTE!
There are installation kits available also for other manufacturers' valves!
E.g. Installation kit for the Esbe VRG valve (product number 1920117).
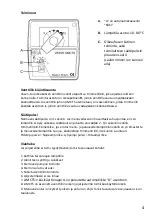
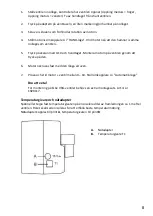
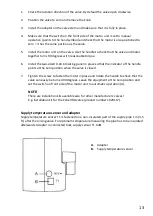
Supply temperature sensor and adapter
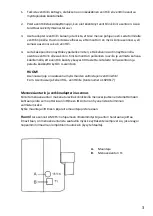
Supply temperature sensor T1 is fastened on a non-insulated part of the supply pipe 1 m (3,5
ft.) after the mixing valve. For optimum temperature measuring the pipe has to be insulated
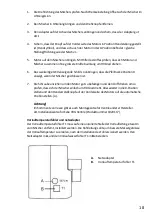
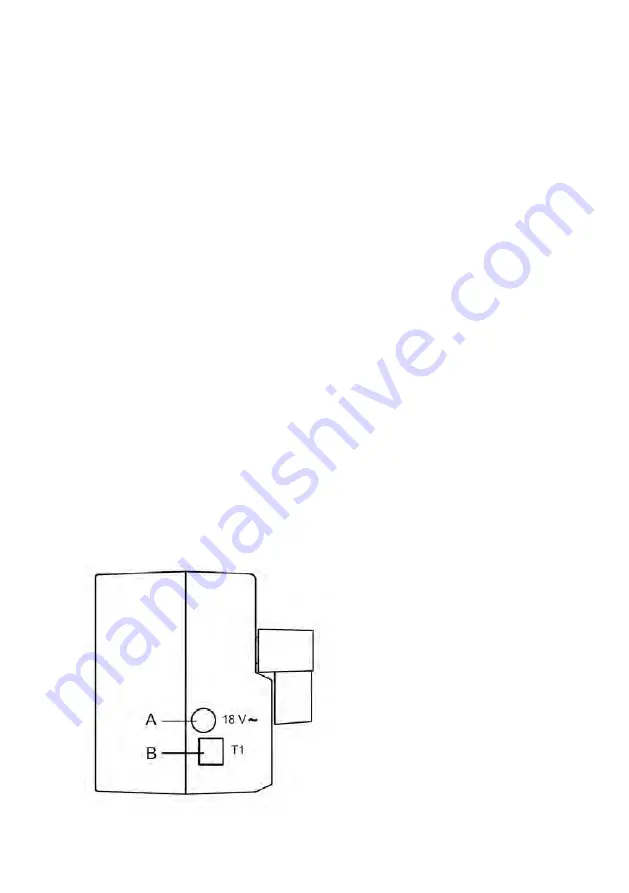
afterwards. Adapter in connected to
A
, supply sensor T1 to
B
A.
Adapter
B.
Supply temperature sensor
Summary of Contents for AM CTS
Page 2: ...1 Suomi 2 Svenska 7 English 12 Deutsch 17 ...
Page 23: ...Notes ...

