Headquarters:
4675 Vandenberg Dr., N. Las Vegas, NV 89081 • (800) 932-2358 or (702) 651-1304 • Fax (702) 651-1303
www.VicenzaDesigns.com
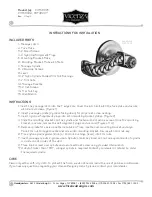
INSTRUCTIONS FOR INSTALLATION
INCLUDED PARTS
1- Passage Latch
2- Face Plate
3- 2 Wood Screws
4- 2 Nylon Self Alignment Plugs
5- Mounting Bracket Plate
6- Mounting Bracket Plate with Posts
7- Passage Spindle
8- 2 Machine Screws
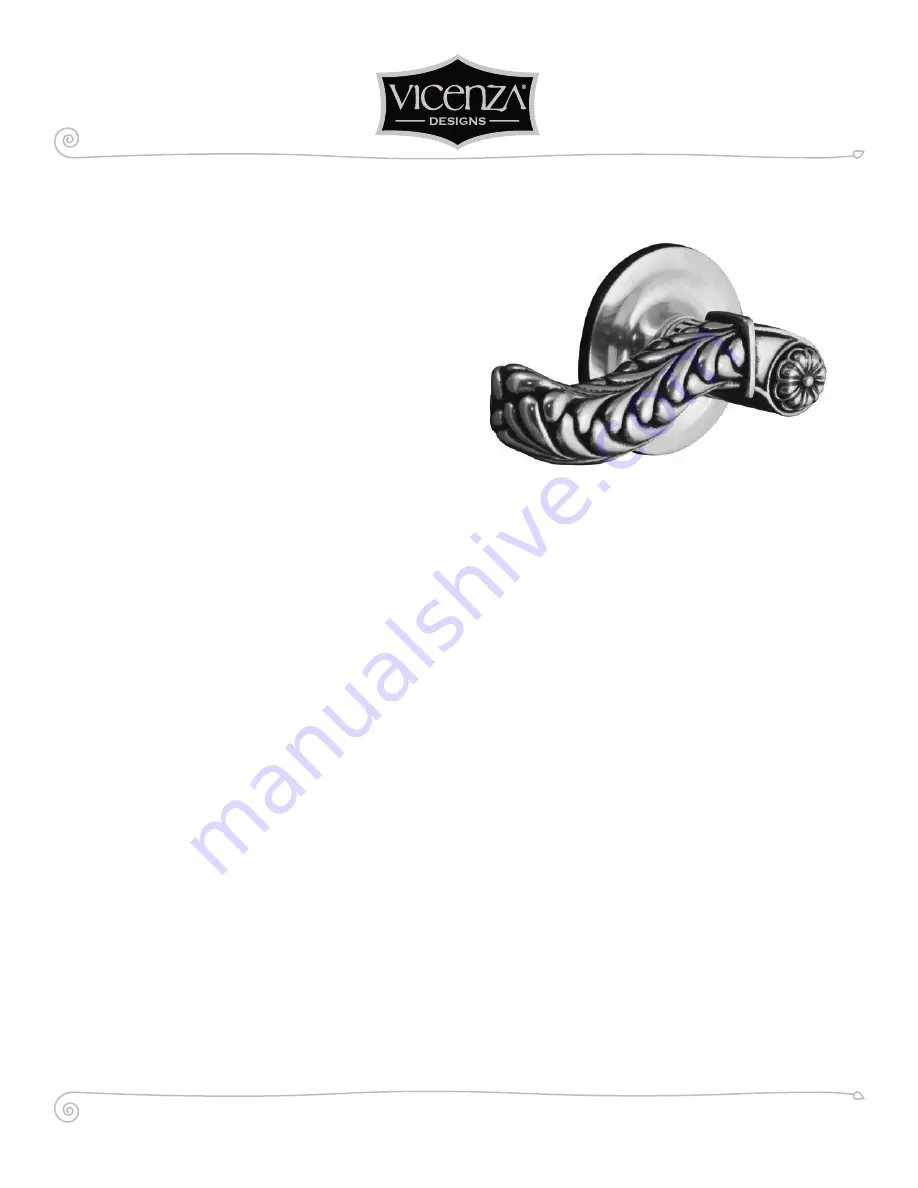
9- Lever
10- 2 Nylon Spindle Guides/Trim Nut Bushings
11- 2 Trim Nuts
12- Passage Rosette
13- 2 Set Screws
14- Trim Nut Key
15-Allen Wrench
INSTRUCTIONS
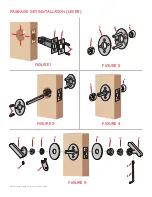
1. Insert the passage latch into the 1” edge bore. Cover the latch bolt with the face plate and secure
with 2 wood screws. (Figure 1)
2. Insert passage spindle (V-groove facing down) for proper set screw seating.
3. Insert nylon self-alignment plugs into both mounting bracket plates. (Figure 2)
4. Slide the mounting brackets on the spindle and fasten with 2 machine screws. Once the mounting
bracket is secure, remove the self-alignment plugs and discard. (Figures 3, 4)
5. Remove spindle for easier rosette installation. Place rosette over mounting bracket and align.
Place trim nut through rosette and screw into mounting bracket. Secure with trim nut key.
6. Place nylon spindle guides (knob) or trim nut bushings (lever) into trim nuts.
7. Insert passage spindle, V-groove down. Spindle should be placed so that an equal amount of spindle
is visible on both sides of the door.
8. Place knob or lever over spindle and secure with set screw using provided Allen wrench.
*For doors thicker than 1 3/8”, a longer spindle is required. Contact your dealer or retailer to order
the required spindle.
CARE
Clean only with a soft, dry cloth. To protect the finish, we do not recommend the use of polishes or abrasives.
If you have any questions regarding your Vicenza Designs product, please contact your local dealer.
Product(s):
DHPA8005,
DHPA8006, DHPA8007
Rev:
21Aug12
San Michele
DHPA8005

