background image


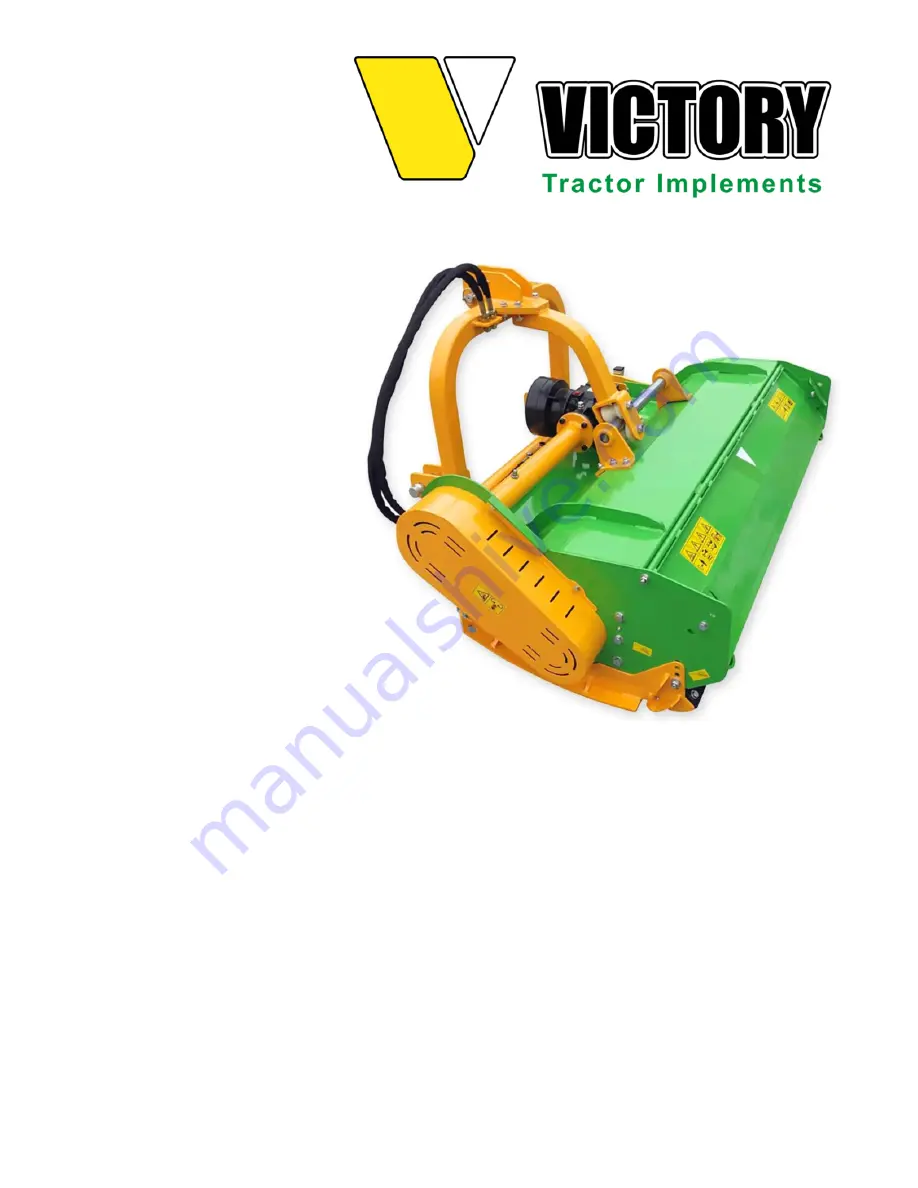
Operator's Manual 


FMHDH SERIES 

64” 70” 78” 86”


Heavy Duty Flail Mower  

with Hydraulic Side Shift  


VERSION 2.0 - EN US 2022 


Summary of Contents for FMHDH 64

Page 1: ...Operator s Manual FMHDH SERIES 64 70 78 86 Heavy Duty Flail Mower with Hydraulic Side Shift VERSION 2 0 EN US 2022...

Page 2: ...etractorimplements com E mail address sales etractorimplements com Phone 562 534 8182 Manual info These are the original instructions The English language is binding No part of this documentation may...

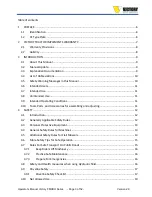
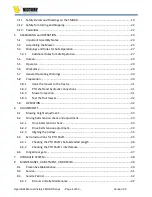
Page 3: ...e 11 3 9 Intended Operating Conditions 11 3 10 Tools Parts and Accessories for assembling and adjusting 11 4 SAFETY 12 4 1 Introduction 12 4 2 Generally Applicable Safety Rules 12 4 3 Personal Protect...

Page 4: ...to the tractor 31 5 8 2 PTO shaft and hydraulic connections 31 5 8 3 Mower Inspection 31 5 8 4 Test the flail mower 32 5 9 OPERATION 32 6 ADJUSTMENTS 33 6 1 Mowing height adjustment 33 6 2 Driving bel...

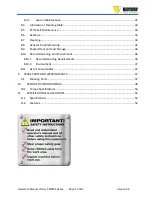
Page 5: ...8 8 General Troubleshooting 45 8 9 Packed Transport and Storage 46 8 10 Decommissioning and Environment 46 8 10 1 Decommissioning Requirements 46 8 10 2 Environment 47 8 11 List of Consumables 47 9 S...

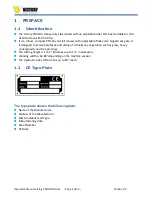
Page 6: ...and a hinged rear gate It is designed to provide professional cutting of virtually any vegetation such as grass heavy undergrowth and tree prunings The cutting height is 1 to 4 thickness up to 1 in d...

Page 7: ...ility or which has been used for a purpose for which the product is not designed Misuse also specifically includes failure to properly maintain oil levels grease points and driveline shafts Claims und...

Page 8: ...lt of ignoring warnings and regulations as stated on the machine or in this Operator s manual the use of the device for other applications or under other circumstances than stated in this documentatio...

Page 9: ...dangerous Therefore reading this manual entirely before the operation is essential This manual describes characteristics unique to your heavy duty flail mower FMHDH In this manual safety is a priority...

Page 10: ...onformit Europe nne 3 5 Safety Warning Messages in this Manual Read this manual carefully before using the FMHDH to understand how to use it correctly If there is something in this manual you do not u...

Page 11: ...l be no warranty Any warranty claim will be rejected if you exceed the maintenance intervals for the essential machine components claim 3 6 Intended Users Intended users are well trained technically s...

Page 12: ...tions Other activities such as adjustments service and maintenance This distinction is because operators must meet other safety requirements than the technical service staff The operator performs the...

Page 13: ...death Ensure the work area around the equipment is smooth clean and free from any obstacles Keep in mind that a dangerous situation can always arise Always wear safety glasses and protective shoes wh...

Page 14: ...g spots from the inlet of large amounts of water 4 5 Additional Safety Rules for Flail Mowers The operator should be familiar with all functions of the unit Operate the implement from the driver s sea...

Page 15: ...laws governing highway safety and movement of farm machinery on public roads The maximum transport speed for any Victory implement is twenty mph on paved surfaces and ten mph maximum on an unpaved su...

Page 16: ...fire extinguisher handy Ensure you have telephone numbers for the doctor ambulance hospital and fire department 4 8 Safety and Health measures when using Hydraulic fluid Anyone working on installatio...

Page 17: ...om Extending beyond the recommended maximum length Bottoming out Reaching a position that allows universal joints to lock Exceeding the maximum allowable angle for the constant velocity of the univers...

Page 18: ...operating speed Check that proper danger labels are supplied with the driveline concerning these parameters may be found in all driveline manufacturer s catalogs The operator s manual provides instruc...

Page 19: ...all safety decals in place The decals are designed to help you safely operate your implement Read and follow their directions Keep all safety decals clean and legible Replace all damaged or missing d...

Page 20: ...Series Page 20 of 52 Version 2 0 WARNING Decal Do not stand behind the tractor or implement WARNING Decal Do not stand on moving implements WARNING Decal Danger of cutting off body parts WARNING Deca...

Page 21: ...lose to the machine WARNING Decal Finger Pinch Hazard Driving belts Danger WARNING Decal PTO Shaft Hazard WARNING Decal Finger Pinch Hazard turning components WARNING Decal High Pressure Fluid Hazard...

Page 22: ...of an over running PTO clutch may change the length of the PTO driveline required Pay extra attention to the instructions on the PTO Driveline Installation Be sure that the driveline system guarding i...

Page 23: ...familiar equipment can lead to careless injuries Read this Operator s manual and the manual for your tractor before assembly or operating to acquaint yourself with the machines Suppose any person uses...

Page 24: ...ou the following service is done in the warehouse Bearings are greased flails are installed adjusted and the bolts are torqued according to specifications A PTO shaft is part of the delivery Ensure th...

Page 25: ...x Connection arm for a 3 point hitch Top link connection bar Support legs two pcs Protective PTO cover cone for the gearbox PTO shaft holder hook Gearbox oil Instruction manual STEP 2 Check PTO shaft...

Page 26: ...mplement the shear bolt at the implement side Always keep the PTO shaft as straight as possible Your PTO shaft will be more efficient and have a longer life if you use it straightforwardly An angle sm...

Page 27: ...to reduce the possibility of injury Never exceed the limits of a piece of machinery If its ability to do a job or do so safely is in question DON T TRY IT Always stay clear of all moving parts Never...

Page 28: ...struction Turn the engine off remove the ignition key and inspect and repair any damage before resuming operation Stay alert for uneven terrain holes rocks roots and other hidden hazards Keep away fro...

Page 29: ...omponents Rotating parts can cause severe injury Don t stand too close to the FMHD A safe distance is approx 1 m No other persons are allowed around the equipment during the operation Follow ALL safet...

Page 30: ...round when backing up or attempting to turn Failure to do so may cause damage to the mower Never attempt to turn the tractor or travel in reverse with the PTO engaged and the mower in the ground Alway...

Page 31: ...le of the PTO universal joints should not exceed 15 when it is working and 30 when it is lifted for transport Adjust the working depth by adjusting both skids to the required height 5 8 2 PTO shaft an...

Page 32: ...1 With the Flail mower positioned on level ground adjust the tractor lift arms so that the rotor shaft aligns with the ground when lifted STEP 2 With the Flail mower hooked to the tractor raise and s...

Page 33: ...the nut Tighten nut 1 Repeat this action for the second skid at the other side of the mower Ensure the cutting height is set equally on both sides 6 2 Driving belts tension check and adjustment 6 2 1...

Page 34: ...ley cover removed Ensure the drive belts are cold Remove the pulley cover 1 Untighten both flange mounting bolts 2 Untighten the four gearbox bracket mounting bolts 3 Untighten the securing nuts of bo...

Page 35: ...djust if necessary Install the pulley cover 6 3 Extra Instructions for PTO Shaft 1 Park the tractor on a level surface Slowly adjust the tractor s three point hitch until the tractor s output shaft is...

Page 36: ...ecking the PTO Shaft s Safe Extended Length Make sure the PTO shaft s collapsible length is acceptable When fully extended the PTO shaft s maximum allowable length must have a minimum overlap of the t...

Page 37: ...ing the PTO Shaft s Interference 1 Slowly engage the tractor s 3 Point hitch to lower the implement while checking for sufficient drawbar clearance Move the drawbar ahead aside or remove it if require...

Page 38: ...2 Version 2 0 7 HYDRAULIC SYSTEM The mower side shift system is supplied from the tractor s hydraulic system Refer to your tractor manual for Hydraulic system instructions You should know to quickly s...

Page 39: ...chine and PPE safety procedures are entitled to maintenance or service work Be sure all moving parts on attachments have come to a complete stop before attempting to perform maintenance Periodically t...

Page 40: ...tem Avoid contact with high pressure fluid at all times Liquid under high pressure quickly penetrates clothing or skin resulting in serious injuries Prevent oil leakage or spillage to avoid the risk o...

Page 41: ...ipple with a clean cloth before greasing to avoid injecting dirt and grit Replace and repair broken nipples immediately If nipples do not take grease remove and clean them thoroughly clean the lubrica...

Page 42: ...normal operating conditions Severe or unusual conditions may require more frequent maintenance 8 3 1 8 Hours or Daily Maintenance Check all nuts and bolts in connection parts replace if required Pump...

Page 43: ...shaft from the machine Pull the PTO shaft apart Check and replace any components that are damaged or worn Install the PTO shaft on the device The PTO shaft should telescope easily and the guard turns...

Page 44: ...guard casing 5 Use a solvent to clean the male and female portions of the steel telescoping ends 6 Apply a light coat of grease to each end 7 Insert the shaft into its tubular guard and align the slot...

Page 45: ...red The direction was mistaken Insufficient grease The angle of the PTO shaft is too big or is gripped The Flail mower fell down the soil sharply Re assemble correctly Rinse the needles and pump greas...

Page 46: ...check the safety decals Replace any worn decals Inspect the flails and rotor for damage or entangled material Repair or replace damaged parts Remove all entangled material from the rotor Lubricate al...

Page 47: ...tear Keeping a limited number of crucial parts in stock is advisable to avoid costly downtime The installation mainly includes unique and complex components that you should always replace with similar...

Page 48: ...Operator s Manual Victory FMHDH Series Page 48 of 52 Version 2 0 10 EXPLODED VIEW DRAWINGS VICTORY FMHDH Parts Exploded View...

Page 49: ...45x80 Taper lock 1 17 KDK220 104 Small pulley 1 18 KDK220 015 Right bearing block 1 19 CFH100 Circlips for hole 100 20 B6309 Bearing 6309 2Z 21 KDK220 105 Rotor adjusting spacer 22 KDK220 016 Rotor 1...

Page 50: ...1 56 KDK220 113 Driving shaft 1 57 KDK220 028 Drive shaft tube 1 58 Gearbox FMHDH Gearbox 1 59 KDK220 029 Gearbox mounting seat 1 60 KDK220 114 Coupling 1 61 KA10A8A35 Key A 10 x 8 x35 1 62 Bearing 22...

Page 51: ...Operator s Manual Victory FMHDH Series Page 51 of 52 Version 2 0...

Page 52: ...74x37x42 in 82x37x42 in 90x37x42 in Maximum Side Shift 18 18 18 18 Material Top Housing 4 mm 4 mm 4 mm 4 mm Side Walls 6 mm 6 mm 6 mm 6 mm Paint yellow green Powder coated Powder coated Powder coated...

Reviews: