BSL & Victron set-up guide
Page 1
BSL
1
Pin out diagram
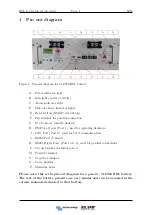
Figure 1: Pin-out diagram for 5.1kWh BSL battery.
A - Power indicator light
B - Run light (battery activity)
C - Alarm indicator light
D - State of charge indicator lights
E - Reset switch (BMS Power button)
F - Dip switches for parallel connection
G - Dry Contacts (mostly unused)
H - RS485 Left port (Port 1), used for updating firmware.
I - CAN Port (Port 2), used for CAN communication.
J - RS232 Port (Unused)
K - RS485 Right Ports (Ports 4 & 5), used for parallel connections.
L - Circuit breaker (terminal power)
M - Positive terminal
N - Negative terminal
O - Carry handles
P - Mounting holes
Please note, this is the pin-out diagram for a generic, 5.1kWh BSL battery.
The rest of the battery pin-outs are very similar and can be accessed in the
various manuals dedicated to that battery.
Summary of Contents for BSLBATT
Page 1: ...Installation set up guide ...
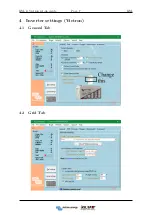
Page 10: ...BSL Victron set up guide Page 7 BSL 4 Inverter settings Victron 4 1 General Tab 4 2 Grid Tab ...
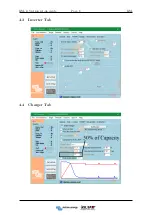
Page 11: ...BSL Victron set up guide Page 8 BSL 4 3 Inverter Tab 4 4 Charger Tab ...
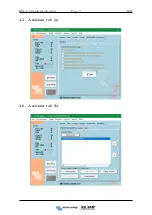
Page 12: ...BSL Victron set up guide Page 9 BSL 4 5 Assistant tab a 4 6 Assistant tab b ...
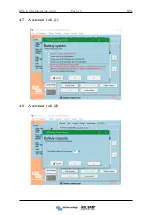
Page 13: ...BSL Victron set up guide Page 10 BSL 4 7 Assistant tab c 4 8 Assistant tab d ...
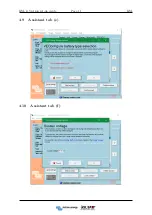
Page 14: ...BSL Victron set up guide Page 11 BSL 4 9 Assistant tab e 4 10 Assistant tab f ...
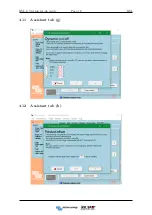
Page 15: ...BSL Victron set up guide Page 12 BSL 4 11 Assistant tab g 4 12 Assistant tab h ...


