BSL & Victron set-up guide
Page 6
BSL
3.2
Battery set-up on Victron GX device
1. The VE.Can to CAN-bus BMS Type B cable needs to be connected to the VE-Can
port on the GX device and the second unused VE.Can port needs to be terminated
with the Victron blue terminator. Ensure that the cable is marked CCGX at the
end.
2. Press the enter button on the GX device. This should take you to the device list
page. Scroll down to settings, press enter, and scroll to services and press enter
again. Navigate to the CAN settings and change the CAN speed from 250 KB to
500 KB.
3. Scroll to DVCC and select Switch DVCC on. Flag SHARED VOLTAGE SENSE
and CHARGE LIMIT, un-flag SWITCH OFF. Set CCL (charge current limit) to
50 amps/battery.
4. Navigate back to the device list and the BSL battery should appear on the device
list.
5. Select the BSL battery set the parameters as follows (please see specifics in each
batteries manual):
•
Charge Voltage 54.5V.
•
Charge Current Limit: 80A per battery.
•
Discharge Current Limit: 105A per battery.
Summary of Contents for BSLBATT
Page 1: ...Installation set up guide ...
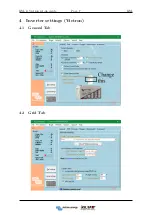
Page 10: ...BSL Victron set up guide Page 7 BSL 4 Inverter settings Victron 4 1 General Tab 4 2 Grid Tab ...
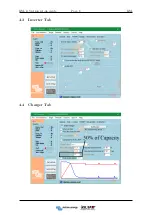
Page 11: ...BSL Victron set up guide Page 8 BSL 4 3 Inverter Tab 4 4 Charger Tab ...
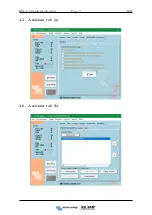
Page 12: ...BSL Victron set up guide Page 9 BSL 4 5 Assistant tab a 4 6 Assistant tab b ...
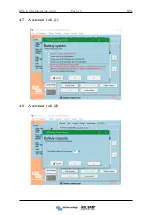
Page 13: ...BSL Victron set up guide Page 10 BSL 4 7 Assistant tab c 4 8 Assistant tab d ...
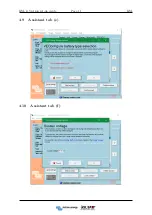
Page 14: ...BSL Victron set up guide Page 11 BSL 4 9 Assistant tab e 4 10 Assistant tab f ...
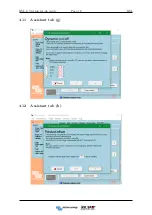
Page 15: ...BSL Victron set up guide Page 12 BSL 4 11 Assistant tab g 4 12 Assistant tab h ...

