24
GVI Security
3.3.12
Title
Setting
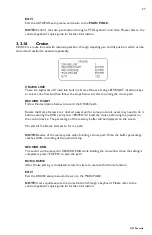
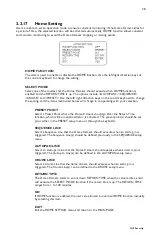
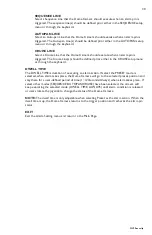
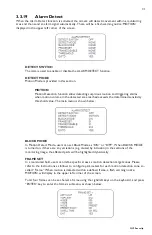
Up to 16 zone titles can be set with maximum 20 characters for each title.
Follow the steps to set a camera title.
1.
Operate the dome to a view area where you want to set a title for it.
2.
Turn on the OSD and go to the
MAIN PAGE 2
to select <TITLE SETTING>.
3.
Select a number to represent the view area.
4.
Press the <
CAMERA MENU
> key (ENTER) to go into the editing page.
5.
Choose a character with direction keys and then press the
<
CAMERA
MENU
> key (ENTER) to input. For example: <
A
> <
CAMERA MENU
>, <
B
>
<
CAMERA MENU
>, <
C
> <
CAMERA
MENU
>
TITLE: ABC
6.
To delete input characters, move the cursor to <LEFT> or <RIGHT>
and press
<
CAMERA MENU
> to select a character in the entry field. Then move the cursor to
<DELETE> and press <
CAMERA MENU
> to delete the selected character.
7.
When the setting is complete, move the cursor to <SAVE> and press <ENTER> to save.
After completing the title settings, return to the
MAIN PAGE.
3.3.13
Preset
PRESET SET
Totally 256 preset points can be set. Follow the steps below when in the preset setting menu.
1.
Press the right/left key on the keyboard to select a number (1 represents
preset point 1, 2 represents preset point 2, etc.)
2.
Press the <
CAMERA MENU
> key (ENTER) on the keyboard, and then
rotate the dome camera to a targeted shooting area/point.
3.
Press the <
CAMERA MENU
> key again to save the defined preset point.
Once completing setup of a preset point, users could move the cursor to the next item to run
the preset point.
PRESET RUN
Select the preset point that you want to execute. After pressing “ENTER”, the camera will turn
to the appointed point.
EXIT
Exit the PRESET menu and return to the MAIN PAGE.
NOTE:
Set preset points through a keyboard. Refer to the control keyboard’s quick start
guide for more information.


