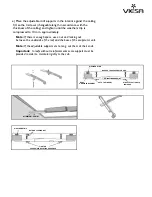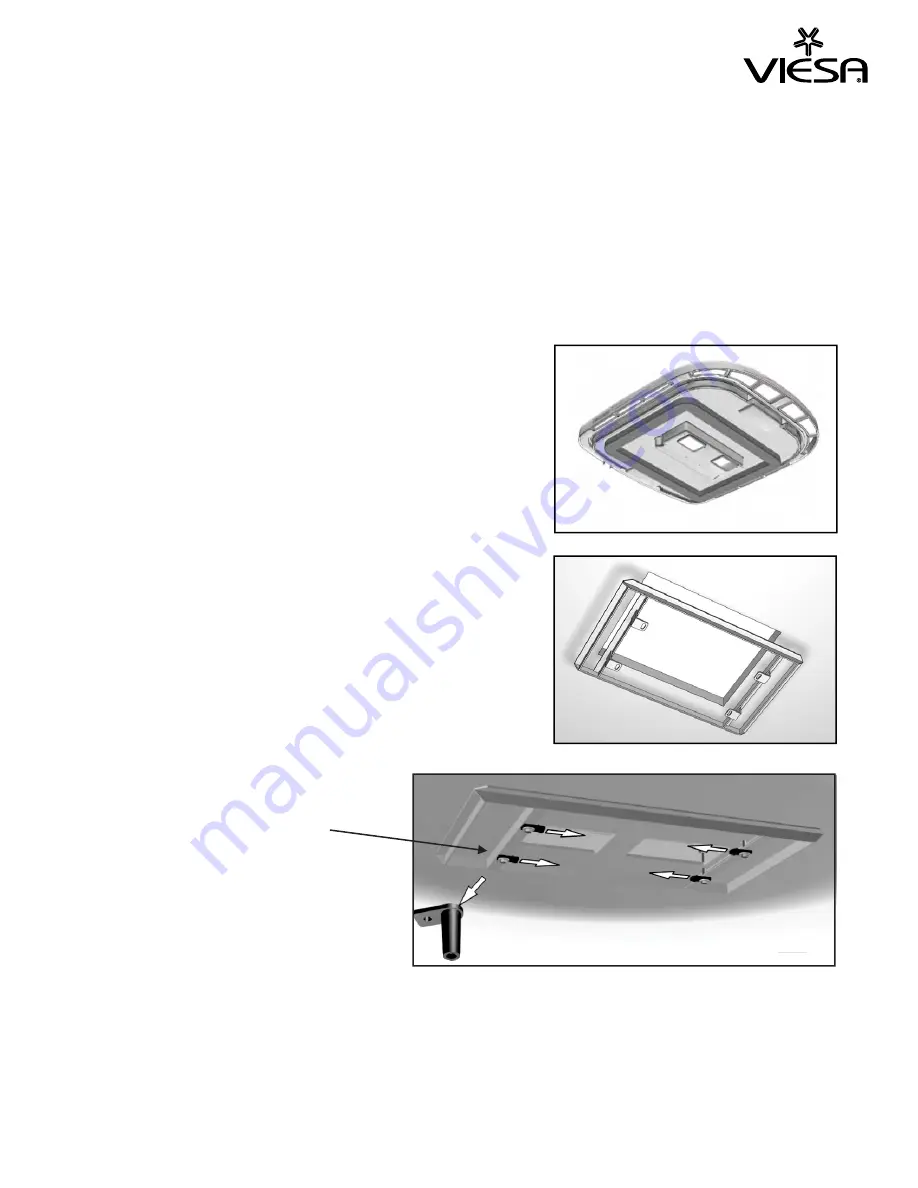
Glue the weather strip to the base of the evaporator.
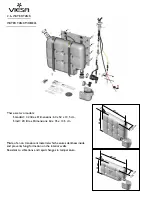
a) Use Viesa`s Interior and Exterior Templates to cut the roof openings.
a.1) Determine the suitable place where the evaporator unit will be placed.
a.2) Mark the openings to be cut.
a.3) Check from the inside that no reinforcement channels or electrical wires will be cut.
a.4) Cut the roof and shave any roughness.
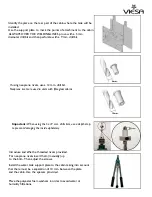
Note:
When cutting, be carefull not to make right angles on the
the corners. Corners must be round (see detail) in order to avoid
future roof fissures.
Important:
If the roof surface is a thin metal sheet,
a 1cm. fold upwards has to be made all around the perimeter.
b)
c) Apply silicone glue on the underside of weather strip so as to avoid
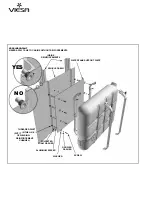
d) Place and affix the evaporator unit to the roof.
e) Place the steel frame in the interior against the ceiling.
DIRECT PLASTIC WASHERS
INWARDS
f) Use the 4 screws (changeable length in accordance with the
thickness of the ceiling) and tighten until the weather strip is
compressed to 10 mm. approximately.
Important:
In roofs without reinforcements some support must be
provided in order to maintain rigidity to the cab.
Note:
If there is enough space, use a nut and locking nut
between the underside of the roof and the base of the evaporator unit.
water filtration.


