8
5608 487
v1.2
Vitocell 100-V Installation Instructions
42 to 79 USG (160 to 300 Liter)
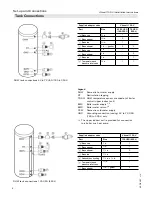
Tank Installation
Thermal insulation and thermometer installation
All required components are included in the insulation
jacket carton.
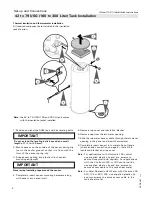
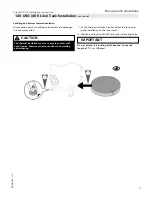
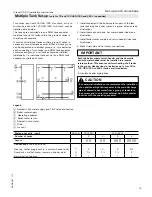
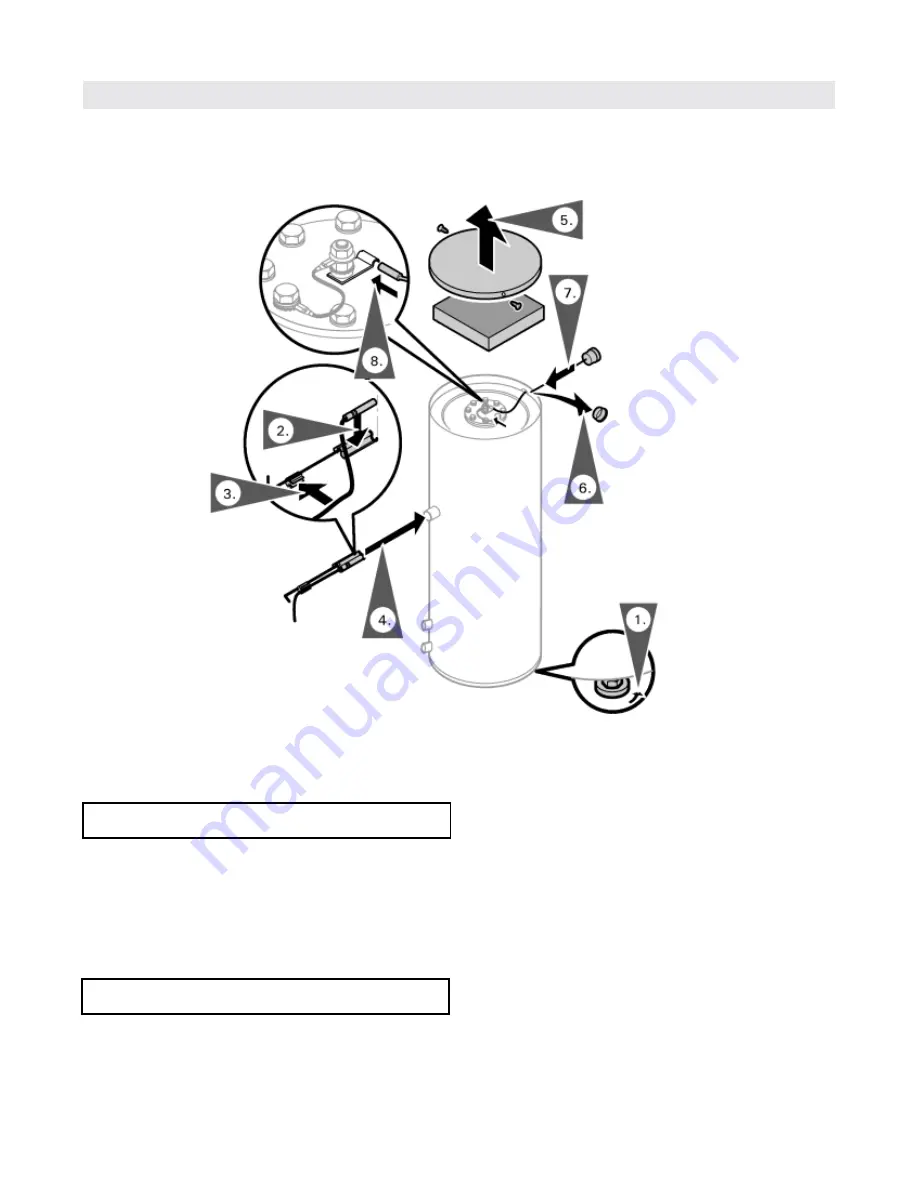
1. Position and level the DHW tank with its leveling bolts.
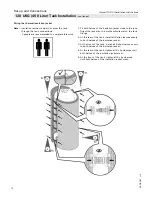
2. Mount sensor on the outside of the sensor spring-clip
(not in the center groove) so that it is flush with the
front of the sensor spring-clip.
3. Snap sensor cabling into plastic clip of sensor
mounting equipment.
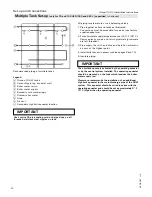
5. Remove top cover and insulation blanket.
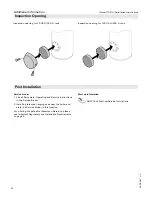
6. Remove cap from thermometer opening.
7. Slide thermometer sensor cable through thermometer
opening in the panel and insert thermometer.
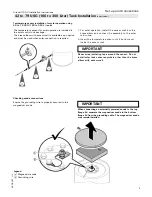
8. Completely insert sensor into metal clip on flange
(check anode connection on page 8). Install the
insulation blanket and top cover.
IMPORTANT
Do not extend the leveling bolts beyond an overall
length of 1½ in. (35 mm).
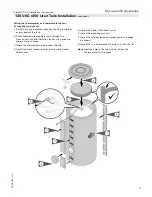
Note:
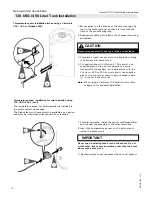
For applications with Vitotronic 100 control,
use supplied plastic clip and two screws to
secure Honeywell bulb capillary. For applications
with the Vitotronic 200 or 300 control option,
use supplied plastic clip and two screws to
secure sensor cable to the tank sheet metal.
Note:
For Solar Domestic Hot Water with Vitosolic 200,
SCU 124 or SCU 224, use supplied plastic clip
and two screws to secure sensor cable to the
tank sheet metal.
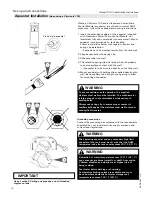
4. Completely insert sensor mounting hardware along
with sensor into sensor well.
Note:
the 42 to 79 USG (160 and 300 L) tank comes
with the insulation jacket installed.
IMPORTANT
Never wrap insulating tape around the sensor.
Set-up and Connections


