Niagara 2200 User Guide
ViewCast
37
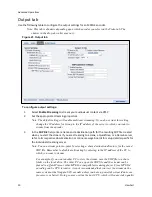
Video tab
Use the following table to configure the video analog input settings for a Flash encoder.
Figure 27. Video tab
To configure video input settings:
1.
Select the video input
Source
from the drop-down list.
2.
In the
Input
field, select the video input.
IMPORTANT! The video input must match the connectors on the back of the system and your
video source.
3.
In the
Size
field, select the pre-determined size of the encoded video from the drop-down
list.
You can also specify a custom size for your video. This customization is useful when you are
capturing video to be played on a mobile video-device that requires a non-standard size for
compatibility.
When you click
Custom
, two additional fields appear so you can enter the exact size you
want the resulting video to be (Figure 28).
Note: The size in the Width and Height fields must be divisible by 2.
Figure 28. Custom fields
4.
Select the
Video Encoder
from the drop-down list.
5.
Enter the frames per second in the
Frame Rate
field.
6.
Enter the
Bitrate
.
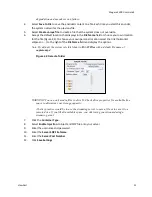
7.
Drag the sliders to adjust the
Brightness
,
Contrast
,
Hue
, and
Saturation
(Figure 29).
Figure 29. Video Filter settings
Summary of Contents for Nagara 2200
Page 1: ...Niagara 2200 User Guide...
Page 42: ...Advanced Operations 36 ViewCast Figure 26 Flash Encoder properties...
Page 55: ...Niagara 2200 User Guide ViewCast 49 9 Click Save Settings...
Page 74: ......
Page 80: ......
Page 98: ......
Page 102: ...SNMP 96 ViewCast Figure 91 Installation Folder 4 Click Next Figure 92 Confirm Installation...
Page 111: ...Niagara 2200 User Guide ViewCast 105 Figure 105 IP Addresses...
Page 126: ......
Page 149: ......

