Advanced Operations
48
ViewCast
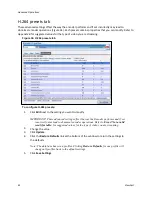
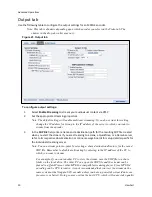
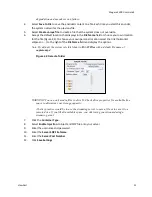
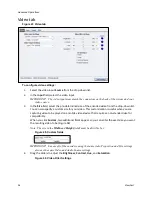
Audio tab
Figure 40. Audio tab
To configure audio settings:
1.
In the
Source
field, select an audio source from the drop-down list.
2.
Select the
Overlay Closed Caption
check box to enable overlay closed captions. Field 1 CC 1 is
the default setting.
3.
Click the
Audio Format
.
4.
Click the
Audio Type
. The drop-down list box provides two choices:
Main
– The same as Low Complexity, but adds backward prediction.
Low Complexity
– The simplest and most widely used and supports AAC audio format.
HE-AAC V1
– Uses spectral band replication (SBR) to enhance the compression efficiency in
the frequency domain.
HE-AAC V2
– Enhances the compression efficiency of stereo signals.
Note: Depending on the player on which the resulting stream will be heard, either choice will
use a specific set of tools to encode the audio stream. Make your choice based on the
requirement of the playback software or device. The most widely supported format is the
Low Complexity profile.
5.
The default
Audio Encoder
is AAC (Advanced Audio Coding) – a standardized, lossy
compression and encoding scheme for digital audio. AAC achieves better audio quality than
MP3. AAC and MP3 are MPEG standards.
Note: MPEG-2 uses MP2 at Low Complexity only.
6.
Click the
Bitrate
.
7.
Drag the sliders to adjust the
Left Volume
and
Right Volume
.
8.
(Optional) Select
Mute Audio
to silence audio.
Summary of Contents for Nagara 2200
Page 1: ...Niagara 2200 User Guide...
Page 42: ...Advanced Operations 36 ViewCast Figure 26 Flash Encoder properties...
Page 55: ...Niagara 2200 User Guide ViewCast 49 9 Click Save Settings...
Page 74: ......
Page 80: ......
Page 98: ......
Page 102: ...SNMP 96 ViewCast Figure 91 Installation Folder 4 Click Next Figure 92 Confirm Installation...
Page 111: ...Niagara 2200 User Guide ViewCast 105 Figure 105 IP Addresses...
Page 126: ......
Page 149: ......


