Niagara 2200 User Guide
ViewCast
57
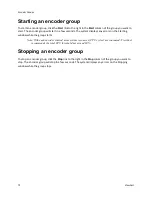
Note: Click
Restore
to the right of each filter to return the setting to the default.
5.
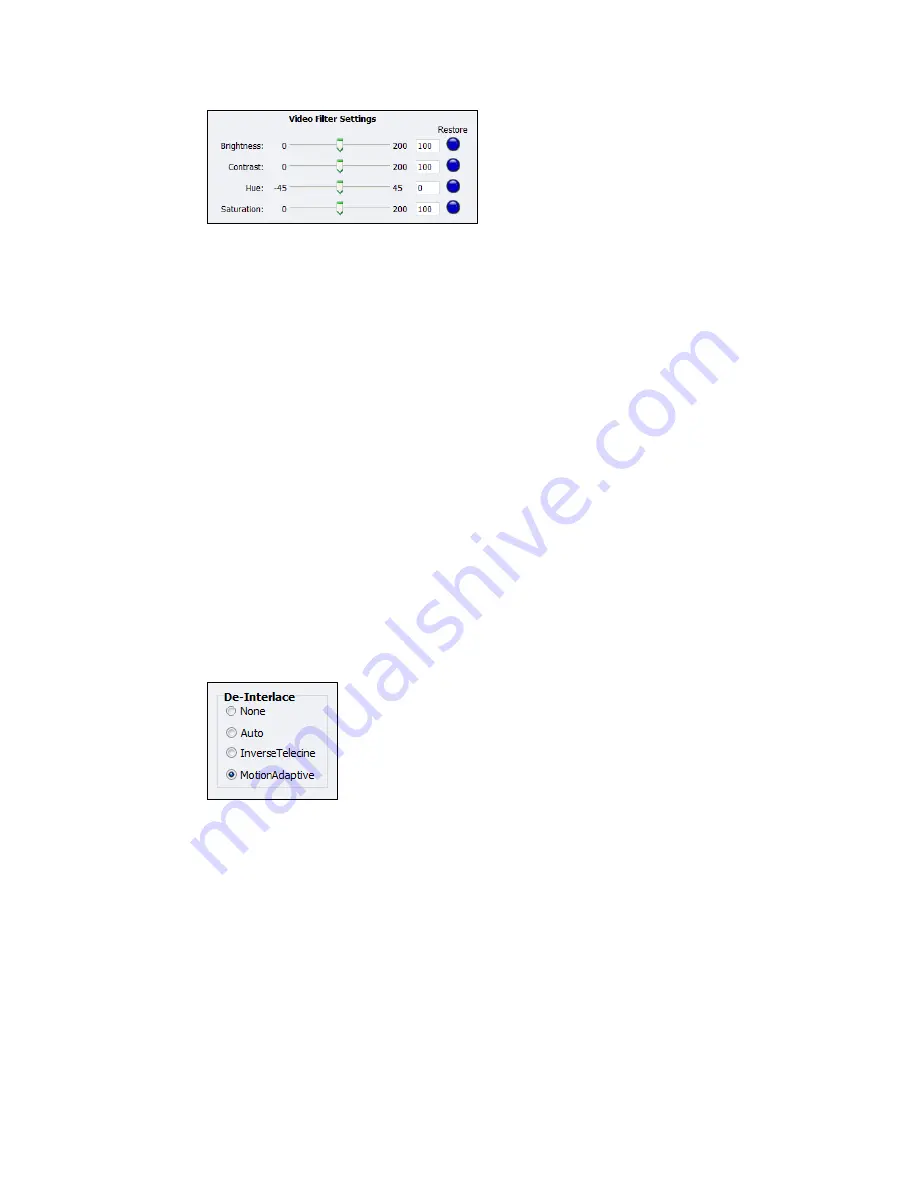
Click the
De-Interlace
settings you want to apply (Figure 50). Options include:
None
– Performs no de-interlacing of any kind.
Auto
– Applies inverse telecine de-interlacing to all telecine video.
– Applies motion adaptive de-interlacing to all video that is not telecine.
– Switches dynamically between the two modes as the content changes.
– Available for NTSC video only.
InverseTelecine
– Drops the redundant fields and reassembles the video in a 24 fps progressive format.
– Applies inverse telecine de-interlacing to all telecine video.
– Performs no de-interlacing of video that is not telecine.
– Available for NTSC video only.
Motion Adaptive
– Is an algorithm for de-interlacing pure video (non-telecine) content.
– Applies motion adaptive interlacing to all video. It detects which portions of the image
are still and which portions are in motion then applies different processing to each
scenario.
Figure 50. De-Interlace settings
Note: Telecine and inverse telecine only apply to NTSC video. They are not used for PAL and
SECAM video. The system disables
Auto
and
Inverse Telecine
choices when you select
either
PAL
as the video standard.
6.
Click
Save Settings
.
Summary of Contents for Nagara 2200
Page 1: ...Niagara 2200 User Guide...
Page 42: ...Advanced Operations 36 ViewCast Figure 26 Flash Encoder properties...
Page 55: ...Niagara 2200 User Guide ViewCast 49 9 Click Save Settings...
Page 74: ......
Page 80: ......
Page 98: ......
Page 102: ...SNMP 96 ViewCast Figure 91 Installation Folder 4 Click Next Figure 92 Confirm Installation...
Page 111: ...Niagara 2200 User Guide ViewCast 105 Figure 105 IP Addresses...
Page 126: ......
Page 149: ......


