Advanced Operations
102
ViewCast
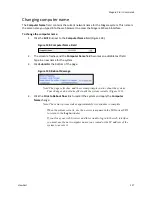
Note: Click
Restore
to the right of each field to return the setting to the default.
6.
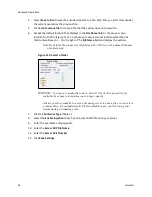
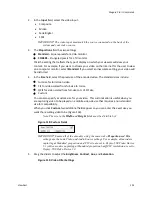
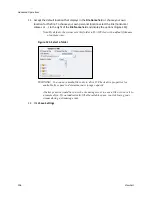
Click the
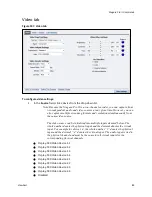
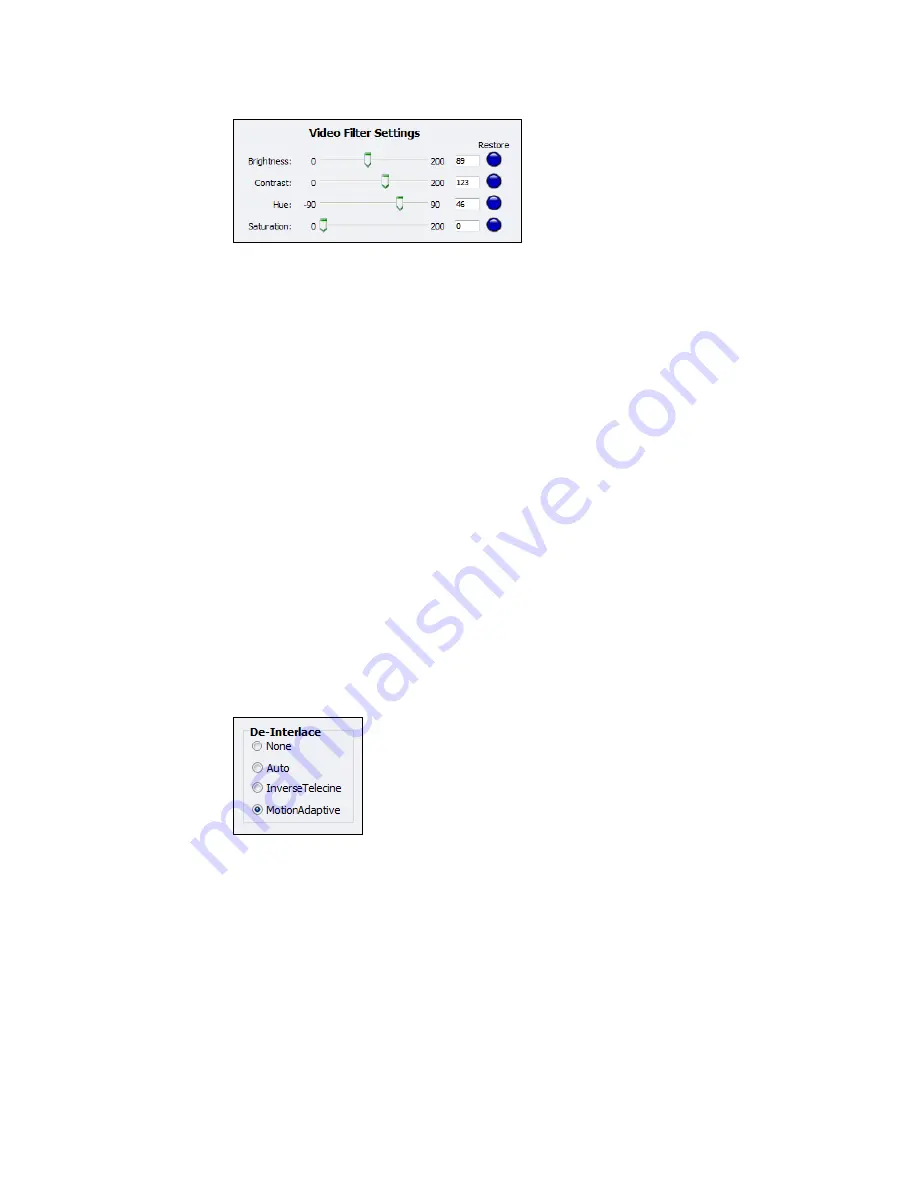
De-Interlace
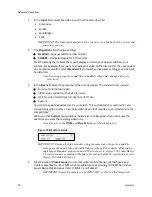
settings you want to apply (Figure 120). Options include:
None
– Performs no de-interlacing of any kind.
Auto
– Applies inverse telecine de-interlacing to all telecine video.
– Applies motion adaptive de-interlacing to all video that is not telecine.
– Switches dynamically between the two modes as the content changes.
– Available for NTSC video only.
Inverse Telecine
– Drops the redundant fields and reassembles the video in a 24 fps progressive format.
– Applies inverse telecine de-interlacing to all telecine video.
– Performs no de-interlacing of video that is not telecine.
– Available for NTSC video only.
Motion Adaptive
– Is an algorithm for de-interlacing pure video (non-telecine) content.
– Applies motion adaptive interlacing to all video. It detects which portions of the
image are still and which portions are in motion then applies different processing to
each scenario.
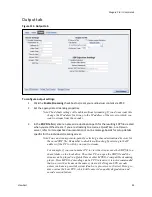
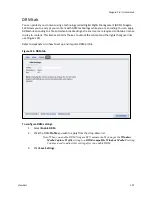
Figure 120. De-Interlace Settings
Note: Telecine and inverse telecine only apply to NTSC video. They are not used for
PAL and SECAM video. The system disables
Auto
and
Inverse Telecine
choices when you select either
PAL
or
SECAM
as the video standard.
7.
Click
Save Settings
.
Summary of Contents for Niagara Pro II
Page 1: ......
Page 26: ......
Page 62: ...Advanced Operations 56 ViewCast...
Page 144: ......
Page 163: ...Niagara Pro II User Guide ViewCast 157 Access health menu CPU status Memory available...
Page 165: ...Niagara Pro II User Guide ViewCast 159 View network settings Enable DHCP...
Page 166: ...Appendix D System Menu LCD Display 160 ViewCast Set static IP addresses...
Page 167: ...Niagara Pro II User Guide ViewCast 161 Set gateway address...
Page 168: ...Appendix D System Menu LCD Display 162 ViewCast Set date and time Set video standard x3...

