Niagara Pro II User Guide
ViewCast
117
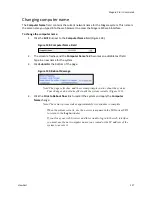
Changing computer name
The
Computer Name
field contains the current network name for the Niagara system. This name is
the same name you typed into the web browser to access the Niagara SCX web interface.
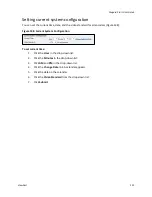
To change the computer name:
1.
Click the
Edit
link next to the
Computer Name
field (Figure 138).
Figure 138. Computer Name Field
2.
The screen refreshes and the
Computer Name
field becomes an editable text field.
Type in a new name for the system.
3.
Click
Submit
at the bottom of the page.
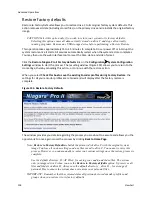
Figure 139. Reboot Message
Note: The page refreshes, and the system prompts you to reboot the system.
Your changes do not take effect until the system restarts (Figure 139).
4.
Click the
Click to Reboot Now
link to restart the system and apply the
Computer
Name
change.
Note: The restart process takes approximately two minutes to complete.
When the system restarts, use the new system name in the IE browser URL
to return to the
Login
window.
If you close your web browser and later want to log into the web interface,
you must use the new computer name you created or the IP address of the
system to access it.
Summary of Contents for Niagara Pro II
Page 1: ......
Page 26: ......
Page 62: ...Advanced Operations 56 ViewCast...
Page 144: ......
Page 163: ...Niagara Pro II User Guide ViewCast 157 Access health menu CPU status Memory available...
Page 165: ...Niagara Pro II User Guide ViewCast 159 View network settings Enable DHCP...
Page 166: ...Appendix D System Menu LCD Display 160 ViewCast Set static IP addresses...
Page 167: ...Niagara Pro II User Guide ViewCast 161 Set gateway address...
Page 168: ...Appendix D System Menu LCD Display 162 ViewCast Set date and time Set video standard x3...

