Appendix A: DRM for Windows Media
136
ViewCast
9.
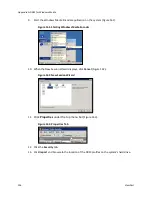
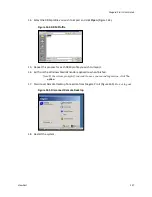
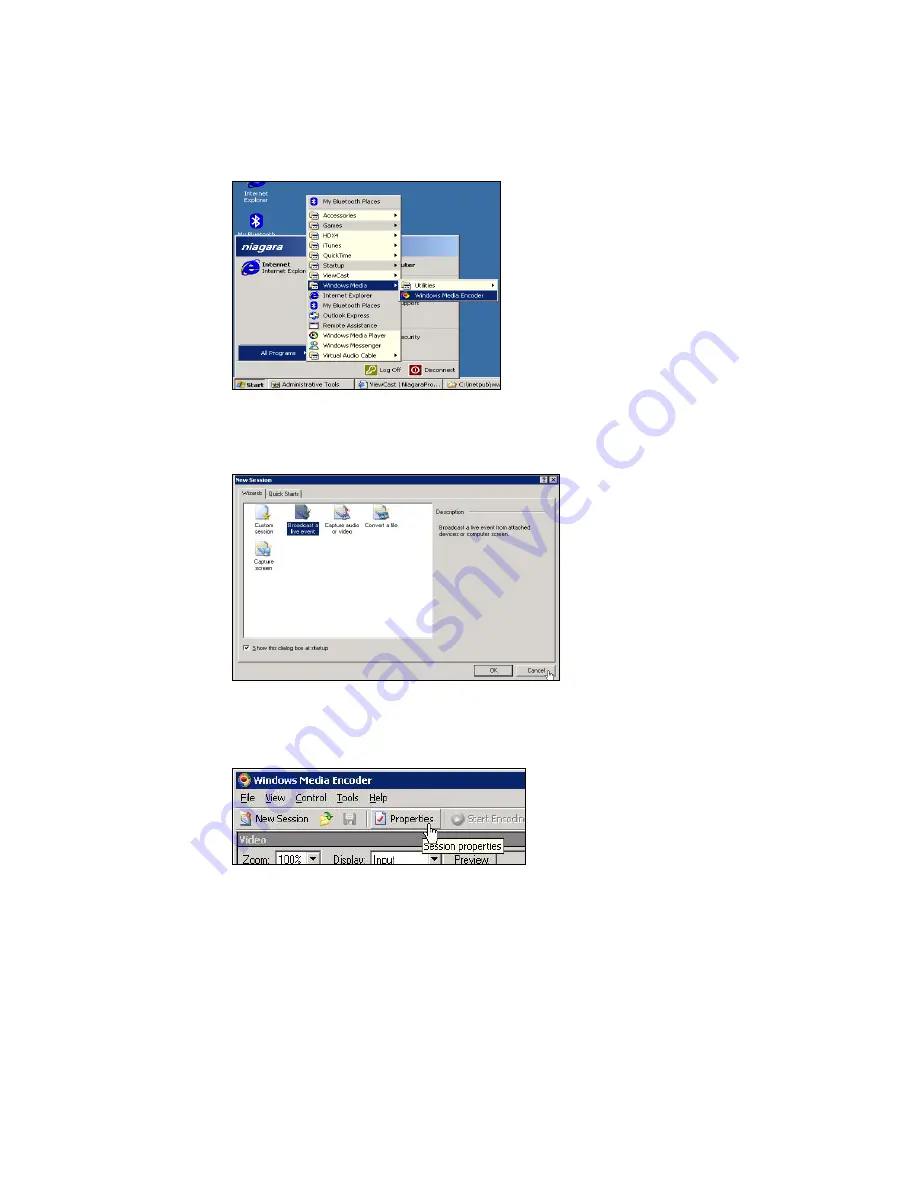
Start the Windows Media Encoder application on the system (Figure 161).
Figure 161. Starting Windows Media Encoder
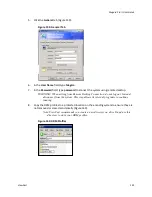
10.
When the New Session Wizard displays, click
Cancel
(Figure 162)
.
Figure 162. New Session Wizard
11.
Click
Properties
under the top menu bar (
Figure 163
).
Figure 163. Properties Tab
12.
Click the
Security
tab
.
13.
Click
Import
and browse to the location of the DRM profiles on the system’s hard drive.
Summary of Contents for Niagara Pro II
Page 1: ......
Page 26: ......
Page 62: ...Advanced Operations 56 ViewCast...
Page 144: ......
Page 163: ...Niagara Pro II User Guide ViewCast 157 Access health menu CPU status Memory available...
Page 165: ...Niagara Pro II User Guide ViewCast 159 View network settings Enable DHCP...
Page 166: ...Appendix D System Menu LCD Display 160 ViewCast Set static IP addresses...
Page 167: ...Niagara Pro II User Guide ViewCast 161 Set gateway address...
Page 168: ...Appendix D System Menu LCD Display 162 ViewCast Set date and time Set video standard x3...

