Niagara Pro II User Guide
ViewCast
153
9.
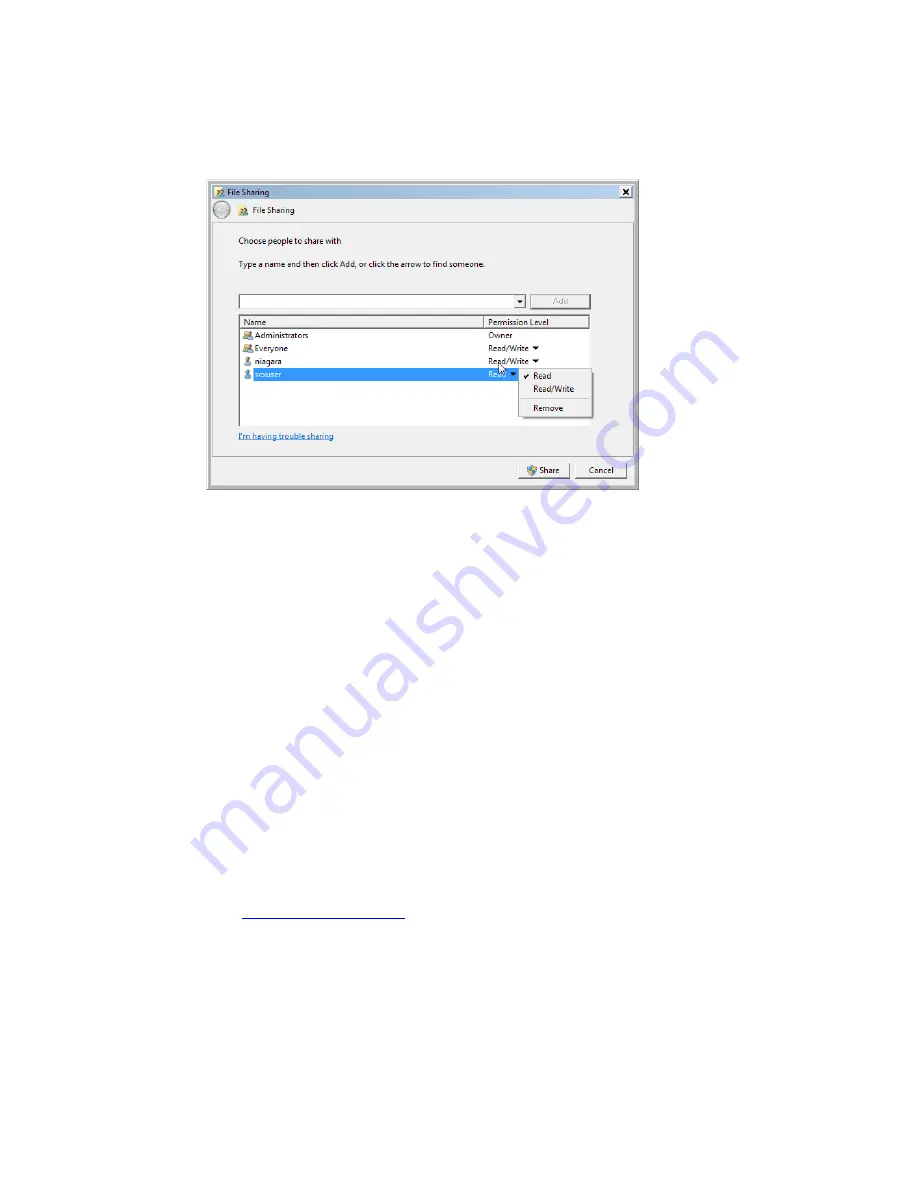
Use the drop-down list under permission level for this user and select Read/Write.
Figure 176. Read/Write permissions
10.
Click
Share
.
11.
Repeat steps 2 through 9 to add SCXUser to the Share Permissions.
12.
Click
Done
.
13.
Click
Close
to close the share properties.
To map the network drive:
Note: Create a mapped network drive to the remote shared folder that will reconnect at logon.
Once the mapped drive is created and the Niagara Pro II is rebooted, the user will be able to
export to the network drive.
1.
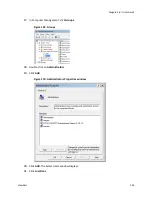
On the Niagara Pro II, open
Computer
.
2.
Under
Tools
, select
Map Network Drive
.
3.
Select a drive.
4.
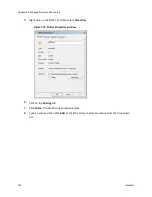
In the text box for folder, enter the network path to the shared folder on the remote PC (for
example,
\\DDSP052206\NPShare
).
5.
Make sure
Reconnect at logon
is enabled.
6.
Enable
Connect using different credentials
.
7.
Click
Finish
.
8.
Enter
SCXUser
as the
User name
and
viewcast
as the
Password
.
Summary of Contents for Niagara Pro II
Page 1: ......
Page 26: ......
Page 62: ...Advanced Operations 56 ViewCast...
Page 144: ......
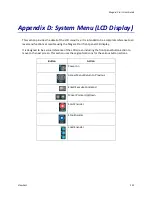
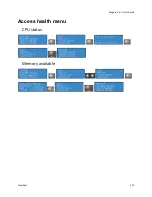
Page 163: ...Niagara Pro II User Guide ViewCast 157 Access health menu CPU status Memory available...
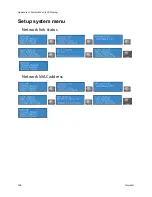
Page 165: ...Niagara Pro II User Guide ViewCast 159 View network settings Enable DHCP...
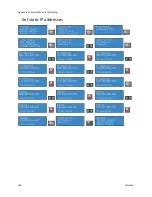
Page 166: ...Appendix D System Menu LCD Display 160 ViewCast Set static IP addresses...
Page 167: ...Niagara Pro II User Guide ViewCast 161 Set gateway address...
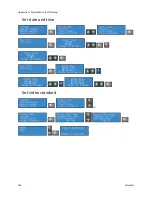
Page 168: ...Appendix D System Menu LCD Display 162 ViewCast Set date and time Set video standard x3...

