Niagara Pro II User Guide
ViewCast
27
11.
Press
Enter
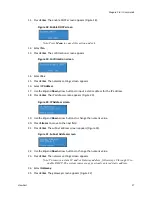
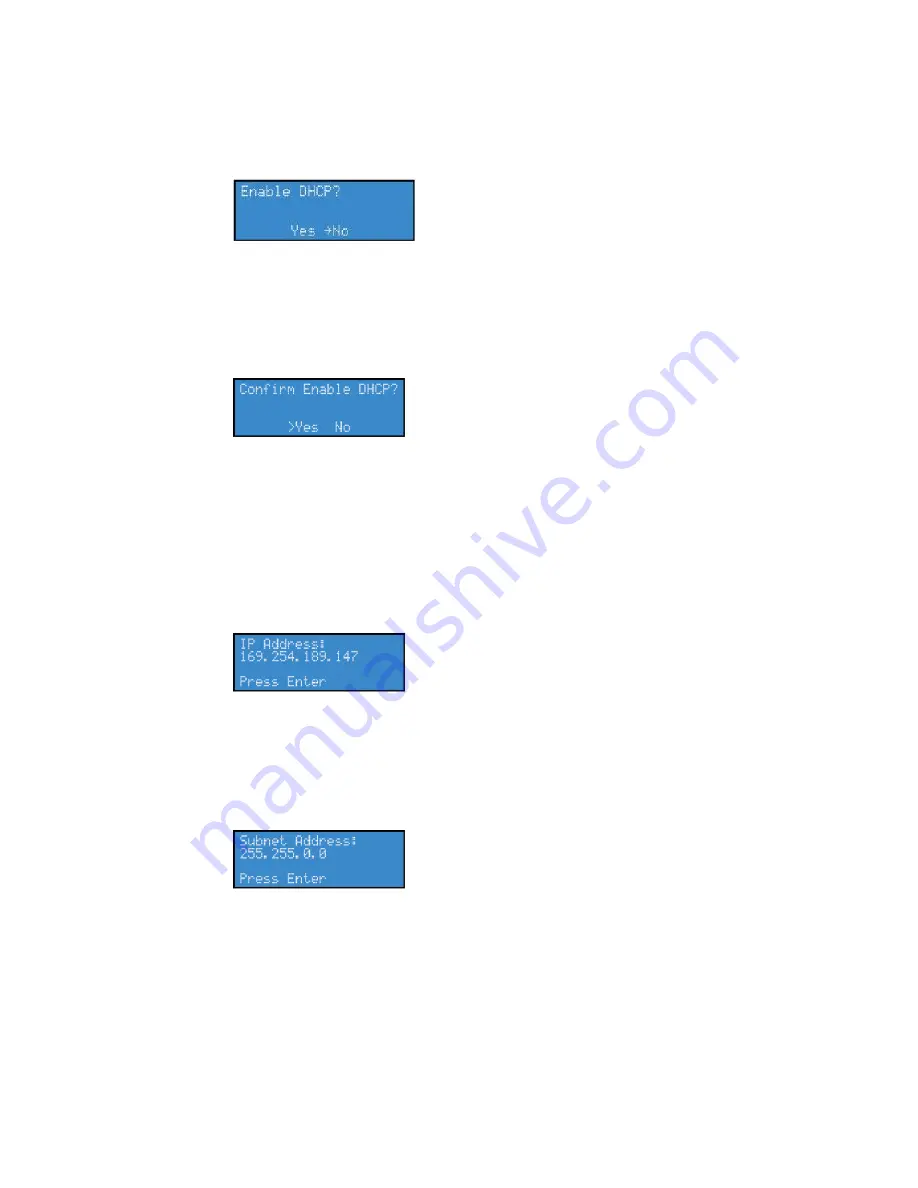
. The enable DHCP screen appears (Figure 18).
Figure 18. Enable DHCP screen
Note: Press
Menu
to cancel this action and exit.
12.
Select
No
.
13.
Press
Enter
. The confirmation screen appears.
Figure 19. Confirmation screen
14.
Select
Yes
.
15.
Press
Enter
. The network settings screen appears.
16.
Select
IP Address
.
17.
Use the
Up
and
Down
arrow buttons to input a static address for the IP address.
18.
Press
Enter
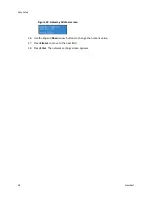
. The IP address screen appears (Figure 20).
Figure 20. IP Address screen
19.
Use the
Up
and
Down
arrow buttons to change the numeric value.
20.
Press
Stream
to move to the next field.
21.
Press
Enter
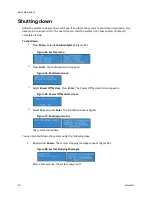
. The subnet address screen appears (Figure 21).
Figure 21. Subnet Address screen
22.
Use the
Up
and
Down
arrow buttons to change the numeric value.
23.
Press
Enter
. The network settings screen appears.
Note: To remove a static IP and/or Gateway address, follow steps 9 through 13 to
enable DHCP. The system removes any previously entered static address.
24.
Select
Gateway
.
25.
Press
Enter
. The gateway screen appears (Figure 22).
Summary of Contents for Niagara Pro II
Page 1: ......
Page 26: ......
Page 62: ...Advanced Operations 56 ViewCast...
Page 144: ......
Page 163: ...Niagara Pro II User Guide ViewCast 157 Access health menu CPU status Memory available...
Page 165: ...Niagara Pro II User Guide ViewCast 159 View network settings Enable DHCP...
Page 166: ...Appendix D System Menu LCD Display 160 ViewCast Set static IP addresses...
Page 167: ...Niagara Pro II User Guide ViewCast 161 Set gateway address...
Page 168: ...Appendix D System Menu LCD Display 162 ViewCast Set date and time Set video standard x3...


