Advanced Operations
38
ViewCast
3.
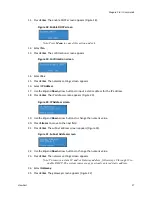
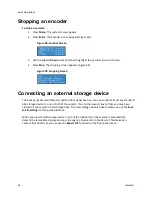
You can either:
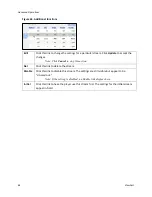
Type the system’s serial number in the Address bar (Figure 47).
Figure 47. Address Bar
Or
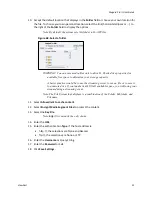
Type the IP address in the Address bar (Figure 48).
Figure 48. IP Address
Note: The IP address appears on the system ready screen when the system is idle.
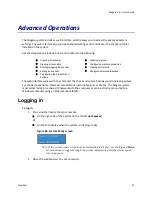
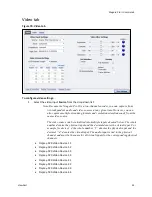
The Admin Log In window appears (Figure 49).
Figure 49. Admin Log In Window
4.
Type the
User
N
ame
and
Password
.
IMPORTANT! The setting to log in for the first time, defaults to the user name admin and
the password admin.
Note: System administrators should previously configure all user names and
passwords for those who they allow to log on to the system.
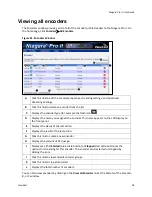
5.
Press
Login
. The
Welcome
window and
Menu
Bar
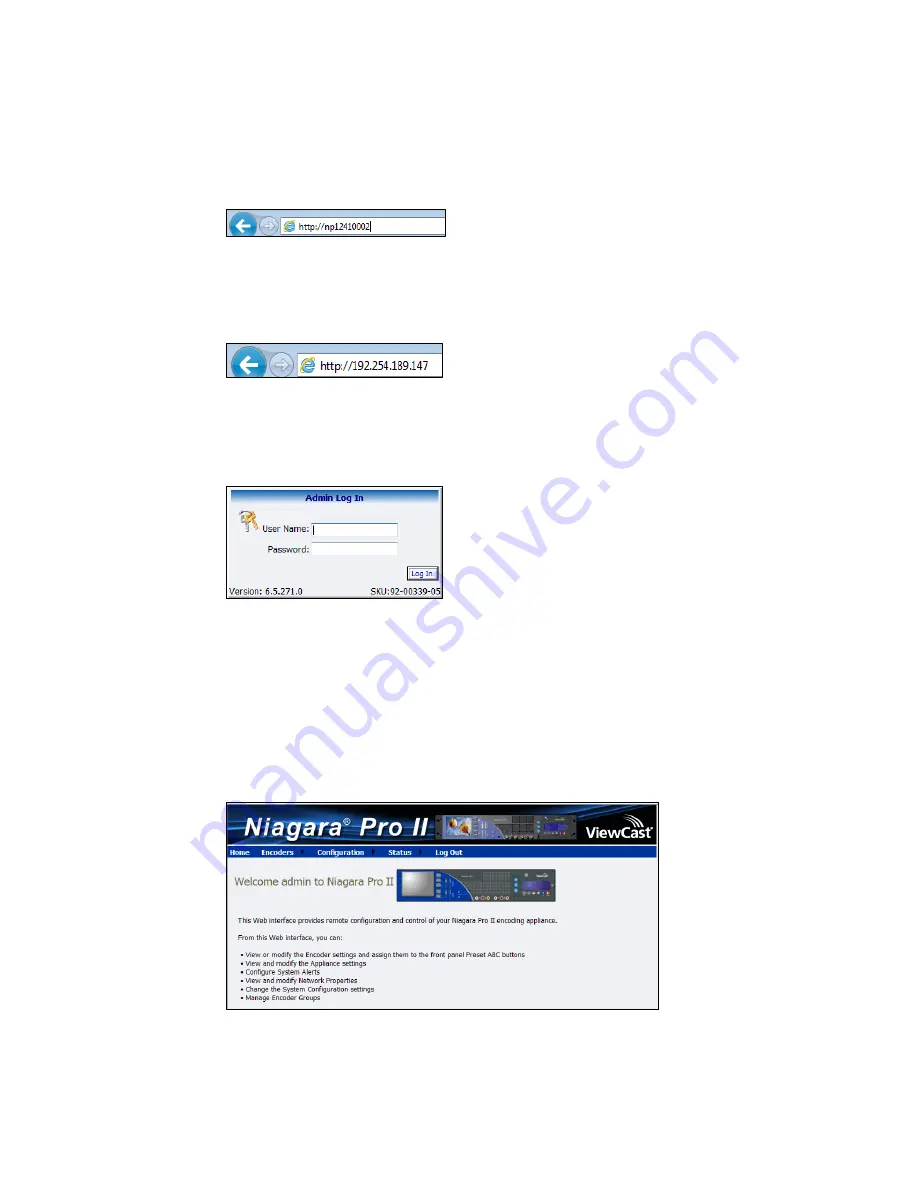
appear (Figure 50).
Figure 50. Welcome Window
Summary of Contents for Niagara Pro II
Page 1: ......
Page 26: ......
Page 62: ...Advanced Operations 56 ViewCast...
Page 144: ......
Page 163: ...Niagara Pro II User Guide ViewCast 157 Access health menu CPU status Memory available...
Page 165: ...Niagara Pro II User Guide ViewCast 159 View network settings Enable DHCP...
Page 166: ...Appendix D System Menu LCD Display 160 ViewCast Set static IP addresses...
Page 167: ...Niagara Pro II User Guide ViewCast 161 Set gateway address...
Page 168: ...Appendix D System Menu LCD Display 162 ViewCast Set date and time Set video standard x3...


