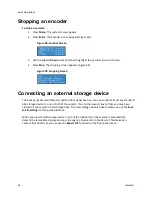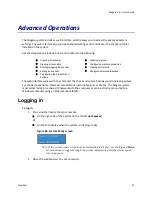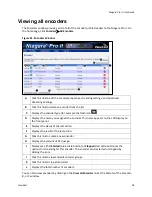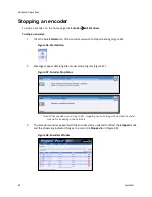
Niagara Pro II User Guide
ViewCast
45
SerialDigital
1394
3.
Select the
Proportions
setting from the drop-down list.
Standard
– Square pixels for a VGA monitor
CCIR601
– Elongated pixels for a TV monitor
4.
In the
Input
Size
field, select the pre-determined size of the encoded video from the drop-
down list.
Standard
Widescreen
Custom
You can also specify a custom size for your video. This customization is useful when you are
capturing video to be played on a mobile video-device that requires a non-standard size for
compatibility.
When you click
Custom
, two additional fields appear so you can enter the exact size you
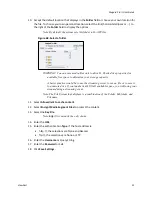
want the resulting video to be (Figure 61).
Note: The size in the
Width
and
Height
fields must be divisible by 2.
Figure 61. Custom fields
5.
Enter the seconds for the
GOP/Segment Length
.
6.
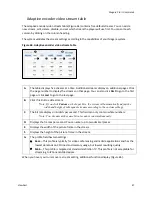
In the adaptive encoder video stream table, indicate which stream the player will use first
(see
Adaptive encoder video
stream table).
7.
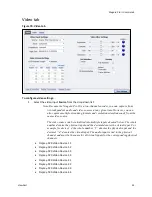
Drag the sliders to adjust the
Brightness
,
Contrast
,
Hue
, and
Saturation
(Figure 91).
Figure 62. Video Filter Settings
Note: Click
Restore
to the right of the filter to reset the settings to the default.
8.
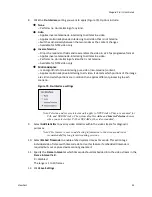
Click the
De-Interlace
setting you want to apply (Figure 63). Options include:
None
– Performs no de-interlacing of any kind.
Auto
– Applies inverse telecine de-interlacing to all telecine video.
Summary of Contents for Niagara Pro II
Page 1: ......
Page 26: ......
Page 62: ...Advanced Operations 56 ViewCast...
Page 144: ......
Page 163: ...Niagara Pro II User Guide ViewCast 157 Access health menu CPU status Memory available...
Page 165: ...Niagara Pro II User Guide ViewCast 159 View network settings Enable DHCP...
Page 166: ...Appendix D System Menu LCD Display 160 ViewCast Set static IP addresses...
Page 167: ...Niagara Pro II User Guide ViewCast 161 Set gateway address...
Page 168: ...Appendix D System Menu LCD Display 162 ViewCast Set date and time Set video standard x3...


