ViewSonic
VNB101
30
Connection Manager
1)
Connecting with the network via Wired LAN
You can go online automatically that the Notebook PC can auto search an IP
address to wired network connection with a DHCP server; otherwise, you can also
take the following operation:
Click the left button of the mouse on the icon
in the
right-bottom corner of the desktop and select “Connection
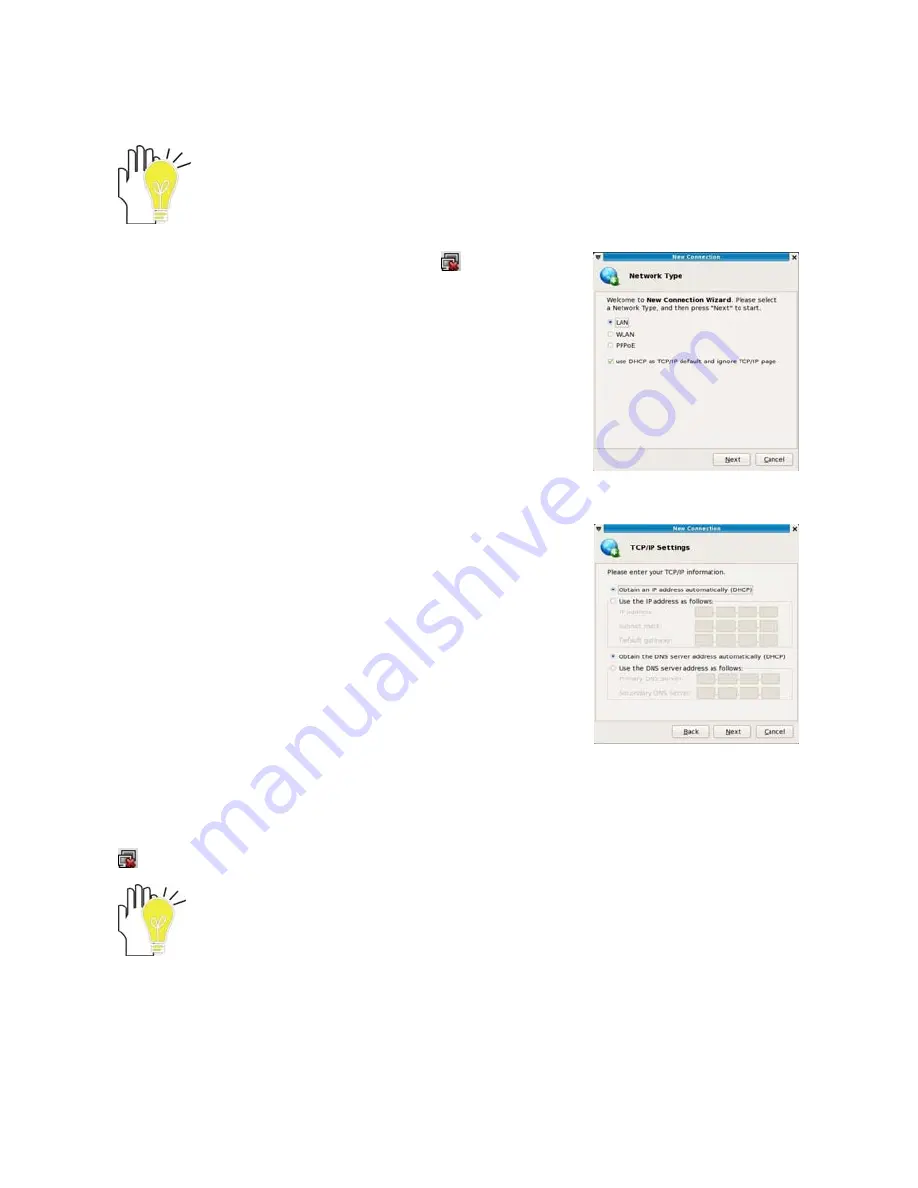
Manager” on the popup menu and select “New” to enter the
menu as shown right:
1.
On the above menu, click the mouse to tick “LAN” and click
the front panel of the item “use DHCP as TCP/IP default
and ignore TCP/IP page” to cancel the tick, then click “Next”
to enter the window of “TCP/IP Settings” as shown right:
On the menu, you need to input the IP addresses, subnet masks, default gateway, DNS
and etc, then click “Next” to enter the window of “Summary” to tick the item “Connect after
finish”, then the system will start connecting the network. After several seconds, click the icon
to check if the connecting is successful or not.
Contact your Internet service provider for more information about the setting of IP
and DNS.
Summary of Contents for VNB101
Page 55: ......


