7
Before Using Hood
Although the hood is cleaned upon completion of the manufacturing
process, you will probably need to clean your hood again after
installation. Wipe the surface of the hood with a good household
cleaner applied with a soft cloth, or stainless steel polish, depending
on the finish of your hood. This will leave a protective finish on the
hood.
6
CAUTION
DO NOT place flammable material on warming shelves
when using heat lamps.
Hood Operation
Always turn on your hood before you begin cooking to
establish airflow in the kitchen. Also let the blower run for a
few minutes to clear the air after you turn off your cooking
appliance. This will help keep the kitchen air cleaner.
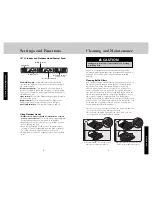
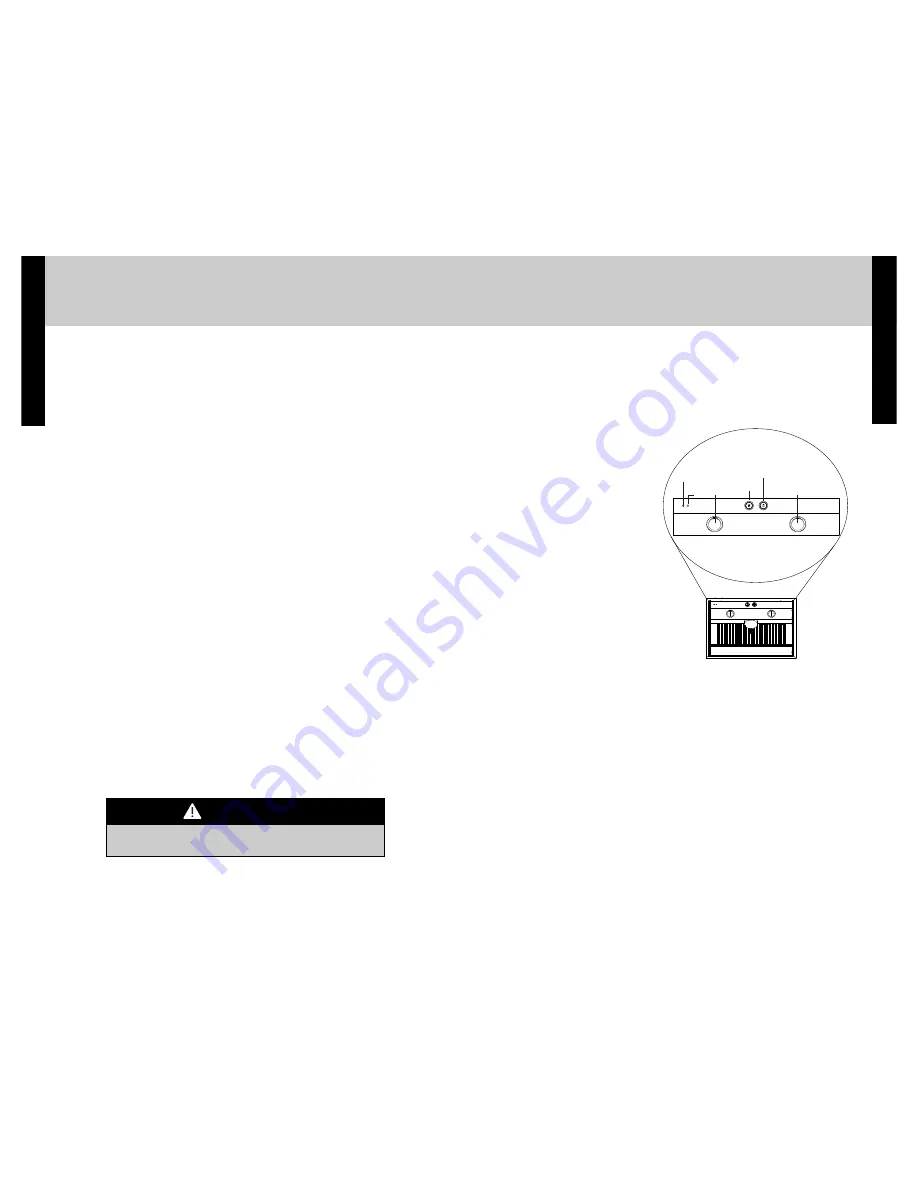
Indoor Hood Control Panel (All except 10” H.)
ON/OFF - Blower speed
knob
—Starts and stops the
blower. When turned on the
blower will operate at the
previous setting of the speed
control. Push in on the knob
to allow it to pop out. Turn
the knob clockwise to
increase the blower speed
and counter clockwise to
decrease speed. 0 is off, 1 is
lowest speed, and 4 or 5 is
the highest speed (depending
on the model). The type of
cooking you are doing will
dictate the speed of the
blower you use.
Light On/Off / Dimmer knob
—Controls the 8-watt LED
lights located in the front of
the hood. Push in on the
knob to allow it to pop out. Turn the knob clockwise to
brighten the halogen lights and counter clockwise to dim the
lights.. O is off, 1 is dimmest and 5 is the brightest.
Heat lamp switches
— Push to turn the heat lamps on and off.
Each professional 18” H. wall hood will be equipped with one
or two heat lamp outlets.
The 250-watt infrared bulbs are not
included and should be purchased locally.
Heat Lamp
Indicator
Light
Fan On/Off
Blower
Speed Knob
Light On/Off
Dimmer Knob
LED Light
LED Light
Heat Lamp
On/Off Switch
Table of Contents
Getting Started
Before Using Hood _ _ _ _ _ _ _ _ _ _ _ _ _ _ _ _ _ _ _ _ _ _ _ _ _ _ _ _ _ _ _ _
______________6
Product Controls/Operation
Settings and Functions _ _ _ _ _ _ _ _ _ _ _ _ _ _ _ _ _ _ _ _ _ _ _ _ _ _ _ _______________
7
Hood Operation _ _ _ _ _ _ _ _ _ _ _ _ _ _ _ _ _ _ _ _ _ _ _ _ _ _ _ _ _ _ _______________
8
Using Outdoor Models _ _ _ _ _ _ _ _ _ _ _ _ _ _ _ _ _ _ _ _ _ _ _ _ _ _ _ _ _ _ _ _ _ _ _ _ _ _ __
8
Product Care
Cleaning and Maintenance _ _ _ _ _ _ _ _ _ _ _ _ _ _ _ _ _ _ _ _ _ _ _ _
_____________9
Baffle Filters _ _ _ _ _ _ _ _ _ _ _ _ _ _ _ _ _ _ _ _ _ _ _ _ _ _ _ _ _ _ _ _ _ _ ______________
9
Charcoal Filters _ _ _ _ _ _ _ _ _ _ _ _ _ _ _ _ _ _ _ _ _ _ _ _ _ _ _ _ _ _ _ ____________________
10
Hood Canopy _ _ _ _ _ _ _ _ _ _ _ _ _ _ _ _ _ _ _ _ _ _ _ _ _ _ _ _ _ _ _ _ ____________________
11
Enamel Finish _ _ _ _ _ _ _ _ _ _ _ _ _ _ _ _ _ _ _ _ _ _ _ _ _ _ _ _ _ _ _ _ _ _ _ _ _ _ _ ______________
11
Stainless Steel Finish _ _ _ _ _ _ _ _ _ _ _ _ _ _ _ _ _ _ _ _ _ _ _ _ _ _ ______________
11
Ductless Venting Chamber _ _ _ _ _ _ _ _ _ _ _ _ _ _ _ _ _ _ _ _ ______________
12
Light Bulbs _ _ _ _ _ _ _ _ _ _ _ _ _ _ _ _ _ _ _ _ _ _ _ _ _ _ _ _ _ _ _ _ _ _ _ ______________
12
Service Information _ _ _ _ _ _ _ _ _ _ _ _ _ _ _ _ _ _ _ _ _ _ _ _ _ _ _ _ _ _ _ ______________
13
Warranty _ _ _ _ _ _ _ _ _ _ _ _ _ _ _ _ _ _ _ _ _ _ _ _ _ _ _ _ _ _ _ _ _ _ _ _ _ _ _ _ _ ______________
14
Settings and Functions
Getting Started
Getting Started


