background image

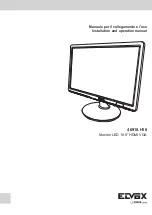
Manuale per il collegamento e l’uso 

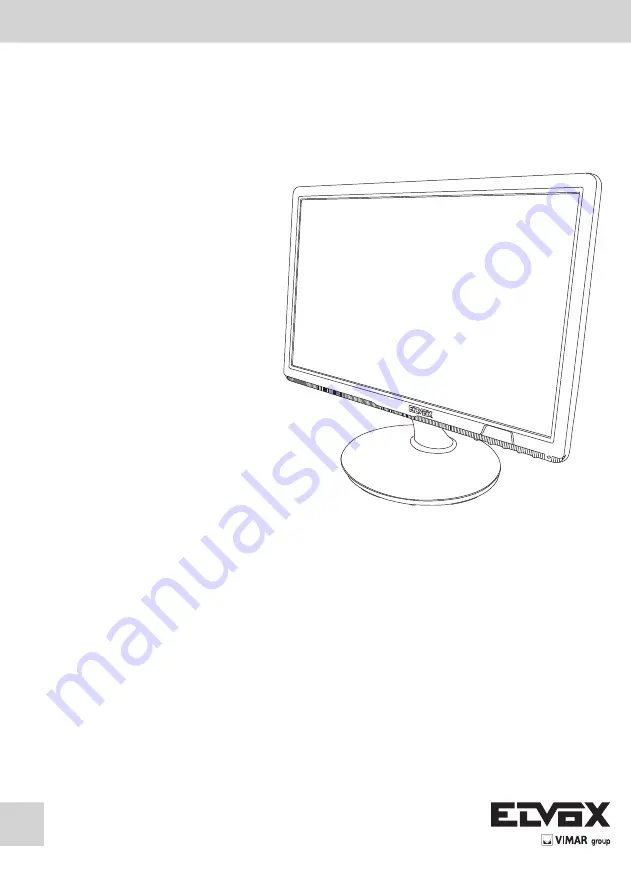
Installation and operation manual

46910.H18

Monitor LED 18,5” HDMI VGA

Summary of Contents for ELVOX 46910.H18

Page 1: ...Manuale per il collegamento e l uso Installation and operation manual 46910 H18 Monitor LED 18 5 HDMI VGA ...

Page 2: ...rizione del prodotto e tipo di uso 1 1 2 Apertura dell imballo 1 1 3 Avvertenza 1 2 Comando e regolazioni 3 2 1 Tasti di comando 3 3 Menu OSD 4 3 1 Luminosità 4 3 2 Immagine 4 3 3 Temperatura colore 5 3 4 Menu OSD 6 3 5 Reset 7 4 Specifiche del prodotto 8 ...

Page 3: ...avo VGA Manuale istruzioni Nota importante gli accessori possono essere cambiati senza preavviso 1 3 AVVERTENZE 1 3 1 ALIMENTAZIONE Utilizzare solo l alimentatore previsto per l apparecchio Controllare i valori nominali della rete elettrica prima di collegare l alimentatore Non tirare il cavo per staccare l apparecchio 1 3 2 PRECAUZIONI DI SICUREZZA Non esporre il prodotto a pioggia e umidità per ...

Page 4: ...asti Non coprire l apparecchio con un panno mentre sta funzionando per evitare di deformare l alloggiamento esterno e di surri scaldare le parti interne rischio d incendio scarica elettrica e guasto meccanico Tenere magneti e oggetti magnetizzati lontano dall apparecchio per evitare danni Non utilizzare l apparecchio in presenza di fumo vapore umidità polvere o forti vibrazioni Attendere un po pri...

Page 5: ...limentazione spenta Accesa blu Alimentazione accesa CONNETTORI DI ALIMENTAZIONE DC Inserire il cavo di alimentazione dell adattatore in dotazione nella rispettiva presa DC TASTO Power Viene utilizzato per accendere e spegnere il monitor Il LED blu si accende quando il monitor è acceso TASTI VOLUME Consentono di modificare il volume il tasto aumenta il volume il tasto abbassa il volume TASTO MENU E...

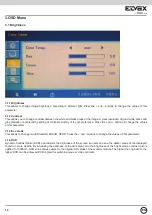
Page 6: ...ori di questo parametro 3 1 3 Modalità eco Consente di cambiare modalità Standard MOVIR SPOR Premere i tasti e per modificare i valori di questo parametro 3 1 4 DCR La funzione Dynamic Contrast Ratio DCR regola automaticamente la luminosità dello schermo in modo tale che si possano ve dere con maggior profondità le zone più scure del contenuto visualizzato Aumentando l oscurità delle zone scure e ...

Page 7: ...ata Premere i tasti e per spostare l immagine vertical mente 3 2 3 Clock Consente di regolare la posizione dell immagine visualizzata 3 2 4 Fase Per regolare la messa a fuoco dell immagine Consente di rimuovere qualsiasi disturbo orizzontale e di rendere più chiara o più nitida l immagine dei caratteri 3 2 5 Aspetto Consente di modificare il formato di visualizzazione delle immagini scegliendo fra...

Page 8: ...tazioni del colore fra le seguenti opzioni user 6500 9300 Premere i tasti e per modificare i valori di questo parametro 3 3 2 Rosso verde blu Regolando i valori di questi tre colori si ottengono le immagini che si preferiscono 3 4 Menu OSD 3 3 Temperatura colore ...

Page 9: ...schermo Premere i tasti e per modificare i valori di questo parametro 3 4 5 Trasparenza Consente di regolare la trasparenza del menu OSD 3 5 Reset 3 5 1 Fonte del segnale Consente il collegamento di un segnale HDMI o VGA Premere i tasti e per modificare i valori di questo parametro Reset Consente di ripristinare le impostazioni di fabbrica Tutte le impostazioni dell utente vengono cancellate Regol...

Page 10: ... risposta Tempo di salita 1 1 ms tip Tempo di discesa 3 9 tip Angolo di visualizzazione R L 170 tip U D 160 tip Profondità di colore 16 7 milioni di colori Rapporto d aspetto 16 9 Altoparlanti Nessun altoparlante Durata pannello 30 000 ore Interfaccia video HDMI VGA Interfaccia alimentazione DC IN X1 Certificazione Sicurezza EMC RAPPORTO CE Tipo di supporto DESKTOP Colore NERO Posizione tasti IN B...

Page 11: ...o quali vasi deve essere posto sull apparecchio L installatore deve as si cu rar si che le in for ma zio ni per l uten te siano pre sen ti sugli ap pa rec chi derivati Tutti gli apparecchi costituenti l impianto devono essere de sti na ti esclu si va men te all uso per cui sono stati con ce pi ti ATTENZIONE per evitare di ferirsi questo apparecchio deve essere assicurato al pavimento alla parete s...

Page 12: ...1 1 Product description and type of use 11 1 2 pening the box 11 1 3 Warning 11 2 Control and Settings 13 2 1 Control Keyboard 13 3 OSD Menu 14 3 1 Brightness 14 3 2 Image 15 3 3 Color Temp 16 3 4 OSD Menu 16 3 5 Reset 17 4 Product Specifications 18 EN ...

Page 13: ...tor Power unit 12VDC 3A Power cable VGA cable Instruction manual Important Note Accessories may be changed without prior notice 1 3 Warnings 1 3 1 Power Only use the power unit provided to power the device Check mains rating before plugging the power unit in Do not pull the cable to unplug the device 1 3 2 Safety precautions Keep the device away from rain and humidity to prevent risk of fire and e...

Page 14: ...is running to prevent deforming the external casing and overheating the internal parts risk of fire electrocution and mechanical failure Keep magnets and magnetized objects away from the device to prevent faults Do not use the device in presence of smoke vapor humidity dust or intense vibrations Wait for a while before operating a device immediately after transporting it from a cold place to a war...

Page 15: ...k Power off Lit blue Power on Power connector DC Plug the power wire of the adapter provided into the respective DC Power button This is used to switch the monitor on and off The blue LED lights up when the monitor is on while VOLUME BUTTONS They allow to change the volume button increases the volume button decreases the volume Menu button and confirm This is used to access and quit the OSD On Scr...

Page 16: ...o change the values of this parameter 3 1 3 Eco mode This allows to change mode Standard MOVIR SPOR Press the and buttons to change the values of this parameter 3 1 4 DCR Dynamic Contrast Ratio DCR auto adjusts the brightness of the screen so users can see the darker areas of the displayed content in more depths By increasing the darkness of the dark areas and the brightness of the bright areas co...

Page 17: ...Press the and buttons to vertically move the image 3 2 3 Clock This allows you to adjust the position of displaying image 3 2 4 Phase To adjust the focus of the display This item allows you to remove any horizontal noise and clear or sharpen the image of characters 3 2 5 Aspect This allows you to change the video format of the images among according to aspect ration of panel 4 3 wide Auto Press th...

Page 18: ...lor settings among the following options user 6500 9300 Press the and buttons to change the values of this parameter 3 3 2 Red Green Blue By adjusting the values of those three color you could get favorite images you wanted 3 4 OSD Menu 3 3 Color Temp EN ...

Page 19: ...time on the screen Press the and buttons to change the values of this parameter 3 4 5 Translucence This allows you to adjust transparency of OSD Menu 3 5 Reset 3 5 1 Signal Source This allows the connection of a HDMI or VGA signal Press the and buttons to change the values of this parameter Reset This allows you to reload the factory defaults All the user settings will be lost Auto Adjust It can a...

Page 20: ...000 1 Typ Brightness Luminance white Response Time Rise Time 1 1ms Typ Decay Time 3 9 Typ Viewing Angle R L 170 Typ U D 160 Typ Color depth 16 7M colors Aspect Ratio 16 9 Speakers No Speaker Panel Duaration 30 000 hour Video Interface HDMI VGA Power Interface DC IN X1 Safety EMC Certification CE REPORT Stand Type DESKTOP Colour BLACK Button Position RIGHT HAND DOWNSIDE Power Supply 12V DC 3 Amp Vo...

Page 21: ... only be used for the purposes designed WARNING to prevent injury this apparatus must be securely attached to the floor wall in accordance with the installation instructions This leaflet must always be enclosed with the equipment Directive 2002 96 EC WEEE The crossed out wheelie bin symbol marked on the product indicates that at the end of its useful life the product must be handled separately fro...

Page 22: ...20 ...

Page 23: ...21 ...

Page 24: ...Vimar SpA Viale Vicenza 14 36063 Marostica VI Italy Tel 39 0424 488 600 Fax Italia 0424 488 188 Fax Export 0424 488 709 www vimar com 49400692A0 00 14 05 VIMAR Marostica Italy ...

Reviews: