11
BNC inputs and BNC output
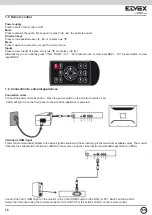
Each compound video input (AV1 , AV2) can be connected to the video signal from sources such as CCTV cameras, DVRs, etc.
The monitor has 2 BNC inputs to choose from.
The images of the last selected BNC input will appear on the BNC output.
Connect the BNC input on the monitor. Switch on the monitor
Select the BNC input using the controls SOURCE and CH+ /- (INPUT or remote control buttons; press AV once = BNC1, twice
for BNC2)
2. No synchronisation
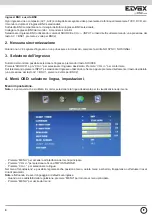
If there is no input signal or it cannot be synchronised, NO SYNC / NO SIGNAL appears on the screen:
3. Selecting the input
On the side of the monitor you can select the input by pressing SOURCE.
Press ”SOURCE” and then “CH+/-” to select the required input. Press “VOL +/-” to confirm.
On the remote control, press INPUT and select the input using the arrow keys or directly press the required button (press AV
once = BNC1, twice for BNC2).
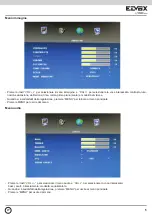
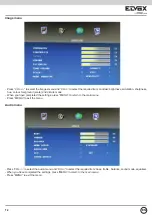
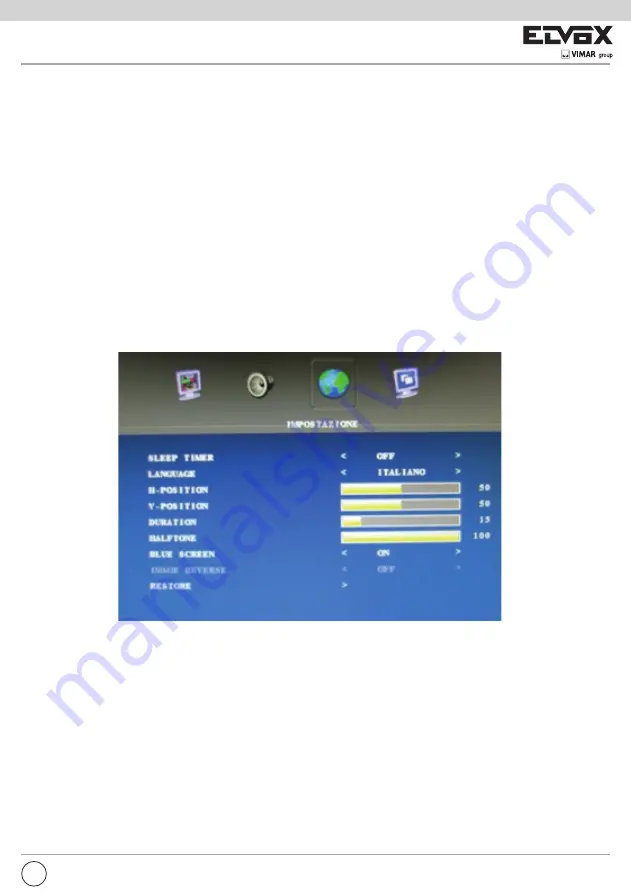
4. OSD menu: language settings, settings.
Settings menu.
Note
: When you use the monitor for the first time, select the required menu language.
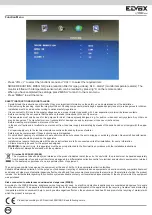
- Press ”MENU” to access the main menu interface.
- Press “VOL +/-” to select the SETTINGS icon.
- Press “CH+/-” to select the language.
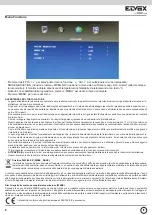
In the “settings” menu you can also adjust the menu position, menu on screen duration, transparency, or reset all parameters.
Note:
the default language of the reset is english.
- When you have completed the settings, press “MENU” to return to the main menu.
- Press “MENU” to exit the menu
EN


