background image


- 14 - 

Installer’s Instructions 


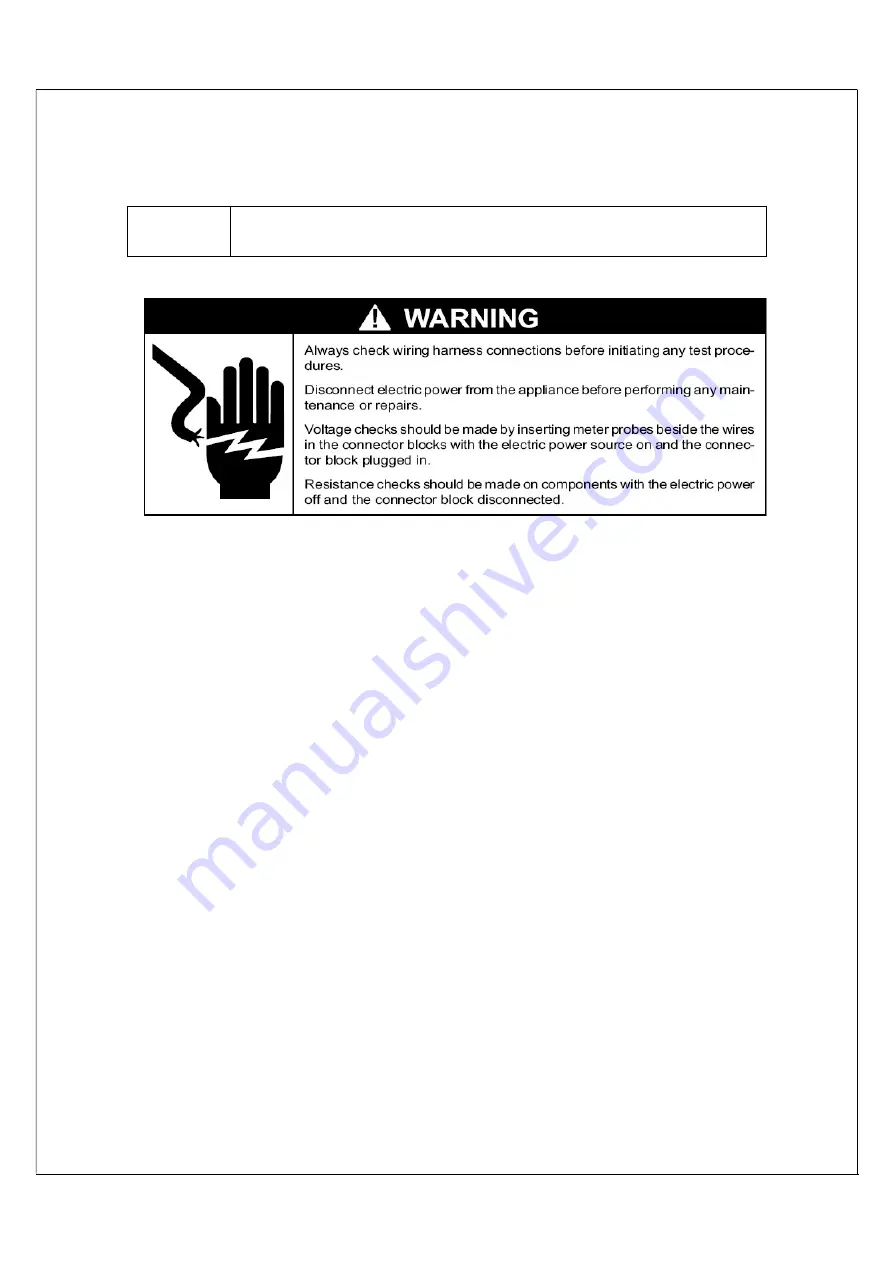
WARNING 

Do not use a ground fault interrupter (GFI). 
A dedicated circuit is required.


Federal law requires that WINE~MATE split cooling systems be 

installed by an EPA certified refrigeration technician. 


1.  General Instructions 


WINE~MATE  split  system  is  shipped  as  components  and  is  ready  for  use  only 
after a certified refrigeration technician has properly installed the system. Proper 
installation is critical. Vinotemp can  only  warrant  the  quality  of the components. 
The  installation  and  proper  operation  of  the  system  must  be  warranted  by  the 
installer. Installation of the system must be done in accordance with all state and 
local building and electrical codes.  
The  condensing  unit  and  evaporator  unit  are  connected  by  a  liquid  line  and  an 
insulated  suction  line  that  are  supplied  by  the  installer.  These  lines  must  be 
properly  sized  for  the  distance  between  the  two  units.  After  the  units  and  lines 
are  connected,  the  system  must  be  checked  for  restriction,  pressurization  and 
leak.  Then  the  system  must  be  evacuate  and  charged  with  refrigerant. 
Refrigerant amount will vary depending on the length of line set. 


Parts included: 
 

Temperature Controller 
Evaporator Unit (liquid line solenoid valve and expansion valve are installed) 
Condensing Unit (discharge, suction valves and pressure controls are installed) 
Liquid Filter 
Liquid Indicator 
 

Summary of Contents for Wine-Mate 2520SSW-LA

Page 1: ...A WM 4520SSW 4520SSW LA w ww ww w v vi in no ot te em mp p c co om m R Re ea ad d a an nd d s sa av ve e t th he es se e i in ns st tr ru uc ct ti io on ns s Vinotemp International Corp 17631 S Susana...

Page 2: ...1 Important Safety Information...

Page 3: ...2 Table of Contents Cellar Construction Guide 3 Features Specifications 4 Temperature Humidity 6 Care Guide 10 User Troubleshooting 11 Installer s Instructions 14 Electrical Wirings 25 Warranty 27...

Page 4: ...temperature surrounding the cellar shall not exceed the temperature of the cellar by more than 25 F No cellar walls shall receive direct sun or strong wind Lighting shall be of low wattage with a tim...

Page 5: ...wine like that in natural caves SSW evaporator units can be installed inside a wine rack or between two wall studs making them an idea choice for wine cabinets or small wine rooms as built in install...

Page 6: ...with R13 interior and R19 exterior insulations Higher ambient temperatures or lower insulations will cause reducing capacity and the cellar temperature may not be maintained at 55 F The specification...

Page 7: ...ock the keypad SET To enter in the programming mode SET To return to the temperature display 2 Lock and unlock the keys To lock the keys press up down keys until POF is displayed to unlock the keys pr...

Page 8: ...nstrument 2 Temperature Setting Set the temperature at 55 F for the optimum aging of wine On initial start up the time required to reach the desired temperature will vary depending on the quantity of...

Page 9: ...e regulation differential 4 AC anti short cycle delay min 10 hidden Con compress on with probe faulty min 15 CoF compress off with probe faulty min 30 CF temperature unit F C F Fahrenheit rES display...

Page 10: ...ative humidity Use a separate hygrometer to monitor the humidity 10 How to set alarm call 1 Speech notice will be sent to your phones when the cellar temperature is ALU higher or ALL lower than the se...

Page 11: ...ng Clean the condenser coil regularly Coil may need to be cleaned at least every 6 months Use a vacuum cleaner with an extended attachment to clean the coil when it is dusty or dirty 2 Condensate Remo...

Page 12: ...the wine temperature is around 57 0 5 F The air is light enough to change so quickly that it maintains relatively constant average temperature that would prevent wine bottle temperature from fluctuati...

Page 13: ...Post compressor fan running mode for humidity modulation a Reset FON 12 Evaporator fan running but condensing unit not running a Incorrect or loose wirings b Failed components c Low refrigerant a Che...

Page 14: ...difier c Increase air flow or raise temperature setting 19 Circuit tripping a Incorrect fuse or breaker b Incorrect wirings c Failed components a Check for proper fuse or breaker b Check for wirings a...

Page 15: ...Installation of the system must be done in accordance with all state and local building and electrical codes The condensing unit and evaporator unit are connected by a liquid line and an insulated suc...

Page 16: ...x H Electrical Rating Evap Unit Cond Unit Min Circuit Ampacity Weight lb Evap Unit Cond Unit WM 2520SSW WM 252SFCW 16 x 5 1 2 x 36 x 34 WM 252SCUR 18 x 14 x 12 220V 50Hz 4A 220V 50Hz 3A 10A 30 40 WM...

Page 17: ...ir return area 3 Evaporator Unit Location 1 The WM252 452SFCW evaporator units shall be installed for wall mount with the air supply on the top side and air return on the bottom side It can be install...

Page 18: ...higher than 110 F or lower than 50 F 3 Leave minimum 5 ft clearance for the air exhaust side and leave minimum 1 foot clearance for the ambient air intake side 5 Refrigeration Piping and Leak Testing...

Page 19: ...or If the elevation difference is more than 10 ft use both inverted U trap and suction accumulator 4 If the condensing unit is located more than 10 ft above the evaporator unit use U trap to aid oil r...

Page 20: ...e compressor after the condensing unit has been powered for 12 hours 1 Turn both discharge and suction valves in the middle positions 2 Connect the manifold high or low pressure hose to the discharge...

Page 21: ...ressure setting Cut out 5 psig Cut in 25 psig Differential 20 psig Head pressure setting Cut out 230 psig Cut in 150 psig Differential 80 psig It is necessary to adjust the setting in the field to rea...

Page 22: ...ng Cut in 170 psig Cut out 110 psig Differential 60 psig Fig 11 Condenser Fan Cycle Control 2 A fan speed control may be used to adjust the air flow to achieve the specified CFM The fan will run from...

Page 23: ...first to see if the refrigerant charge is sufficient If the charge is not sufficient add more refrigerant Liquid must always be charged into the hide side when the compressor runs If the charge is goo...

Page 24: ...High superheat and normal to high subcooling 12 Low suction pressure and normal head pressure High superheat and normal subcooling 13 Low suction pressure and high head pressure High superheat and hi...

Page 25: ...d components 4 Low pressure switch shutting down the system 5 high pressure switch shutting down the system 1 Check for proper voltage 2 Check all wirings and connections 3 Check start relay start cap...

Page 26: ...he field wirings Use minimum 14 gauge wires for power lines If equipped with low ambient condition kit use low ambient temperature wiring diagrams A safety switch is always recommended for the condens...

Page 27: ...26 Fig 14 WM 2520 4520SSW LA Electrical Wiring Diagram...

Page 28: ...ties express or implied including any of fitness for a particular purpose In no event shall VINOTEMP be responsible for any consequential damages what is so ever Any modification of VINOTEMP products...

Page 29: ...USE OF THE UNIT LOSS OF TIME OR COMMERCIAL LOSS ANY OUTER DAMAGES WHETHER INCIDENTAL CONSEQUENTIAL OR OTHERWISE THIS WARRANTY IS EXCLUSIBE AND IS IN LIEU OF ALL OTHER WARRANTIES EXPRESSED OR INPLIED...

Reviews: