- 22 -
5) Attach the insulated ducts to the hoods with adhesive tapes.
6) Secure the ducts with conduits to the wine cellar ceiling and exterior walls and
make sure they are not curled, twisted, bent and clogged.
7) Install an air filter at the rear of the cooling unit.
8) Plug the unit into a properly grounded and dedicated outlet of adequate
capacity.
9) Turn on the high condenser fan switch.
10) Turn the evaporator fan control knob counter-clockwise to achieve the
required air flow CFM.
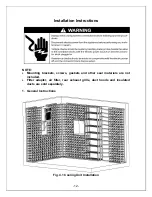
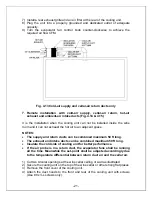
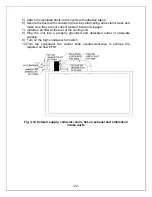
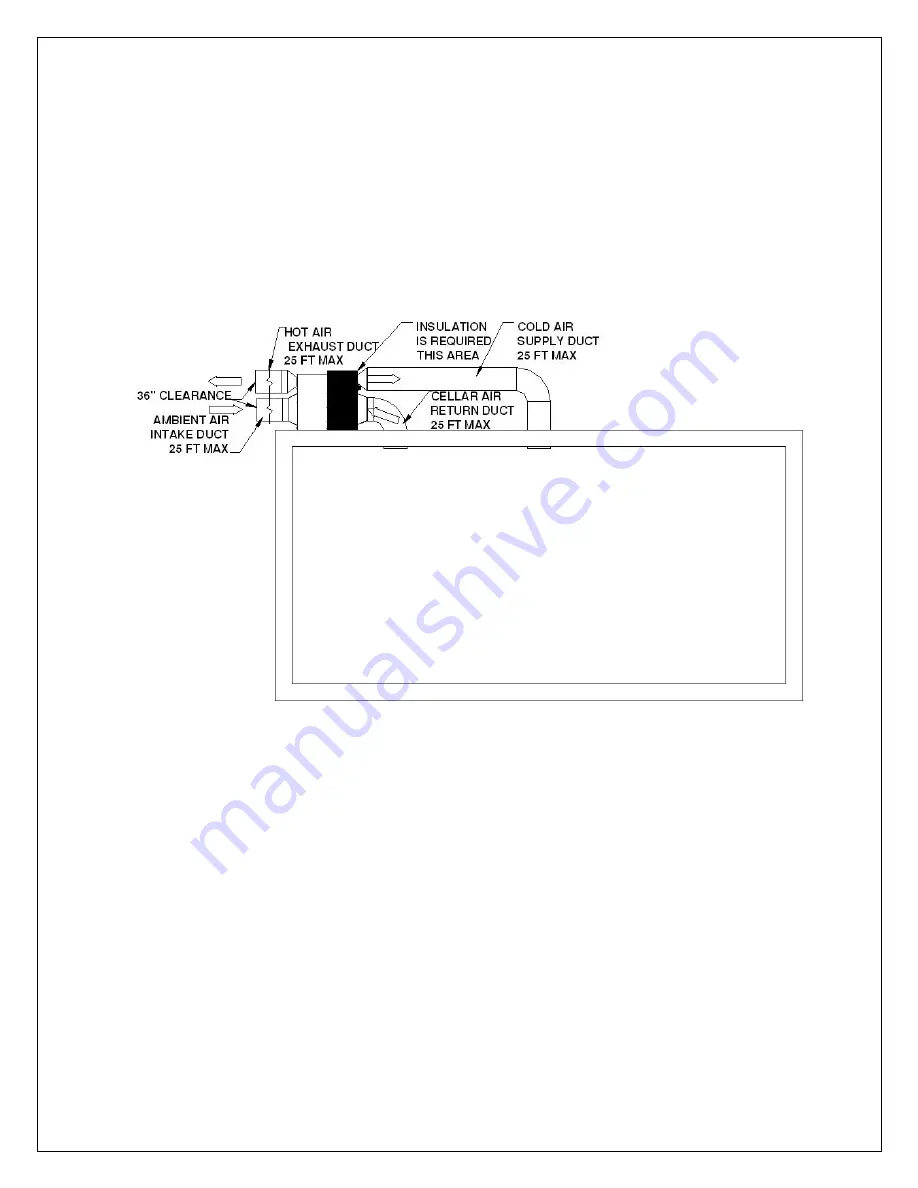
Fig. 4.14 Cold-air supply, cellar-air return, hot-air exhaust and ambient-air
intake ducts
Summary of Contents for Wine-Mate WM-4510HZD
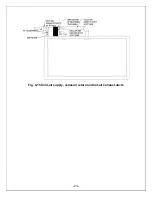
Page 24: ...23 Fig 4 15 Cold air supply cellar air return and hot air exhaust ducts...
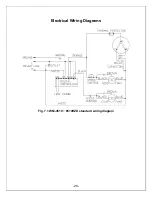
Page 29: ...28 Electrical Wiring Diagrams Fig 7 1 WM 4510 8510HZD standard wiring diagram...
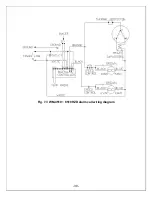
Page 30: ...29 Fig 7 2 WM 4510 8510HZD crankcase heater wiring diagram...
Page 31: ...30 Fig 7 3 WM 4510 8510HZD alarm call wiring diagram...
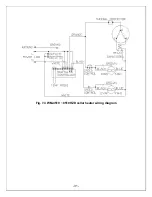
Page 32: ...31 Fig 7 4 WM 4510 8510HZD cellar heater wiring diagram...
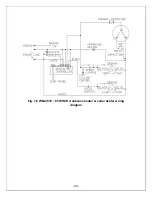
Page 33: ...32 Fig 7 5 WM 4510 8510HZD crankcase heater alarm call wiring diagram...
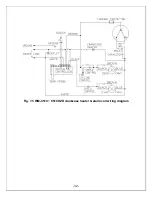
Page 34: ...33 Fig 7 6 WM 4510 8510HZD crankcase heater cellar heater wiring diagram...
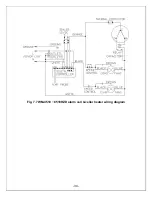
Page 35: ...34 Fig 7 7 WM 4510 8510HZD alarm call cellar heater wiring diagram...
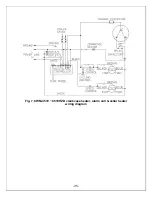
Page 36: ...35 Fig 7 8 WM 4510 8510HZD crankcase heater alarm call cellar heater wiring diagram...

