ADVANCED FUNCTIONS AND OPERATIONS : Setting the Registration Mark Mode (Option)
6-26
4
If you press the
F4
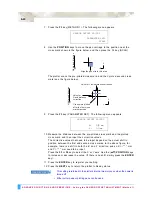
key (MANUAL), the following message appears.
Use the
POSITION
keys to move the pen tip to MARK 1 (Point 1), and then
press the
ENTER
key.
When Point 1 has been scanned, move the pen tip to MARK 2 (within the Point
2 area) then to MARK 3 (within the Point 3 area), and finally to MARK 4 (within
the Point 4 area), and perform the same operation as for Point 1.
5
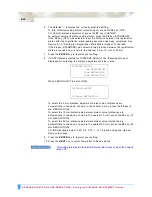
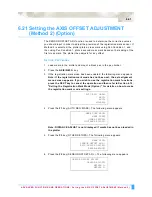
When all four points have been scanned automatically or manually, the display
changes to the following (only displayed if OFF has been selected for
DISTANCE ADJUST). The measured value for the distance between points 1
and 2 is shown in the 3rd row. Set the actual distance in the 4th row.
Use the (
▲▼
) POSITION keys to increase or decrease the value.
6
Press the
ENTER
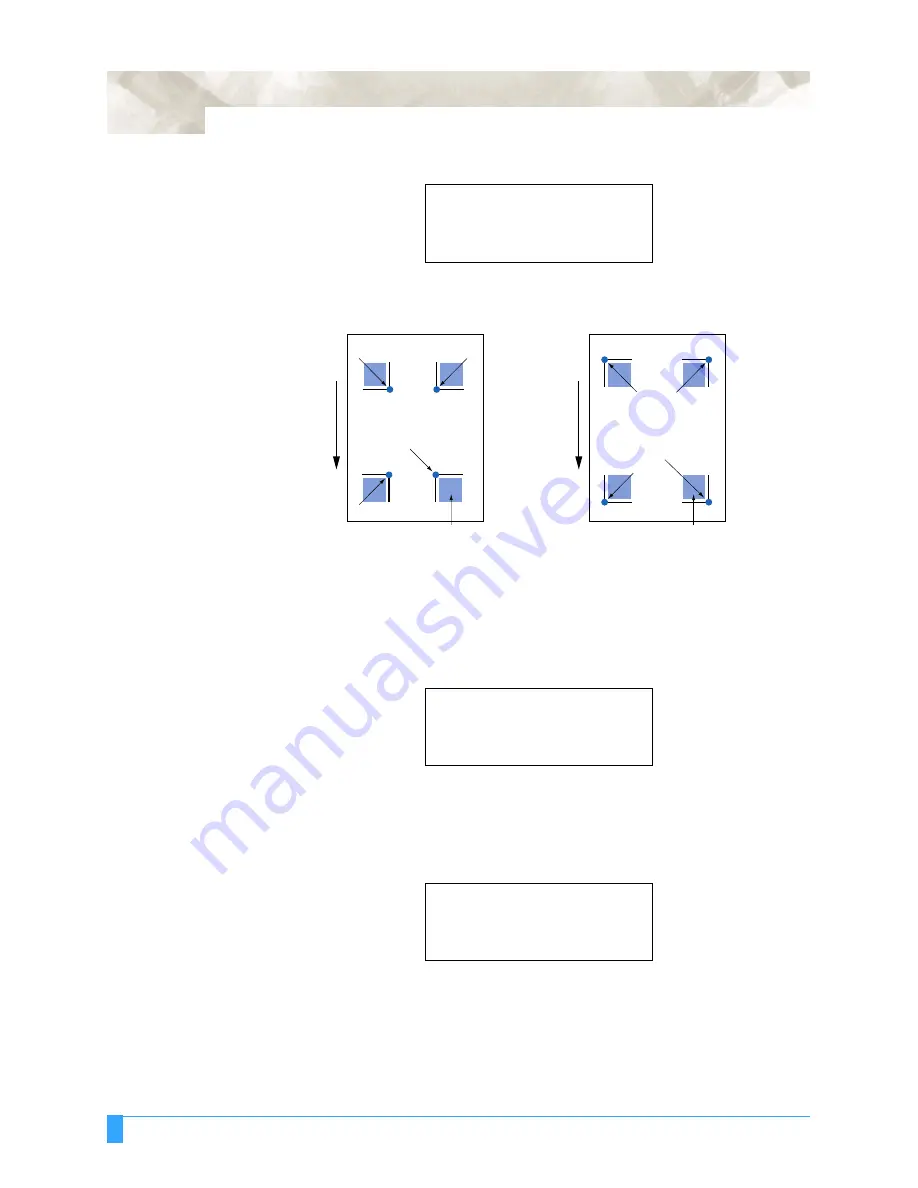
key to register your setting. The display changes to the
following (only displayed if OFF has been selected for DISTANCE ADJUST).
The measured value for the distance between points 1 and 3 is shown in the
3rd row. Set the actual distance in the 4th row.
Use the (
▲▼
) POSITION keys to increase or decrease the value.
7
Press the
ENTER
key to register your setting.
8
When adjustment has been completed, the plotter returns to Ready status.
MOVE TO MARK 1
USE THE POSITION KEY
TO MOVE THE PEN AND
THEN PRESS ENTER!!
DISTANCE
POINT 1-2
00099.8 mm
OK?
00100.0 mm
DISTANCE
POINT 1-3
00101.1 mm
OK?
00100.0 mm
Point 3
Point 4
Point 2
Point 3
Registration mark pattern 1
Media feed direction
Registration mark pattern 2
Point 1 (the desired
Origin Point)
Point 1 (the desired
Origin Point)
Move the pen tip within this area
Point 4
Point 2
Move the pen tip within this area
Summary of Contents for Q100
Page 34: ...Cutter Blades and Cutter Pens Adjusting the Blade Length 2 6 ...
Page 64: ...Pen Setting Conditions Adjusting the Blade Length 4 12 ...
Page 140: ...ADVANCED FUNCTIONS AND OPERATIONS Selecting the Type of Perforated Line 6 62 ...
Page 148: ...OPTIONS Pen Offset for 2 pen models only 7 8 ...
Page 174: ...INTERFACES COMMAND Settings 10 8 ...


