ADVANCED FUNCTIONS AND OPERATIONS : AXIS ALIGNMENT Settings
6-48
14 The plotter returns to Ready status, and the axis alignment operation is
completed.
• After the axes are aligned, the settings will be reset if any of the following is
performed.
-
Specification of a new origin
-
Loading of a new medium
-
ROTATE and/or MIRROR settings are made (make these settings before
performing axis alignment)
•
If the axis is slanted too much between points 1 and 2, or between points 1 and
3, the “AXIS SETTING ERROR SET AGAIN” error message is displayed.
Reload the media to reduce the axis slant.
•
If points 1 and 2 are specified as the same point, the axis alignment settings
are cleared.
CAUTION:
If the media is loaded at an angle, make sure that it does not come loose from
the pinch rollers while it is being moved.
4-
POINT
METHOD
1
Load a medium with a pre-printed image.
2
Specify Off for the registration mark mode (see Section 6.12, “Setting the
Registration Mark Mode (Option)”.
3
Select 4POINT for the axis alignment method (see Section 6.22, “Selecting the
Axis Alignment Method”).
4
Press the
AXIS/R.M.S.
key. The following menu appears.
5
Use the
POSITION
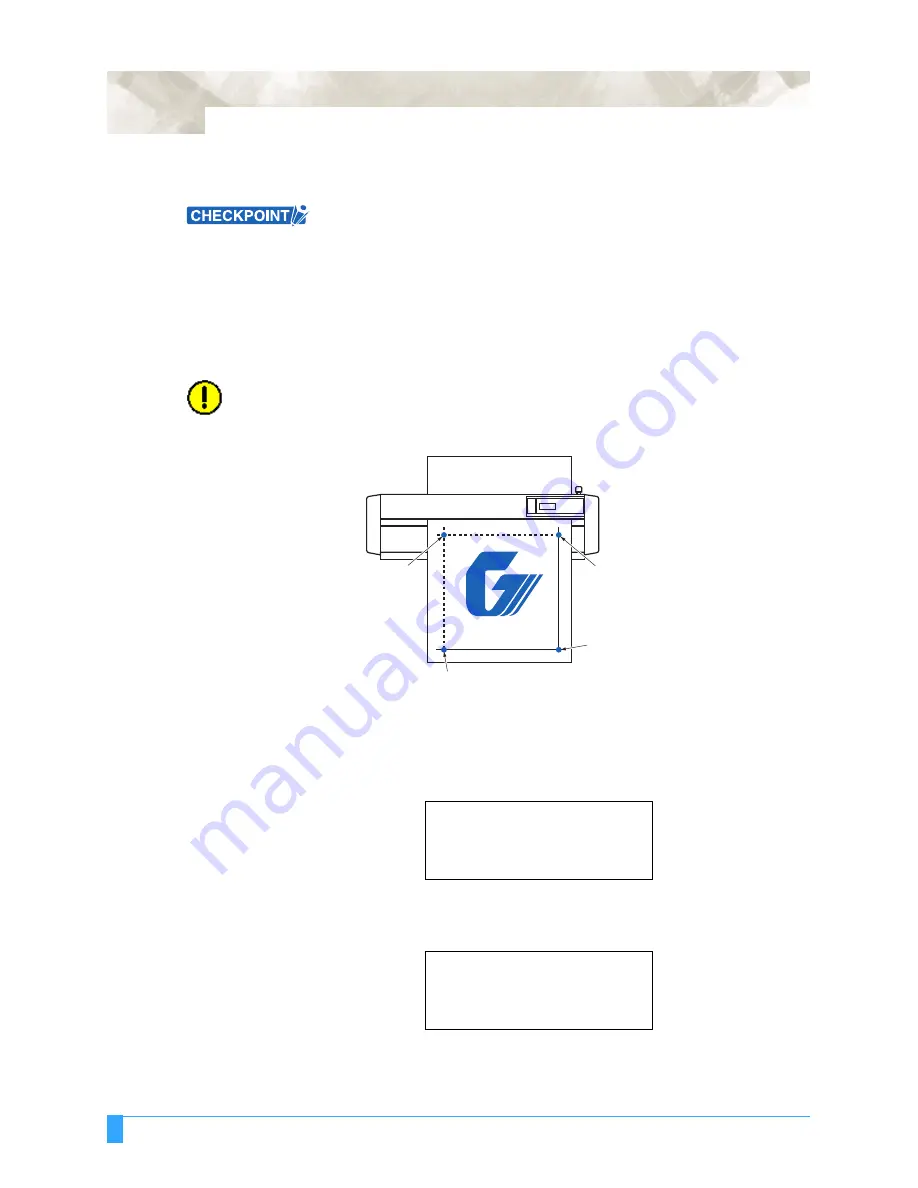
keys to move the pen carriage to Axis Point 1. The
displayed X- and Y-coordinate values represent the current pen carriage
position as X- and Y-axis offsets from the current origin.
6
Press the
ENTER
key to register the setting. The following menu appears.
7
Use the
POSITION
keys to move the pen carriage to Axis Point 2.
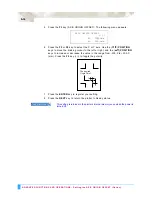
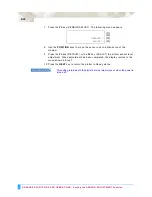
AXIS POINT 1
X=
0 mm
Y=
0 mm
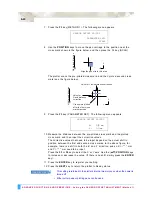
AXIS POINT 2
X=
0 mm
Y=
0 mm
1st point or origin point
2nd point
4th point
3rd point
Summary of Contents for Q100
Page 34: ...Cutter Blades and Cutter Pens Adjusting the Blade Length 2 6 ...
Page 64: ...Pen Setting Conditions Adjusting the Blade Length 4 12 ...
Page 140: ...ADVANCED FUNCTIONS AND OPERATIONS Selecting the Type of Perforated Line 6 62 ...
Page 148: ...OPTIONS Pen Offset for 2 pen models only 7 8 ...
Page 174: ...INTERFACES COMMAND Settings 10 8 ...

