BACK GROUND SETTINGS: Setting the Background Settings
8-5
8.2 Setting the Background Settings
S
ETTING
P
ROCEDURE
1
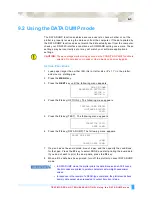
Use the following procedure to display the background setting menus.
Load media in the plotter, and then turn on the power. Press the
MENU
key
and then press the
NEXT
key until the following menu appears.
Press the
F2
key (BACKGROUND SETTINGS) to enter the setting mode.
2
Press the
NEXT
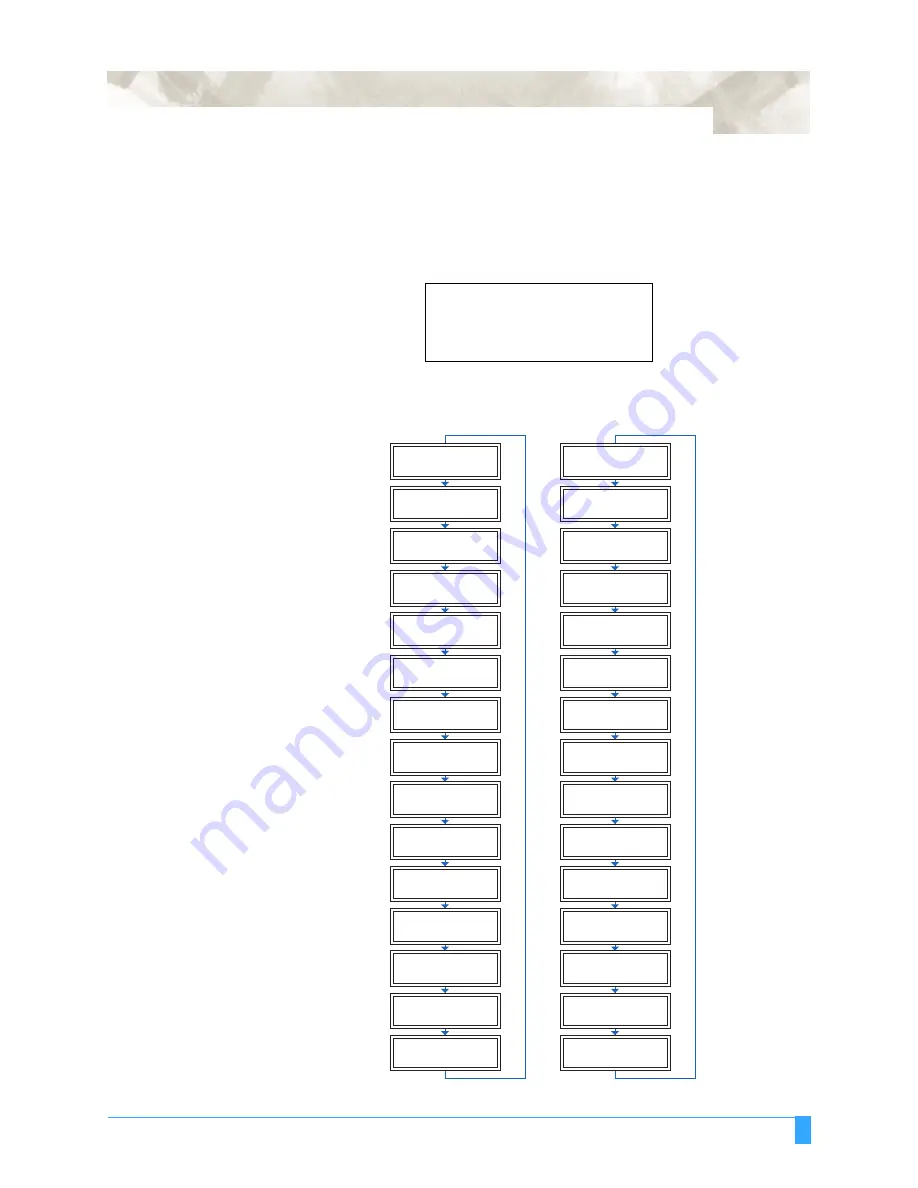
key to move through the BACKGROUND SETTINGS menus in
the displayed sequence.
PEN UP/DOWN>
BACKGROUND SETTINGS>
OPTION 1>
OPTION 2>
GP-GL
Background Settings
*2-Pen Model
*2-Pen Model
*2-Pen Model
*2-Pen Model
LANGUAGE SELECTION
[ JAPANESE ]
COMMAND ; AND :
ENABLED *
DISABLED
"W" COMMAND
PEN UP
PEN DOWN*
CONDITION PRIORITY
MANUAL*
PROGRAM
INITIAL BLADE
CONTROL POSITION
2mm BELOW *
OUTSIDE
LENGTH UNIT
INCH
METRIC*
PEN UP MOVE
ENABLED *
DISABLED
MEDIA SENSOR
ENABLED *
DISABLED
PINCH ROLLER SENSOR
ENABLED *
DISABLED
CROSS CUT PRESSURE
30
CHECK PEN
ENABLED *
DISABLED
FAN POWER
WEAK
NORMAL*
BEEP
FOR KEY OPERATION
OFF
ON*
MARK AUTO SCAN
ON
O F F *
LANGUAGE SELECTION
[ JAPANESE ]
MODEL EMULATED
7550*
7586
CONDITION PRIORITY
MANUAL*
PROGRAM
PEN SELECT
ENABLED*
DISABLED
PEN SELECT
ENABLED
DISABLED
INITIAL BLADE
CONTROL POSITION
2mm BELOW*
OUTSIDE
LENGTH UNIT
INCH
METRIC *
PEN UP MOVE
ENABLED
DISABLED *
MEDIA SENSOR
ENABLED*
DISABLED
PINCH ROLLER SENSOR
ENABLED*
DISABLED
CIRCLE RESOLUTION
AUTO
DEFAULT*
CROSS CUT PRESSURE
30
CHECK PEN
ENABLED *
DISABLED
FAN POWER
WEAK
NORMAL*
BEEP
FOR KEY OPERATION
OFF
ON*
MARK AUTO SCAN
ON
O F F*
HP-GL
TM
Background Settings
*: OPTION
*
*
Summary of Contents for Q100
Page 34: ...Cutter Blades and Cutter Pens Adjusting the Blade Length 2 6 ...
Page 64: ...Pen Setting Conditions Adjusting the Blade Length 4 12 ...
Page 140: ...ADVANCED FUNCTIONS AND OPERATIONS Selecting the Type of Perforated Line 6 62 ...
Page 148: ...OPTIONS Pen Offset for 2 pen models only 7 8 ...
Page 174: ...INTERFACES COMMAND Settings 10 8 ...


