Pen Setting Conditions: Adjusting the Blade Length
4-10
4.5 Adjusting the Blade Length
Test cutting must be performed several times in order to confirm the optimal blade
length setting. However, if the blade length adjustment function is used, the
optimal length can be easily set.
T
EST
C
UTTING
P
ROCEDURE
1
Load the media for test cutting in the plotter.
2
Press the
F1
to
F3
key that corresponds to the number of the setting area (the
condition number) for which you wish to perform test cutting.
3
Press the
TEST
key. The following test mode menu appears.
4
Use the
POSITION
keys to move the pen carriage to the position for test
cutting.
5
Press the
F1
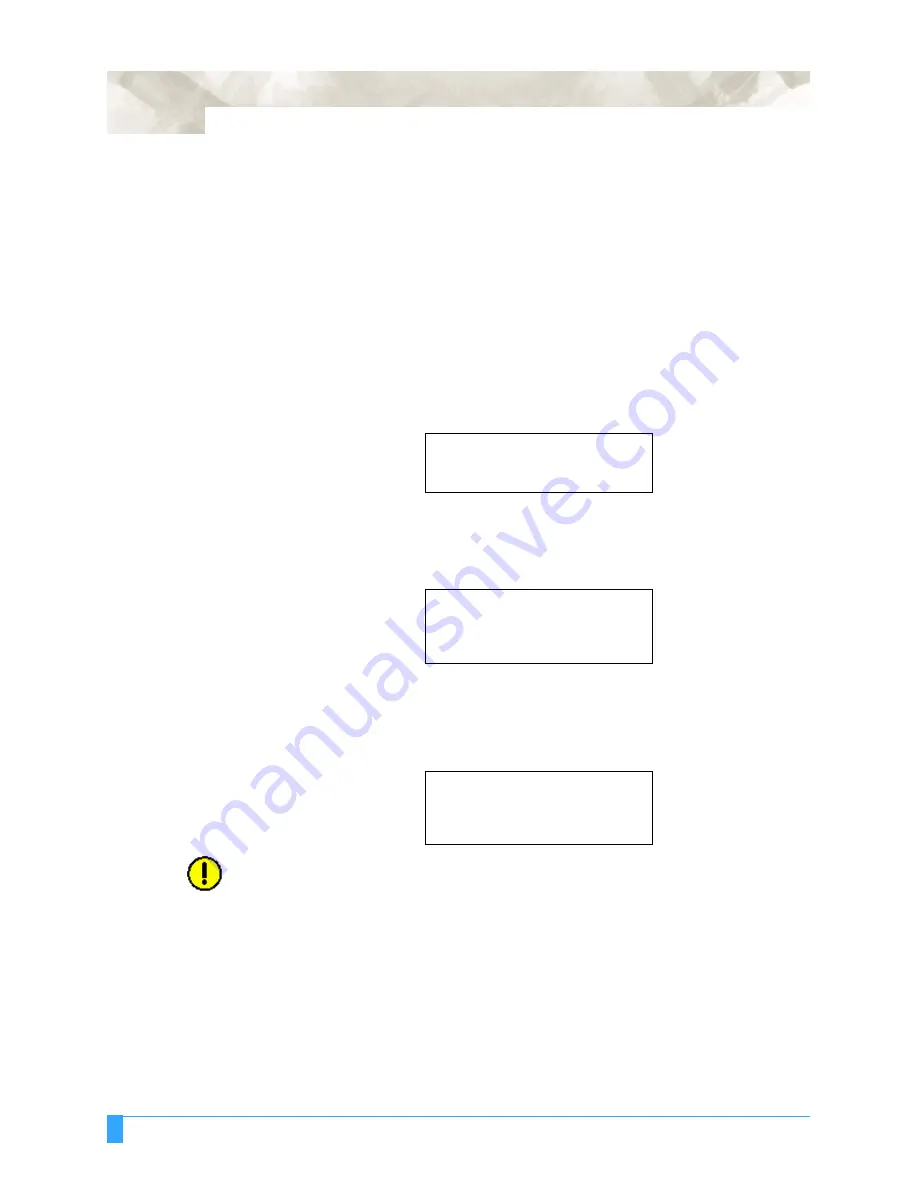
key (BLADE ADJUST). The following menu appears.
6
As instructed, turn the blade length adjustment knob to the left to fully retract
the blade, and then press the
ENTER
key. The pen holder moves up and down
three times, and then the cutter blade is detected while it is at the zero point
(the Down position). The following prompt appears.
CAUTION:
The cutter pen starts moving as soon as a cutting test is selected. Keep your
hands, face and other objects out of the vicinity of any moving parts.
BLADE ADJUST>
TEST 1>
TEST 2>
TURN THE BLADE KNOB CCW
TO SHORTEN BLADE TIP
THEN
PRESS ENTER KEY!
1 TURN OF BLADE KNOB
IN CW DIRECTION
EXTENDS 0.5 mm
0.000 mm
CHECK>
Summary of Contents for Q100
Page 34: ...Cutter Blades and Cutter Pens Adjusting the Blade Length 2 6 ...
Page 64: ...Pen Setting Conditions Adjusting the Blade Length 4 12 ...
Page 140: ...ADVANCED FUNCTIONS AND OPERATIONS Selecting the Type of Perforated Line 6 62 ...
Page 148: ...OPTIONS Pen Offset for 2 pen models only 7 8 ...
Page 174: ...INTERFACES COMMAND Settings 10 8 ...


