Maintenance
4
Note:
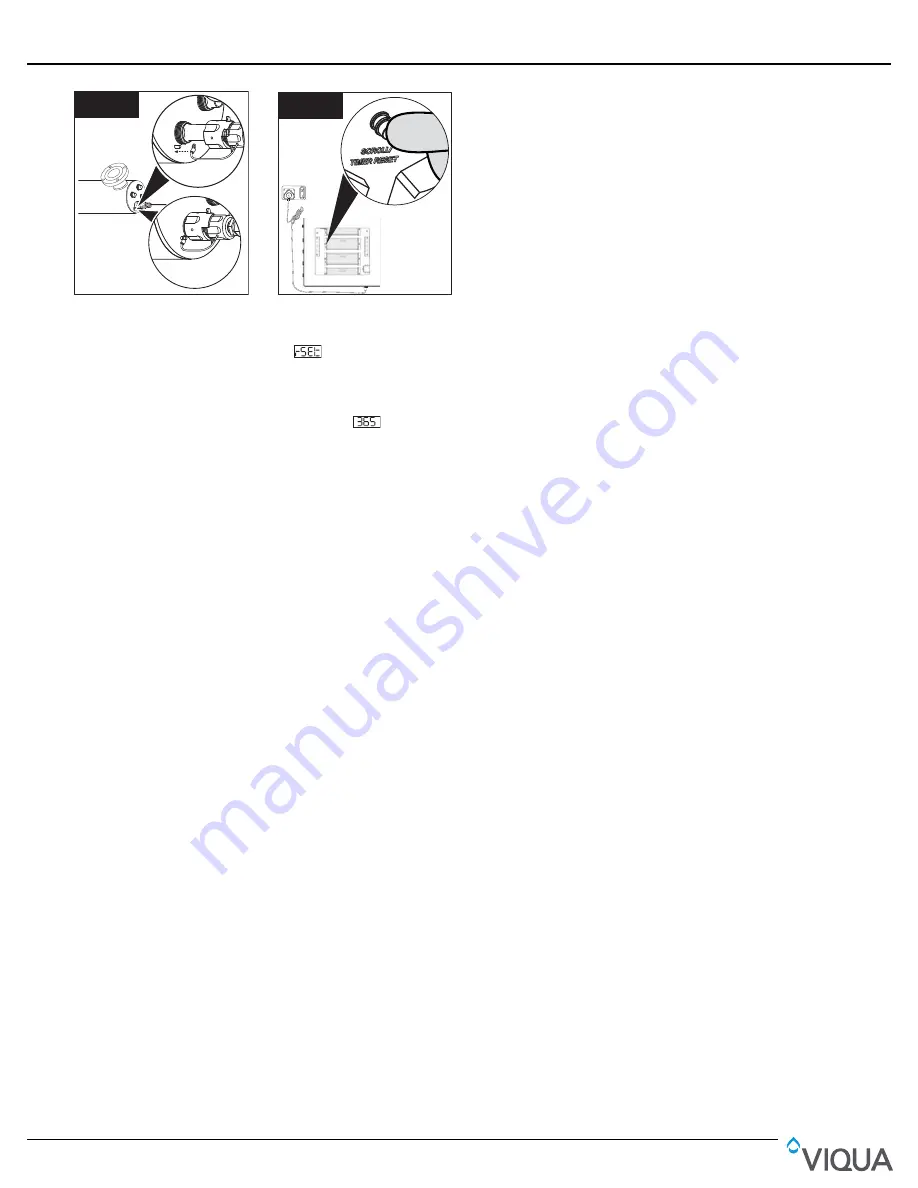
For LAMP 1 replacement, it must be ensured that the lamp wires do not interfere with the UV sensor detection, as low
UV alarms could result in Hi-Flo Monitored systems. The two wires should be oriented furthest away from the sensor port.
Ensure the connector is fully seated onto the UV lamp.
9
1
2
•
Slide the lamp connector up
to the retaining nut.
•
Rotate the retaining nut
locking tabs to lock the lamp
connector in place.
•
Connect the ground cable
and restore power.
10
10
LAMP 1
LAMP 2
LAMP 3
LAMP 4
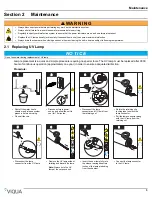
•
Hold down the timer reset
button and reapply power to
the controller until you see
, then release timer
reset button.
•
A 5 second delay will occur
until you hear an audible tone
and LED display will read
once again
.


