background image


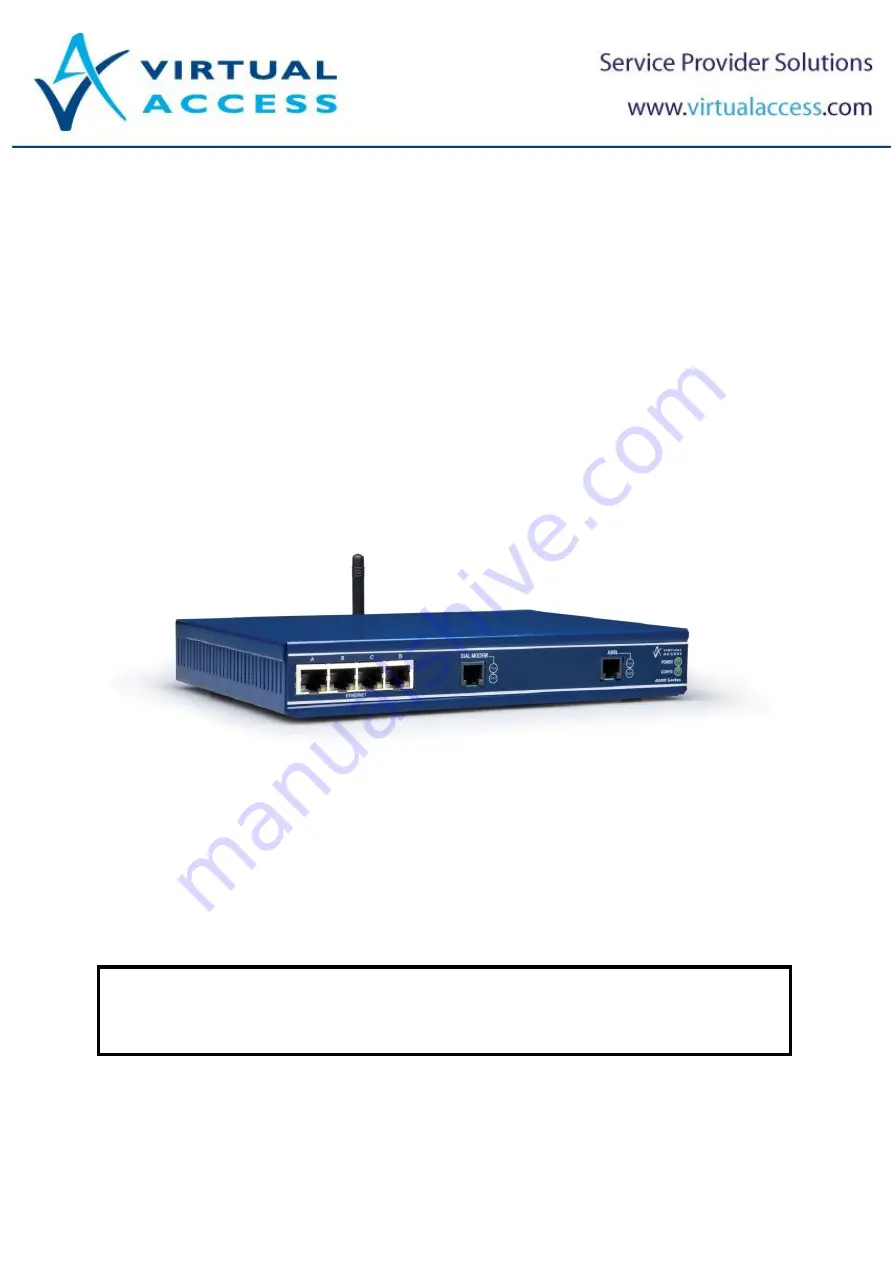
Virtual Access GW6500 Series 

Quick Start Guide 

Summary of Contents for GW6500 Series

Page 1: ...Virtual Access GW6500 Series Quick Start Guide ...

Page 2: ...ng a GW6500 Series router 6 3 1 Installing a GW6510 router on an ADSL connection 6 3 2 Installing a GW6525 router on an ADSL and dial modem connection 6 3 3 Inserting the SIM card 7 3 4 Connecting the antenna 7 3 5 Connecting the power supply 7 4 Configuring a 6500 Series router 8 4 1 Optional automatic configuration Zero Touch 8 4 2 Manually configuring a 6500 Series router 8 4 3 Configuring ADSL...

Page 3: ...ed of as hazardous toxic waste and must not be incinerated 1 2 Electrical safety The 6500 Series router is a class I II apparatus We recommend that an AC surge arrestor is installed in the AC outlet to which this equipment is connected Plug in the power supply into a socket outlet that is installed near the equipment and is easily accessible 1 3 Wireless safety Wireless routers incorporate a wirel...

Page 4: ...he disposal of Waste Electrical and Electronic Equipment WEEE in domestic waste and encourage recycling recovery and environmentally sound disposal Virtual Access is committed to promoting the reuse recycling and recovery of WEEE by contributing to the appropriate compliance schemes Our product packaging is marked with the crossed out wheeled bin symbol to indicate that the product must not be dis...

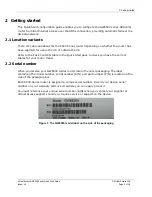
Page 5: ...r to the Pack Contents table in the Quick Start pack to check you have the correct cables for your router model 2 2 Serial number When you receive your GW6500 Series router retain the outer packaging The label containing the model number serial number S N and part number P N is located on the side of the packaging box Each 6500 Series router is assigned a unique serial number Record your device se...

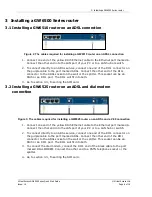
Page 6: ...or an RJ11 port The RJ11 will fit into both 3 Go to section 3 3 Inserting the SIM card 3 2 Installing a GW6525 router on an ADSL and dial modem connection Figure 3 The cables required for installing a GW6525 router on an ADSL and a V 90 connection 1 Connect one end of the yellow RJ45 Ethernet cable to the Ethernet port marked A Connect the other end into the LAN port of your PC or to a LAN hub or ...

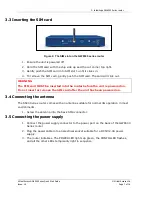
Page 7: ... card MUST be inserted into the router before the unit is powered on Do not insert or remove the SIM card after the unit has been powered on 3 4 Connecting the antenna The 6500 Series router comes with an antenna suitable for normal 3G operation in most environments 1 Screw the antenna into the back SMA connector 3 5 Connecting the power supply 1 Connect the power supply connector to the power por...

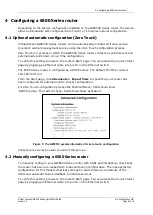
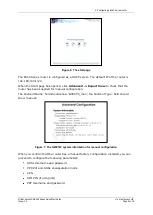
Page 8: ...he Ethernet switch The 6500 Series router is configured as a DHCP server The default IP of the router is 192 168 100 1 24 From the Start page click Advanced Expert View to check that your router has been configured for automatic Zero Touch configuration For Zero Touch configuration process the Factconf Name field should show GXXXXX_Zero the Factconf Type field should show activation Figure 5 The G...

Page 9: ... Advanced Expert View to check that the router has been supplied for manual configuration The Factconf Name field should show GXXXXX_man the Factconf Type field should show manual Figure 7 The GW6510 system information for manual configuration When you confirm that the router has a manual factory configuration installed you can proceed to configure the following parameters ADSL Username and passwo...

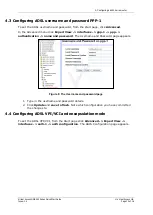
Page 10: ...Expert View interfaces ppp 1 ppp authentication name and password The Username and Password page appears Figure 8 The Username and password page 1 Type in the username and password details 2 Click Update and save to flash Note which configuration you have committed the changes to 4 4 Configuring ADSL VPI VCI and encapsulation mode To set the ADSL VPI VCI from the Start page click Advanced Expert V...

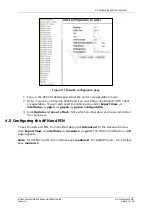
Page 11: ...ged RFC 1483 encapsulation You will also need to enable pppoe under Expert View interfaces ppp 1 pppoe pppoe configuration 3 Click Update and save to flash Note which configuration you have committed the changes to 4 5 Configuring the APN and PIN To set the APN and PIN from the start page click Advanced In the Advanced menu click Expert View interfaces modem 1 gsm The Modem Interface on GSM page a...

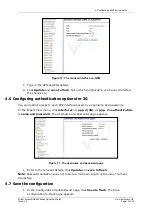
Page 12: ...You can restrict access to each PPP interface based on a username and password In the Expert View menu click interfaces ppp 2 3G ppp 2 authentication name and password The Username and Password page appears Figure 11 The username and password page 1 Enter in the relevant details click Update and save to flash Note Password validation does not require a minimum length or the use of numeric characte...

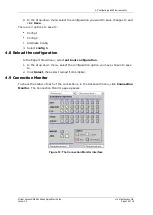
Page 13: ...g 1 Config 2 Alternate Config 3 Select config 1 4 8 Reload the configuration In the Expert View menu select set boot configuration 1 In the drop down menu select the configuration option you have chosen to save to 2 Click Select then select reload from sidebar 4 9 Connection Monitor To check the status of each of the connections in the Advanced menu click Connection Monitor The Connection Monitor ...

Page 14: ...dates information Virtual Access GW6500 Series Quick Start Guide Virtual Access Ltd Issue 1 0 Page 14 of 16 5 Firmware updates information To obtain firmware updates for your 6500 Series router contact your reseller ...

Page 15: ...Series Quick Start Guide Virtual Access Ltd Issue 1 0 Page 15 of 16 6 Advanced configuration For more detailed 6500 Series router configurations refer to the how to guides on the Virtual Access website http www virtualaccess com customer support php ...

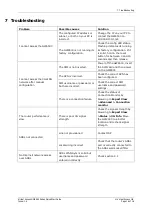
Page 16: ...r off the GW6500 insert the SIM card and then power on the GW6500 The APN is incorrect Check the correct APN has been configured SIM username or password or both are incorrect Check the correct SIM username and password settings There is a connection failure Check the status of Connection Monitor by browsing to Expert View Advanced Connection monitor The router performance is slow There is poor 3G...

Reviews: