User Manual CopyBox Standard CD-DVD Duplicator -
Installing PC-Connected CopyBox 3, 5, 7, 9
Page 26 van 29
Installing PC-Connected CopyBox 3, 5, 7, 9
The "PC-connected" versions of the CopyBox duplicators can be connected to a PC through a USB 2.0 connection. Through this
USB connection CD/DVD "ISO" images can be loaded onto the internal hard drive. Please follow the procedure below to
properly install a PC-connected CopyBox.
Software Installation
With the PC-connected CopyBox an installation CD is supplied with the necessary software;
CopySmart Image Manager
Using the Image Manager software, CD/DVD ISO image files can be loaded from a PC to the internal hard drive of the CopyBox
duplicator.
To install the software place the installation CD into the DVD drive of your PC. Start the "Setup.exe" file on the installation CD
manually.
Hardware Installation
Included with the PC-Connected CopyBox are a power cord and an USB cable. Connect the CopyBox with the power cable to
a power supply. Then connect the CopyBox to an available USB 2.0 port of a PC with the supplied USB cable. The flat USB
connector is to be connected to the PC, the square end has to be connected to the rear of the CopyBox.
The installation of the PC-connected CopyBox is now complete. Take the following steps to properly set the CopyBox.
Switching USB Connection On/Off
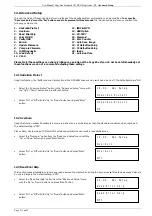
Turn the CopyBox on by pressing the On/Off button on the front.
•
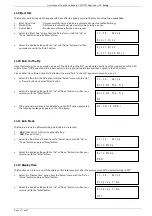
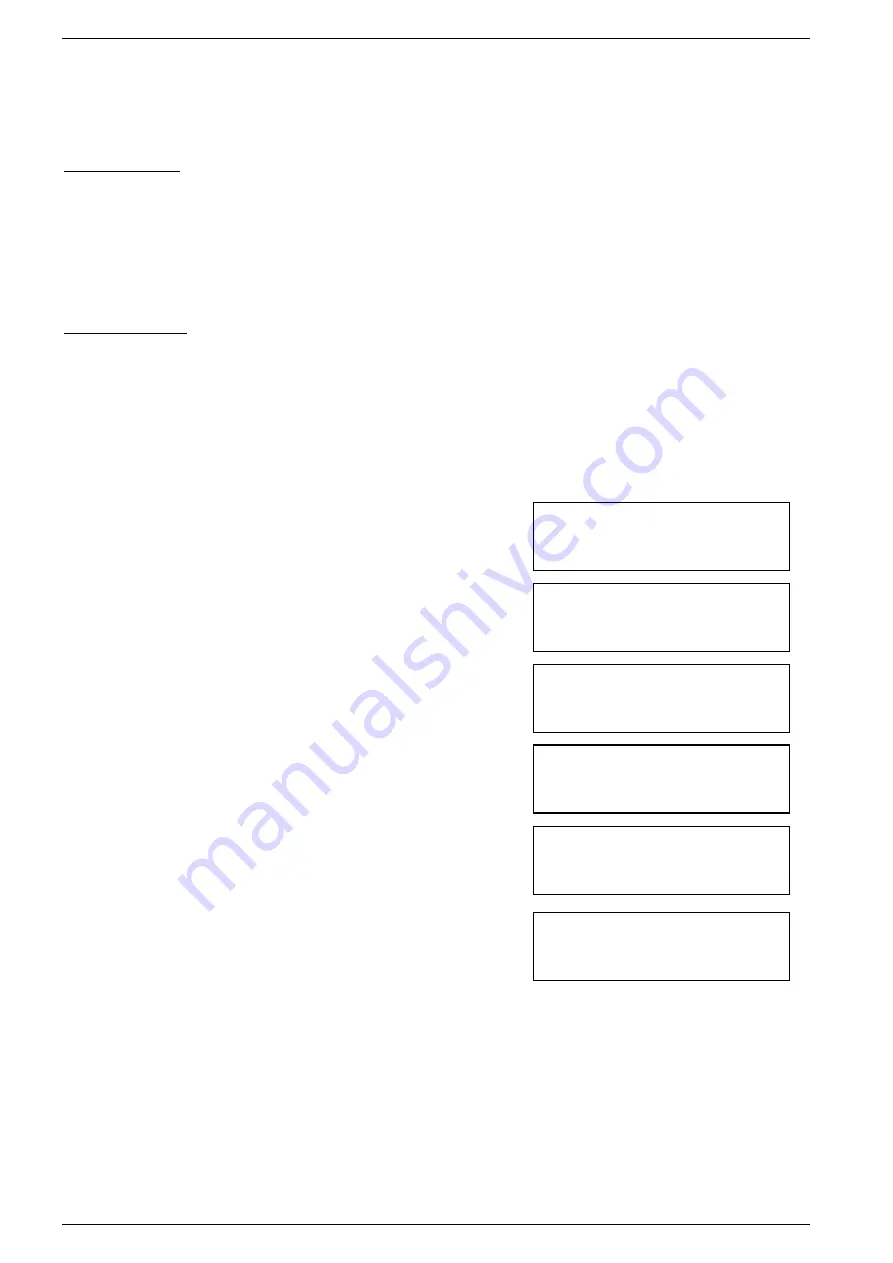
Once the CopyBox has started appears the "Copy" function in the LCD
display.
•
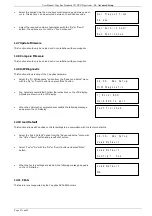
The USB Option must first be activated in the "Advanced Setup" menu
(12).
To select this menu, press the "Esc" button for 3 seconds
. The
CopyBox beeps when menu 12 is selected.
•
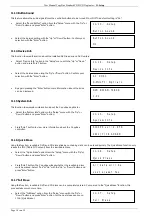
Select option 12-13 ("USB Option") with the "Up" or "Down" button and
confirm with the "Enter" button. S elect "On" with the "Up" or "Down" and
confirm the choice with the "Enter" button.
The "Advanced Setup" menu
will now change into menu 13.
Use the "Esc" button to Advanced To
leave Setup menu and return to the main menu.
•
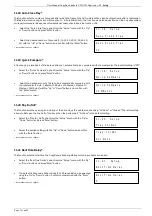
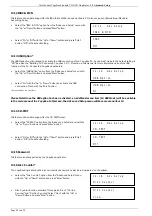
The USB option in the PC Connected CopyBox is now enabled. In the
main menu now an additional option (Menu 12 "USB Mode") is
available. With this function, the USB connection can be switched on
and off. Select menu option 12 (USB Mode) with the "Up" or "Down"
button and confirm with the "Enter" button.
•
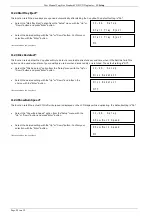
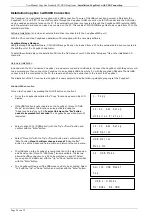
To activate the USB connection select "Yes" with the "Up" or "Down"
button and confirm with the "Enter" button. The CopyBox will now be
restarted automatically in PC-connected mode.
Using the Image Manager software on the PC, CD/DVD ISO images can now be loaded from and to the built-in hard drive of
the CopyBox. The hard drive can now only be accessed via the PC USB connection.
12-01. Adv Setup
Underrun Protect
1. Copy
USB Mode Switch
To On ? Yes
12. USB Mode
12-13. Adv Setup
USB Option
USB Option
On


