16
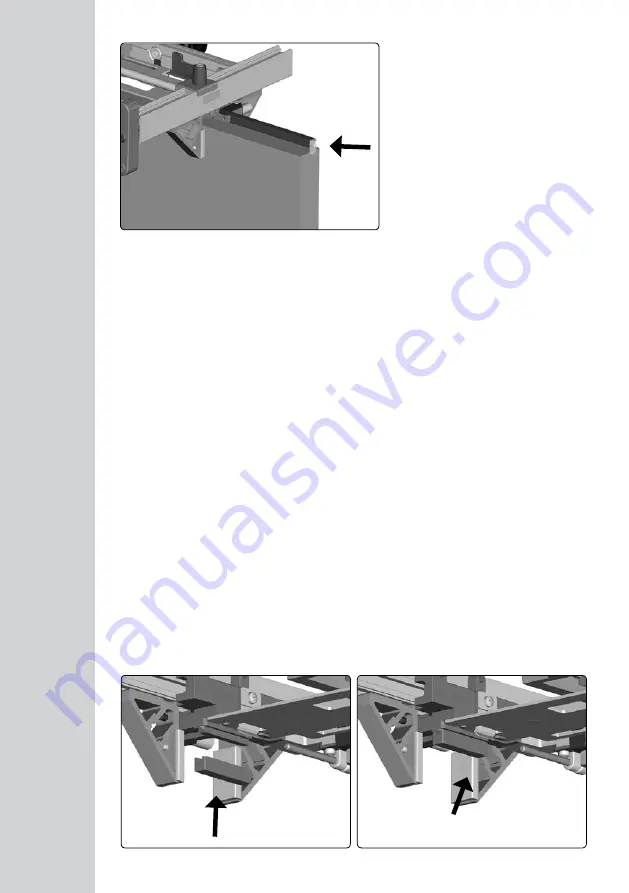
• Paso 2 - Colocar la barra accesoria hacien
-
do tope sobre la puerta y repasar el primer
fresado.
• Step 2 - Place the supplementary rod on
the upper side of the door and enlarge the
first recess.
• Pas 2 - Placer la tige supplémentaire fais
-
sant butée sur la partie supérieure de la porte
et élargir le premier encastrement.
• Schritt 2 - Legen Sie die Zubehörstange
an der Tür auf und wiederholen Sie das erste
Fräsen.
• Passo 2 - Collocare la barra accessoria a
filo sulla porta e ripassare la prima fresatura.
• Paso 3 - Volver a colocar la barra estándar y repasar los siguientes encajes tal y como se describe en el paso
3 del fresado del marco
• Step 3 - Place again the standard rod and enlarge all the other recesses as described in paragraph 3 making
recesses on the frame.
• Pas 3 - Placer à nouveau la tige standard et élargir les autres encastrements selon la procédure du point 3
encastrements sur la huisserie.
• Schritt 3 - Bringen Sie den Standard-Hebel wieder an und wiederholen Sie das Fräsen der Fensterrahmen
so, wie in Schritt 3 beschrieben.
• Passo 3 - Girare e collocare la barra standard e ripassare i successivi incavi come viene descritto nel passo
3 della fresatura sul telaio.
• Passo 3 - Voltar a colocar a barra normal e refazer a fresagem dos rasgos seguintes normalmente.
• Шаг 3 - Установите стандартную штангу и увеличьте остальные пазы, как указано в разделе 3
обработки дверной коробки.
• Krok 3 - Zamontuj ponownie standardowy pręt i poszerz pozostałe gniazda według opisu Kroku 3 dla frezowa
-
nia gniazd w ościeżnicy.
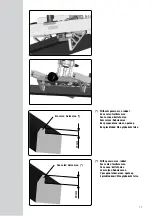
Presionar
Press
Presser
Premere
Нажмите
Naciśnij
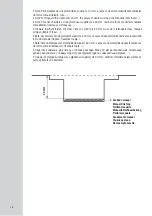
2. Instrucciones para galces superiores 13 mm hasta 20 mm • Instructions for rabbets over 13 mm
until 20 mm • Instructions pour des feuillures de plus de 13 mm jusqu’à 20 mm • Anleitung für
Falstiefe von 13 mm bis 20 mm • Istruzioni per battute superiori a 13 mm fino a 20 mm • Instruções
para rebaixos superiores a 13 mm até 20 mm • Инструкции при глубине притвора от 13 до 20 мм
Instrukcja wykonywania felców od 13 mm do 20 mm
• Passo 2 - Colocar a barra acessória fazendo topo na porta e refazer o primeiro rasgo.
• Шаг 2 - Установите дополнительный опорный стержень, поставляемый с шаблоном. Установите
фрезер, уперев стержень в верхний срез дверного полотна, и увеличьте первый паз, выполненный при
шаге 1.
• Krok 2 - Zamontuj dodatkowy pręt na górnej krawędzi skrzydła drzwi i powiększ pierwsze gniazdo.
16


