27
Style3: Large, Font4, Cyan, Flashing, Magenta, Transparent
Style4: Normal, Font5, Yellow, Translucent, Black, Solid
Style5: Normal, Font6, Yellow, Translucent, Black, Solid
Style6: Normal, Font7, Yellow, Translucent, Black, Solid
Style7: Normal, Font8, Yellow, Translucent, Black, Solid
Style8: Default, Font2, Default, Flashing, Default, Translucent
2) Only when the CCD Style is Custom, you can use
p
/
q
key to move the cursor to Size, Font,
Text Color, Text Opacity, BG Color or BG Opacity, and use
t
/
u
or OK key to set them. Setting
you can select list as below.
Size: Small, Normal, Large, Default.
Font: Font1, Font2, Font 3, Font4, Font5, Font6, Font7, Font 8, Default.
Text Color: White, Black, Red, Green, Blue, Yellow, Magenta, Cyan, Default.
Text Opacity: Transparent, Translucent, Solid, Flashing, Default.
BG Color: White, Black, Red, Green, Blue, Yellow, Magenta, Cyan, Default.
BG Opacity: Translucent, Transparent, Solid, Flashing, Default.
Notes: When you set above options, the PREVIEW window will give the preview of current setting
immediately.
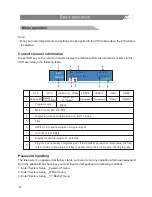
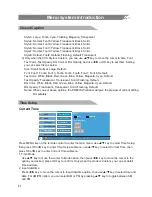
Current Time
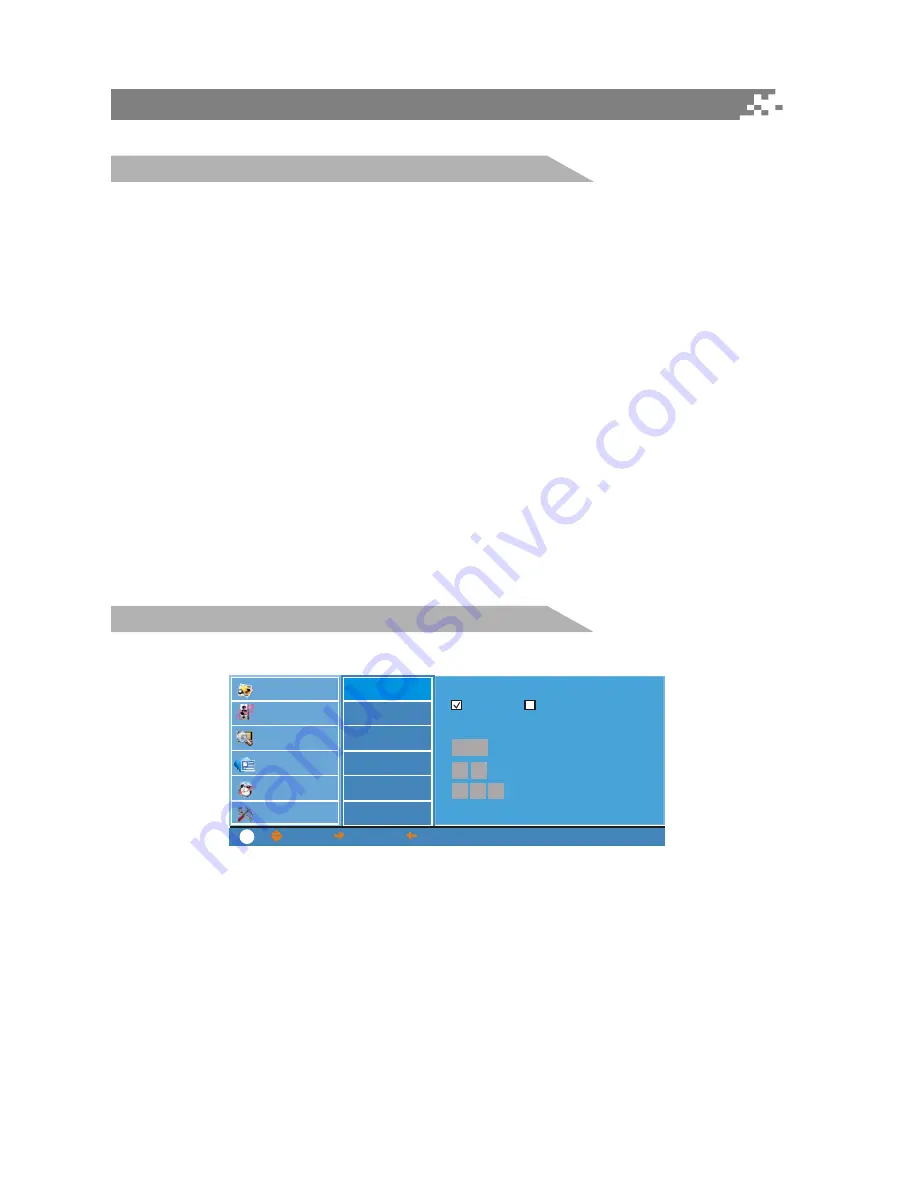
Press MENU key on the remote control to enter the main menu, use
p
/
q
key to select Time Setup,
then press OK or
u
key to enter Time Setup submenu, use
p
/
q
key to select Current Time, then
press OK or
u
key to enter Current Time submenu.
1. Time Mode
Use
p
/
q
key to move the cursor to Mode option, then press
t
/
u
key to move the cursor to the
option you desired, press OK key to confirm. Only when the mode is Custom, you can set detail
time and date.
2. Input date/time
Press
t
/
u
key to move the cursor to Input date/time option, then use
p
/
q
key to select time and
date. For AM/PM option, you can select AM or PM by pressing
p
/
q
key to toggle between AM
and PM.
Closed Caption
Time Setup
Menu system introduction
Video
Audio
TV Channel
Closed Caption
Time Setup
System Setup
Current Time
Mode
Auto
Manual
Input date/time
08 15 PM
Auto Turn-Off
Sleep Timer
Time Zone
Daylight Saving
: MOVE,
: SELECT,
: PREVIOUS,
MENU: EXIT
?
1999
05 / 27
Summary of Contents for VSC-37V3
Page 1: ...VSC 37V3 ...
Page 38: ...35 8 ...
Page 39: ...36 Picture defects and the reason A user s manual power cord and a remote control ...
Page 44: ......
Page 60: ......
Page 61: ......


