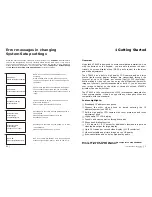
Dialing ...
192.168.3.1
Using OSD menus
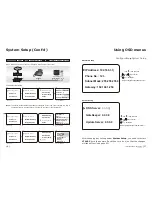
Search for a number (cont'd)
Dial the searched number
Phonebook
Search
and
: Item selection
If you can not dial out with VT640P, please hang up or press the
speakerphone button to return to local view, and try to dial again.
Call progressing
Updating ...
Name: |
Joe
Phone No. : 789
IP: 192.168.3.1
H.323 Alias: Joe
OK
and
: Item selection
Edit the phonebook record
Dial
Edit
Delete
Add to Speed Dial
Dial
Edit
Delete
Add to Speed Dial
and
: Item selection
Clear
: backspace
Numeric keypad: input numbers,
letters, punctuation marks, and
special characters.
and
: move cursor
or
OK
or
OK
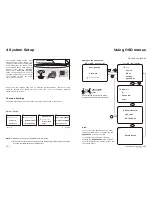
Step 3 Connect the Ethernet cable
Plug one end of the Ethernet cable in the jack marked "WAN" on VT640P. Plug
the other end of the Ethernet cable in the RJ-45 jack of the Internet device
(hub, router, or ATU-R).
Connect the Ethernet cable
to the Internet device.
Installing the unit (Cont'd)
Step 4 Plug in for power
Connect the power cord between the wall outlet and
the power adapter. Plug the free end of the power
adapter into the power connector (DC IN)
on VT640P.
Connect the power adapter.
Connect the power cord and plug in.
AUDIO
VIDEO
A/V
OUT
A/V
IN2
POWER
A/V
IN1
ON
OFF
DC IN
COM
WAN
8
|
45
|
User Manual
IP Broadband Videophone


