Vision Phoenix 1212 S5 User Manual
92
© 2018 Vision Engraving & Routing Systems
Holding Down Material
Secure the material on the t-slot table. It is best to use Multi Mat to hold the material in place. The multi
mat is great for holding the material when engraving and can also be used when profile cutting all the way
through thinner materials. Another procedure is to use a piece of sacrificial material on top of the Multi
Mat. DO NOT place the material to be cut directly on the t-slot table. If you do, then the cutter will cut
into the t-slot table and permanently damage the surface. Other methods for holding material down are in
the section Holding Down Material.
Setting Cut Depth for Engraver
To install the rotating cutter for engraving, loosen the set screw on the cutter knob with the supplied
cutter wrench and move the cutter knob to about the mid-point of the cutter tool, then lightly tighten the
set screw. Insert the cutter into the top of spindle and lower it until the cutter knob can be screwed into
the spindle. Tighten the knob COUNTER-CLOCKWISE (when viewed from the top of the spindle) until it
is hand tight.
Then, you must zero the cutter. To do this, you must first turn the micrometer so that the pointer points
to 0. Note - it is helpful to first turn the micrometer to the left (clockwise) until threads just start to appear
on the spindle. This allows for sufficient depth adjustment when turning the micrometer to the right). Zero
the cutter, then set the engraving depth as described in the Rotary Engraving section.
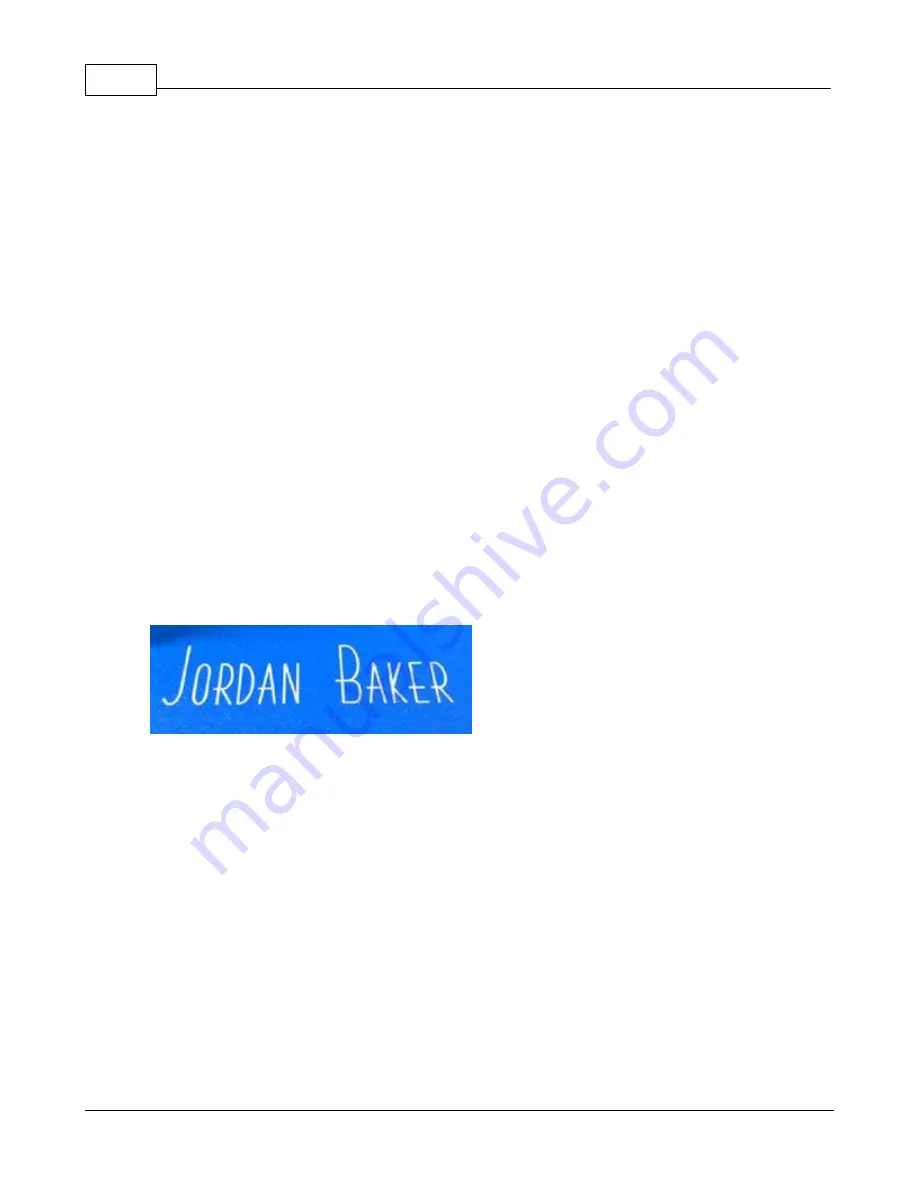
Select the text to be engraved and then click on the engrave icon. Press the magnifying glass on the
machines touchscreen to preview the engraving area. When ready, press the play button to engrave the
material.
Setting Cut Depth for Cutter/Beveler Tool - Standard Method
If you have measured the thickness of the material to be cut, you can adjust the micrometer in two ways
1. Adjust the cutter to cut through the material PLUS 0.001 - 0.003 inches (0.0250 - 0.075 mm). This
method will produce a clean cut of the parts and lightly cut into the sacrificial material underneath, or
2. Adjust the cutter depth to cut through the material MINUS 0.001 - 0.003 inches (0.0250 - 0.075 mm).
This will create a "kiss cut" that will leave a very thin amount of material which holds all of the parts
together, and then the parts can be snapped apart after removal from the engraver. This second
method is ideal in production environments where part handling is an issue.
Alternate Method for Setting Cut Depth for Cutter/Beveler Tool - "Stacked Material Method"
As an alternate to dialing the micrometer 50 or 60 clicks to set the cut depth on 1/16th inch plastics (or
up to 130 clicks for 1/8th inch material), this second method utilizes a second piece of the same kind
and thickness of material to be cut to set the cut depth. Refer to the below diagram - the material to be
cut is placed on top of the sacrificial material/Multi Mat materials.
The material to be cut is held in place either with double sided tape or by the spray adhesive/transfer
Summary of Contents for Phoenix 1212 S5
Page 1: ... 2018 Vision Engraving Routing Systems Vision Phoenix 1212 S5 User Manual Revised 12 7 2018 ...
Page 16: ...Vision Phoenix 1212 S5 User Manual 16 2018 Vision Engraving Routing Systems ...
Page 44: ...Vision Phoenix 1212 S5 User Manual 44 2018 Vision Engraving Routing Systems ...
Page 113: ...Step by Step Operation 113 2018 Vision Engraving Routing Systems ...
Page 121: ...Step by Step Operation 121 2018 Vision Engraving Routing Systems ...
Page 123: ...Step by Step Operation 123 2018 Vision Engraving Routing Systems ...
Page 147: ...Optional Accessories 147 2018 Vision Engraving Routing Systems ...
Page 148: ......


