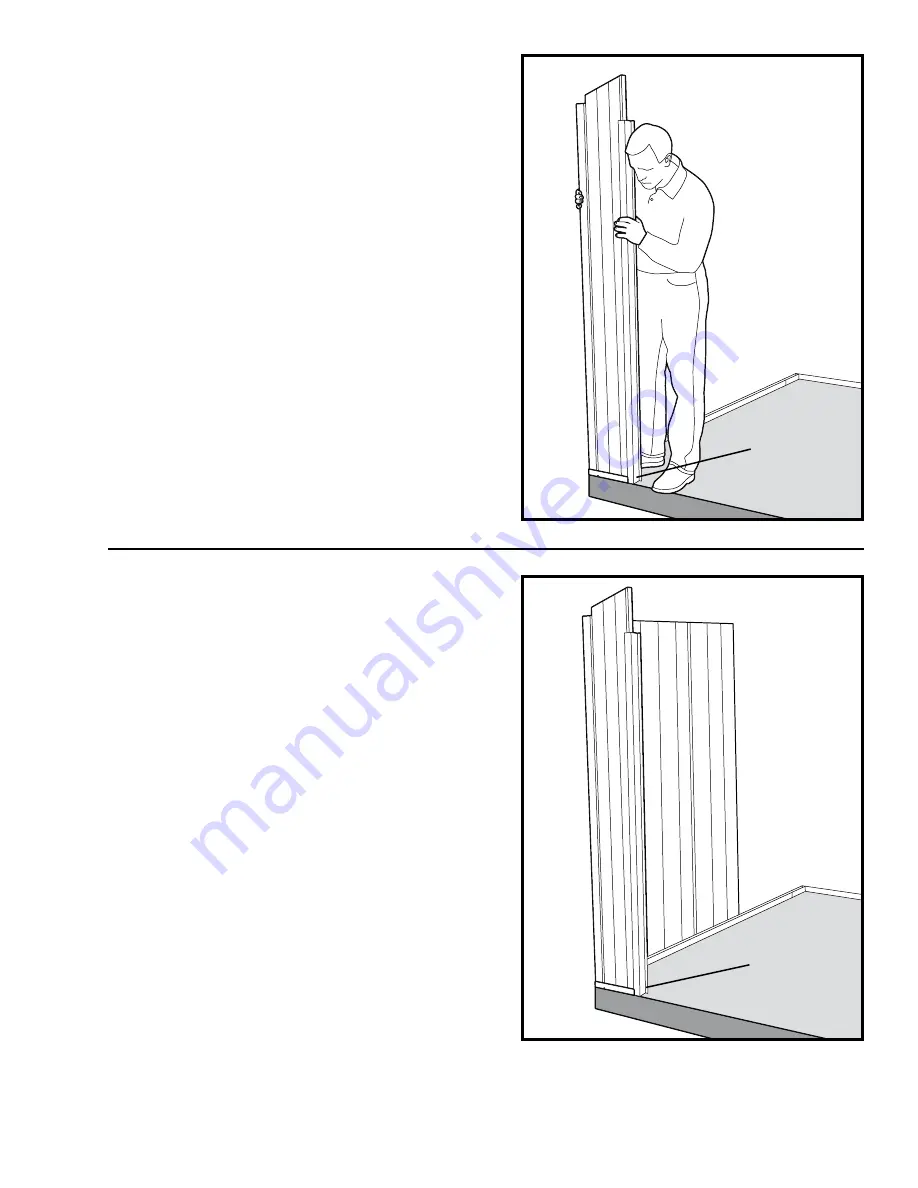
Panel Assembly – Left Front Wall
Locate the preassembled, left front wall section. To differentiate the
left section from the right, hold both sections upright on the shed base.
The left front wall (as seen from outside the shed) has the aluminum
door frame preinstalled on the right side of the section. The top edge
of this left wall panel section, which forms the roof peak, slopes down
away from the door. (Similarly, the right front wall section has the
aluminum door frame on its left and the top panels sloping down away
from the door.)
With the left front wall section loosely held upright in the base track,
orient one of the corner posts so that its SHALLOW Channel lock is
positioned (not fully inserted) to engage the outward facing DEEP
Channel lock of the Wall Panel. Keeping the Corner Post and front
wall section nestle together, lay the components on a flat surface.
Next turn over the components together so that the DEEP Channel
lock on the Corner Post faces up (this prevents the unengaged
Channel lock from being accidentally damaged when joining the
corner post and wall section). Using a rubber mallet, gently strike the
joint where the two Channel locks are nestled, to fully engage. The
seam will be flush.
Lift and position the assembly into the left front wall base track
segment. You may need to have your assistant guide the wall panel/
corner post assembly into the track. Jog the pieces carefully into the
track making sure the bottom of the panels and post are seated in the
bottom of the track. The corner post will now have its DEEP Channel
lock facing outward to start the left side wall.
5
Panel Assembly – Left Side Wall
Again, on a clean flat surface, lay out several of the side wall panels
(there is no difference between the actual wall panels for left or right
walls). Join three or four of the side wall panels as before engaging
the DEEP Channel locks with the SHALLOW Channel locks. Carefully
rest the wall section (with the wall panel that has the SHALLOW
Channel lock facing toward the inside of the shed) into the outer
(lower) side of the track adjacent to the corner post. Do not seat the
wall section into the track at this time.
Nestle the SHALLOW Channel lock of the wall panel into the DEEP
Channel lock of the Corner Post. With you stationed outside and your
assistant on inside bracing the wall section firmly at the corner, strike
the seam between the corner post and the wall panel with the rubber
mallet, engaging the channel locks, working from the bottom up to
the top of the wall.
NOTE: At this point, the bottom edge of the wall
section has not yet been seated into the bottom of the track.
Now, with your assistant holding the bottom of the wall section over
the track ready to be seated, gently strike the top of the wall section
down into the track, making sure that the bottom edges of the wall
panels seat fully into the bottom of the track.
Continue assembling the left side wall in this fashion. For the wall
panel section that completes the left side wall bringing it to the corner,
affix a corner post to the wall panel section before inserting the section
into the track.
6
NOTE:
Aluminum door
strike positioned
on the inside of
the shed.
NOTE:
Aluminum door
strike positioned
on the inside of
the shed.
9


