background image

12

13

TF20

onlY

TF40

onlY

BOLT (A)
20 mm
Qty: 6

SPRING
WASHER (B)
8.2 mm
Qty: 6

ARC
WASHER (C)
8.4 mm
Qty: 6

SCREW (M)
20 mm
Qty: 2

SCREW (N)
12 mm
Qty: 4

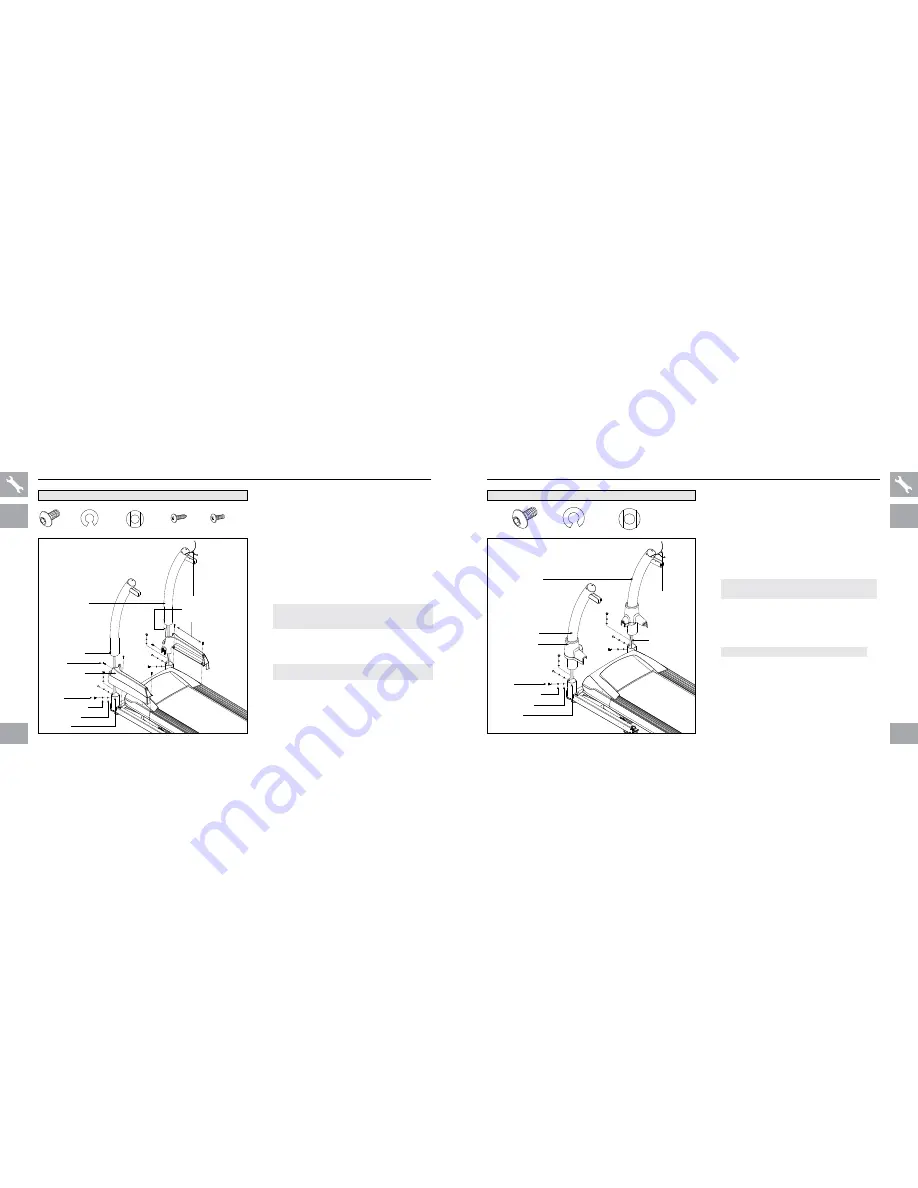
BOLTS (A)

SPRING WASHERS (B)

LEFT CONSOLE MAST

LEAD WIRE

CONSOLE CABLE

SCREWS (N)

ARC WASHERS (C)

BASE FRAME

SCREW (M)

BASE FRAME COVER

RIGHT CONSOLE MAST

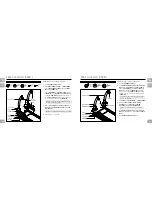
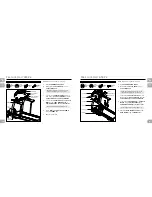
Tf40 

assemBlY 

STEP 1

noTe: This step is for TF40 models only.

a  open 

hardware for step 1

.

B  slide 

base frame covers

 over 

base frame

attach 

base frame covers

 using 2 

screws 

(m)

 and 4 

screws (n)

.

C  attach 

lead wire

 to 

console cable

 and pull 

lead wire

 through 

right console mast

. after 

pulling the 

lead wire

 through the mast, the top of 

the 

console cable

 should be located at the top 

of the mast. detach and discard

 lead wire

.


d  attach 

console mast

 to 

base frame 

using 3 

bolts (a)

, 3 

spring washers (b

) and 3 

arc 

washers (c)

.


e  Repeat step C on other side.

noTe: do not tighten bolts until step 4 is complete.

noTe: do not pinch console cable when placing 
the mast onto the base frame.

Tf40 ONly

Tf40 HARdWARE fOR STEP 1

 :

BOLT (A)
20 mm
Qty: 6

SPRING
WASHER (B)
8.2 mm
Qty: 6

ARC
WASHER (C)
8.4 mm
Qty: 6

BOLTS (A)

SPRING WASHERS (B)

LEFT CONSOLE MAST

LEAD WIRE

CONSOLE CABLE

ARC WASHERS (C)

BASE FRAME

BASE FRAME COVER

RIGHT CONSOLE MAST

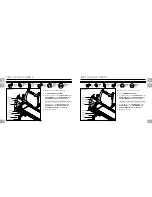
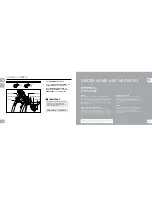
Tf20 

assemBlY 

STEP 1

Tf20 ONly

Tf20 HARdWARE fOR STEP 1

 :

noTe: This step is for TF20 models only.

a  open 

hardware for step 1

.

B  slide 

base frame cover

 up 

right console 

mast

. attach 

lead wire

 to 

console cable


and pull 

lead wire

 through 

right console 

mast

. after pulling the 

lead wire

 through the 

mast, the top of the 

console cable

 should be 

located at the top of the mast. detach and discard


lead wire

.

 
  noTe: do not pinch console cable when placing the 

mast onto the base frame.

C  Place 

right console mast

 over 

base frame

.

d  attach 

console mast

 to 

main frame 

bracket 

using 3 

bolts (a)

, 3 

spring 

washers (b

) and 3 

arc washers (c)

.


noTe: do not tighten bolts until step 4 is complete.

e  slide 

base frame cover

 up 

left console 

mast

.  Repeat sTeP d to attach 

left console 

mast

.

F  slide 

base frame covers

 down.

Summary of Contents for T40

Page 1: ...TF40 TF20 T40 Read the treadmill guide before using this owner s manual TREADMILL OWNER S MANUAL ...

Page 2: ...mill are adequately informed of all warnings and precautions If you have any questions after reading this manual contact your authorized Vision Fitness retailer This treadmill is intended for in home use only Do not use this treadmill in any commercial rental school or institutional setting Failure to comply will void the warranty This treadmill has a pre waxed belt and should never be lubricated ...

Page 3: ...in a climate controlled room If your treadmill has been exposed to colder temperatures or high moisture climates it is strongly recommended that the treadmill is warmed up to room temperature before first time use Failure to do so may cause premature electronic failure To reduce the risk of burns fire electrical shock or injury to persons Never use the treadmill before securing the safety tether c...

Page 4: ...e plug must be plugged into an appropriate outlet that is properly installed and grounded in accordance with local codes and ordinances Connect this exercise product to a properly grounded outlet only Never operate product with a damaged cord or plug even if it is working properly Never operate any product if it appears damaged or has been immersed in water Contact your authorized Vision Fitness r...

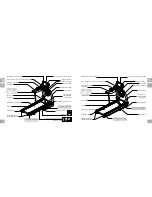
Page 5: ...OLE MAST IN REACH CONTROLS BASE FRAME COVER TF40 ONLY RUNNING BELT RUNNING DECK SUPPORT BAR 1 2 ABOVE FOOT LATCH 1 2 FOOT LOCK LATCH UNDERNEATH DECK WATER BOTTLE HOLDER GRIP PULSE BARS CONSOLE TOUCH CONSOLE SHOWN TRANSPORT WHEEL ON OFF SWITCH CIRCUIT BREAKER POWER CORD READING RACK TABLET HOLDER HANDLEBARS USB PORT AND IPOD CORD TOUCH CONSOLE ONLY SAFETY KEY PLACEMENT MOTOR COVER SIDE RAIL ROLLER ...

Page 6: ...son removes the parts packed under the treadmill FAILURE TO FOLLOW THESE INSTRUCTIONS COULD RESULT IN INJURY WARNING NOTE During each assembly step ensure that ALL nuts and bolts are in place and partially threaded in before completely tightening any ONE bolt NOTE A light application of grease may aid in the installation of hardware Any grease such as lithium bike grease is recommended PRE ASSEMBL...

Page 7: ...ot pinch console cable when placing the mast onto the base frame TF40 ONLY TF40 HARDWARE for step 1 BOLT A 20 mm Qty 6 SPRING WASHER B 8 2 mm Qty 6 ARC WASHER C 8 4 mm Qty 6 BOLTS A SPRING WASHERS B LEFT CONSOLE MAST LEAD WIRE CONSOLE CABLE ARC WASHERS C BASE FRAME BASE FRAME COVER RIGHT CONSOLE MAST TF20 ASSEMBLY STEP 1 TF20 ONLY TF20 HARDWARE for step 1 NOTE This step is for TF20 models only A O...

Page 8: ...4 mm Qty 4 BOLT F 95 mm Qty 2 ASSEMBLY STEP 2 BOLT A 20 mm Qty 6 SPRING WASHER B 8 2 mm Qty 6 ARC WASHER C 8 4 mm Qty 4 FLAT WASHER D 8 2 mm Qty 2 HARDWARE for step 2 FLAT WASHER D SPRING WASHER B ARC WASHERS C BOLT A RIGHT HANDLEBAR CONSOLE CABLES RIGHT CONSOLE MAST A Open hardware for step 2 B Guide console cables from handlebars through and out of the tops of the console masts C Slide handlebar...

Page 9: ... SPRING WASHER J 6 mm Qty 4 FLAT WASHER H 6 mm Qty 4 TF20 ASSEMBLY STEP 3 FLAT WASHERS H SPRING WASHERS J ARC WASHERS E SPRING WASHERS B BASE FRAME SUPPORT BAR BOLTS L HANDLEBAR BOLT A TF20 HARDWARE for step 3 NOTE This step is for TF20 models only A Open hardware for step 3 B Attach the bottom of the support bar to the base frame using 2 flat washers H 2 spring washers J and 2 bolts L C Attach th...

Page 10: ...l not to pinch the console cables while attaching the console base Note Tighten all bolts from steps 1 3 BOLT A 20 mm Qty 6 SPRING WASHER B 8 2 mm Qty 6 ARC WASHER E 8 4 mm Qty 6 SCREW N 12 mm Qty 4 TF40 ASSEMBLY STEP 4 HARDWARE for step 4 ARC WASHERS D SPRING WASHERS B BOLTS A CONSOLE BASE CONSOLE CABLES CONSOLE MAST BASE FRAME COVER SCREWS N BASE FRAME NOTE This step is for TF40 models only A Op...

Page 11: ...ort bar caps into bottom of support bars BOLT I 45 mm Qty 2 NUT K Qty 2 SPRING WASHER J 8 mm Qty 2 FLAT WASHER H 8 mm Qty 4 Note Be careful not to pinch the console cables while attaching the console T40 ONLY TF20 ONLY BOLT A 20 mm Qty 6 SCREW M 20 mm Qty 4 SPRING WASHER B 8 2 mm Qty 6 ARC WASHER E 8 4 mm Qty 6 TF20 ASSEMBLY STEP 4 HARDWARE for step 4 BASE FRAME SCREWS M BASE FRAME COVER ARC WASHE...

Page 12: ...mponents finish and all original parts for the period specified on the warranty policy from the date of original purchase so long as the device remains in the possession of the original owner LABOR Warranty shall cover the labor cost for the repair of the device for the period specified on the warranty policy from the date of the original purchase so long as the device remains in the possession of...

Page 13: ...ommercial purposes or any use other than a single family or Household unless endorsed by the manufacturer for coverage Service AND repairs Delivery assembly installation setup for original or replacement units or labor or other costs associated with removal or replacement of the covered unit Any attempt to repair this equipment creates a risk of injury The manufacturer is not responsible or liable...

Page 14: ......

Page 15: ...Vision Treadmills Owner s Manual 082812 2012 Vision Fitness www visionfitness com ...

Reviews: