2. Normal and Event recording
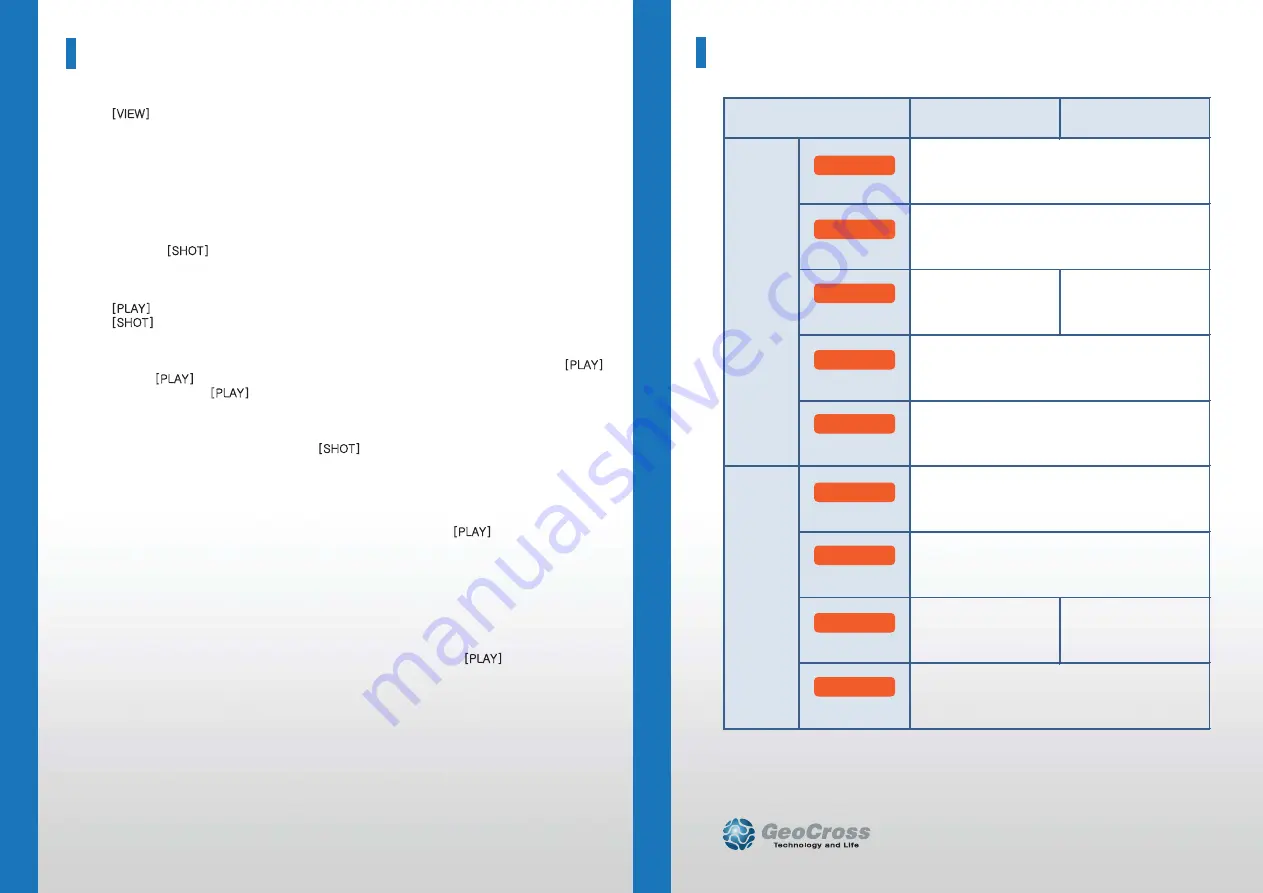
- System makes Normal files with power on and stores it in the NORMAL folder of the SD card.
- When registering an impact, the system alarms and records an Event file in the EVENT folder
of the SD card.
3. Manual (Event) recording
- When the [SHOT] button is pressed, the alarm will sound and the recorded data will be
saved in the (EVENT) folder.
4. Playback of the recorded videos on LCD
- [PLAY] button starts the latest videos files.
- [SHOT] button changes the videos according to time sequences.
- Date and time data shows on the bottom of LCD.
(#There is no time sign on LCD when no GPS data registered.)
- You can enlarge the video on LCD whilst the video is being played by clicking the [PLAY]
button. [PLAY] buttons can enlarge x2 and x4 times and return to original size.
- A longer press of [PLAY] button for more than 3 seconds will make the system return to
recording mode followed by an announcement of audio recording status.
5. Voice Recording
- During the system records, when the [SHOT] button is pressed and held for more than
3 seconds, the voice notification will announce that the voice recording will initiate and
the voice recording will start or stop.
- The initial audio recording setting can be changed in the analysis program.
6. Parking Surveillance Mode
- To enter into the “Parking Mode” recording, push and hold the [PLAY] button for more than
3 seconds when the system is recording.
- The system automatically rearranges its impact sensing sensitivity to most sensitive in order
to register the slightest impacts.
- While no impacts, the system records 4 frames/second to save the SD space and return to
normal full frame recording mode making an EVENT file when it receives a certain impact to
car. After making an EVENT file, it returns to 4 frame recording mode again.
- No audio is recorded while parking mode is on.
- In parking mode, the system repeats “Parking mode is on” every 2 minutes.
- To return to normal (driving) recording mode, press and hold the [PLAY] button for more
than 3 seconds to hear the “Driving mode on” announcement.
7. Disconnecting the SD card
- If you eject the SD card while the product is on, the recorded data may be damaged.
Make sure the main power is completely off and the device is fully powered off (no
indicator lights are on) before removing the SD card from the product.
8. PC Analysis Program Use
- Insert the SD into your PC and run VDAnalyzer.exe to start video analysis.
- Please use a SDHC compatible USB adapter when using a USB adapter to read the SD card.
- VDAnalyzer.exe runs only when the SD card is in PC and the default password is “12345678”.
*** Please refer to the manual for further information ***
1. Viewing recording videos on LCD (2ch mode)
- [VIEW] button press for LCD operation
Main Camera View => Option Camera View => LCD Off =>Main Camera view
(1ch mode does not have Option Camera view sequence.)
Product Use
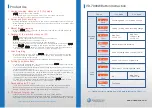
1 ch. Mode
2 ch. Mode
Division
Short
Long min.3sec
Short
Short
Long min.3sec
Short
Long min.3sec
Short
Short
Play
Mode
Size x2 => Size x4 => Original size
Play mode => Recording Mode return
N.A.
Main Cam.
=> Rear Cam.
File Search
Recording
Mode
Recording Mode => Play Mode change
Parking / Driving mode recording change
Main Cam.
=> LCD Off
Main Cam.
=> Rear Cam.
=> LCD Off
Manual impact file recording
Audio Recording mode change (On/Off)
P
button
P
button
P
button
P
button
V
button
V
button
SHOT
button
SHOT
button
SHOT
button
VD-7000W Button Instruction
*** Please wait for complete power off before taking the SD off. ***
www.visiondrive.co.kr


