S
CANNING
19
3.
Turn on the scanner.
4.
Select the “disc drive” option on your phone when prompted.
5.
At this time the scanner LEDs just continuously flash.
6.
Change the phone’s USB connection type from the “disc drive” option to the “sync” option.
7.
Immediately change the phone’s USB connection type back to “disc drive”.
8.
The phone should now initialize its storage properly and the scanner LEDs should stop flashing.
I
P
AD
Important
: You must have an iPad Camera Connection Kit from Apple to use the scanner with an iPad.
The camera connection kit contains a USB adapter that plugs into the dock connector on the iPad. You
need to attach the USB adapter to the iPad before proceeding with these instructions.
You can only scan using the JPG function, represented by the camera icon, when scanning to the iPad.
1.
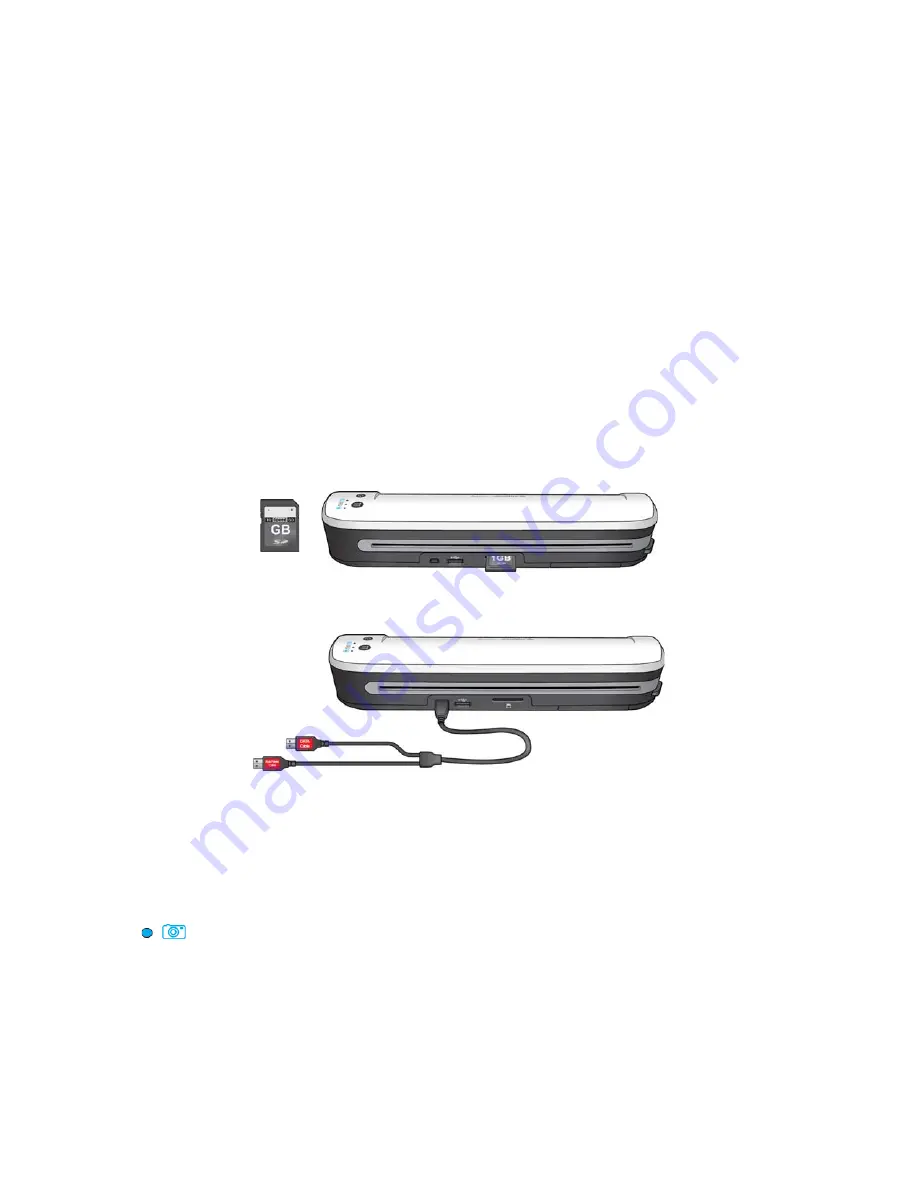
Insert a memory card into the memory card slot on the scanner.
2.
Plug the small end of the scanner’s USB cable into the mini-USB port on the back of the scanner.
3.
Plug the
DATA Cable
USB end into the USB adapter in the iPad.
4.
Turn on the scanner power.
5.
All of the LEDs will flash as the scanner initializes. When the scanner is ready to scan, a single LED
will be lit next to the first function represented by a camera icon.
6.
Make sure the camera function on the scanner is selected.
Scans in color at 300dpi and creates a JPG (*.jpg) file.
Summary of Contents for MOBILITY -
Page 1: ...Visioneer Mobility User s Guide...
Page 4: ......
Page 6: ...TABLE OF CONTENTS 6...
Page 14: ...VISIONEER MOBILITY SCANNER USER S GUIDE 14...
Page 25: ...Copyright 2011 Visioneer Inc 05 0822 000 visioneer...


