12
V
ISIONEER
O
NE
T
OUCH
7600 S
CANNER
I
NSTALLATION
G
UIDE
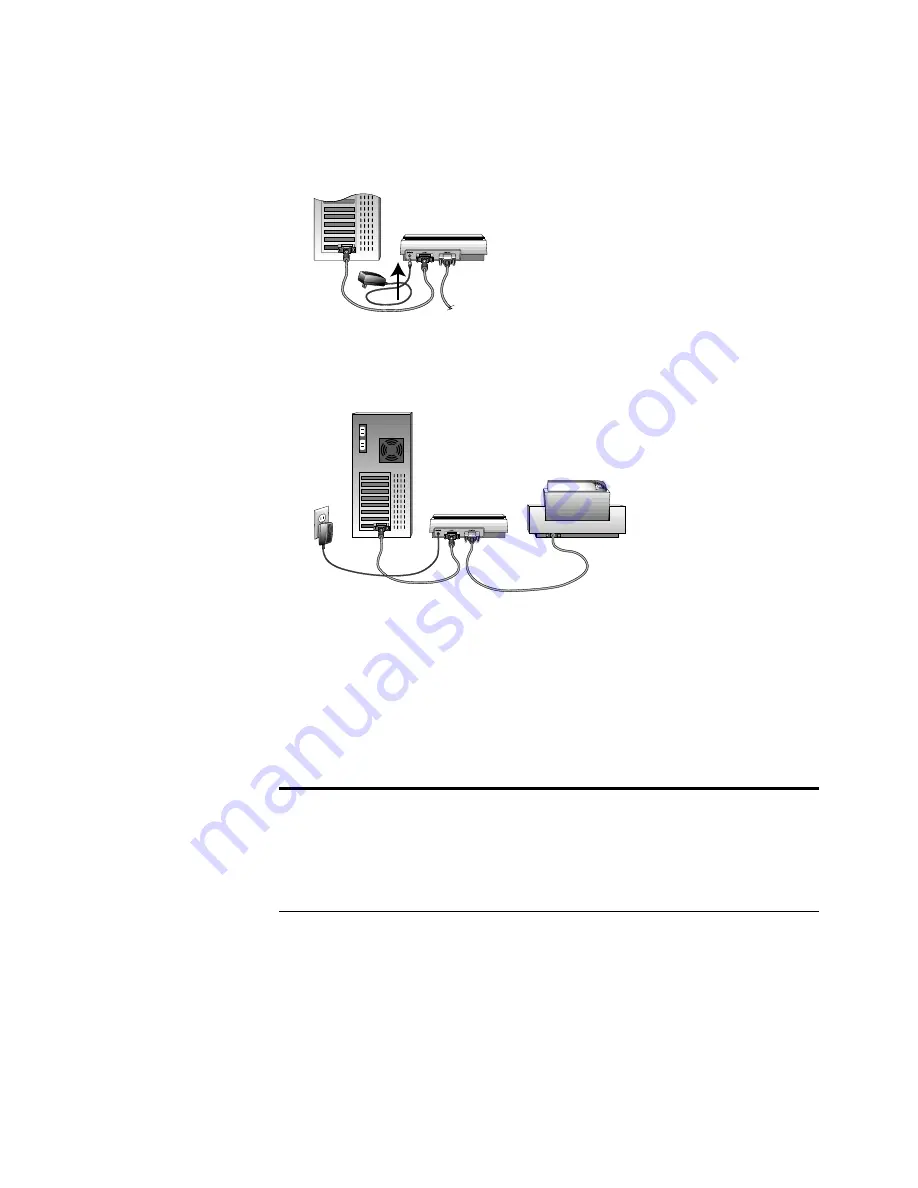
7. Plug the power adapter cable into the jack on the scanner.
8. Plug the power adapter into an AC (wall) outlet.
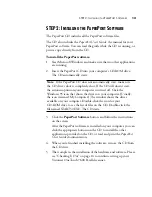
The following diagram shows the completed cable connections.
When you plug the scanner’s power adapter into a wall outlet an
amber light on the front of the scanner comes on indicating that the
scanner is receiving power. The light remains amber until the
scanner and computer are communicating properly. Then the light
turns green.
9. Turn on your computer. You’re now ready to install the software.
Note: The scanning lamp under the scanner’s glass remains lit so you
don’t have to wait for it to warm up each time you want to scan. This
is normal even after the computer is turned off. To conserve electricity
and prolong the life of the scanner, the lamp automatically powers
down after a period of non-use.


