C
ONFIGURING
THE
O
NE
T
OUCH
B
UTTONS
71
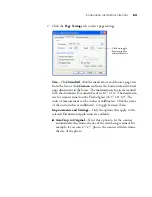
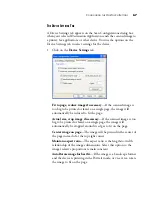
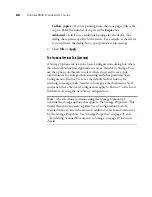
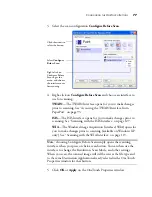
5. Click the
Scan Settings
,
Page Settings
, and
Advanced Settings
tabs, and select the settings you want.
To help you remember which folder it is, give the new
configuration a name that indicates the folder name, such as
“Storage for Business Receipts.”
6. Click the
Storage Options
tab.
7. Click the
Browse
button.
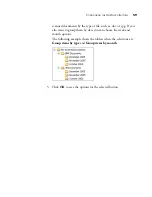
8. Select the folder you created for storing the scanned documents.
If you haven’t created the folder yet, you can click the
Make New
Folder
button and type the name for the new folder.


