C
ONFIGURING
THE
O
NE
T
OUCH
B
UTTONS
71
■
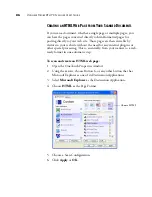
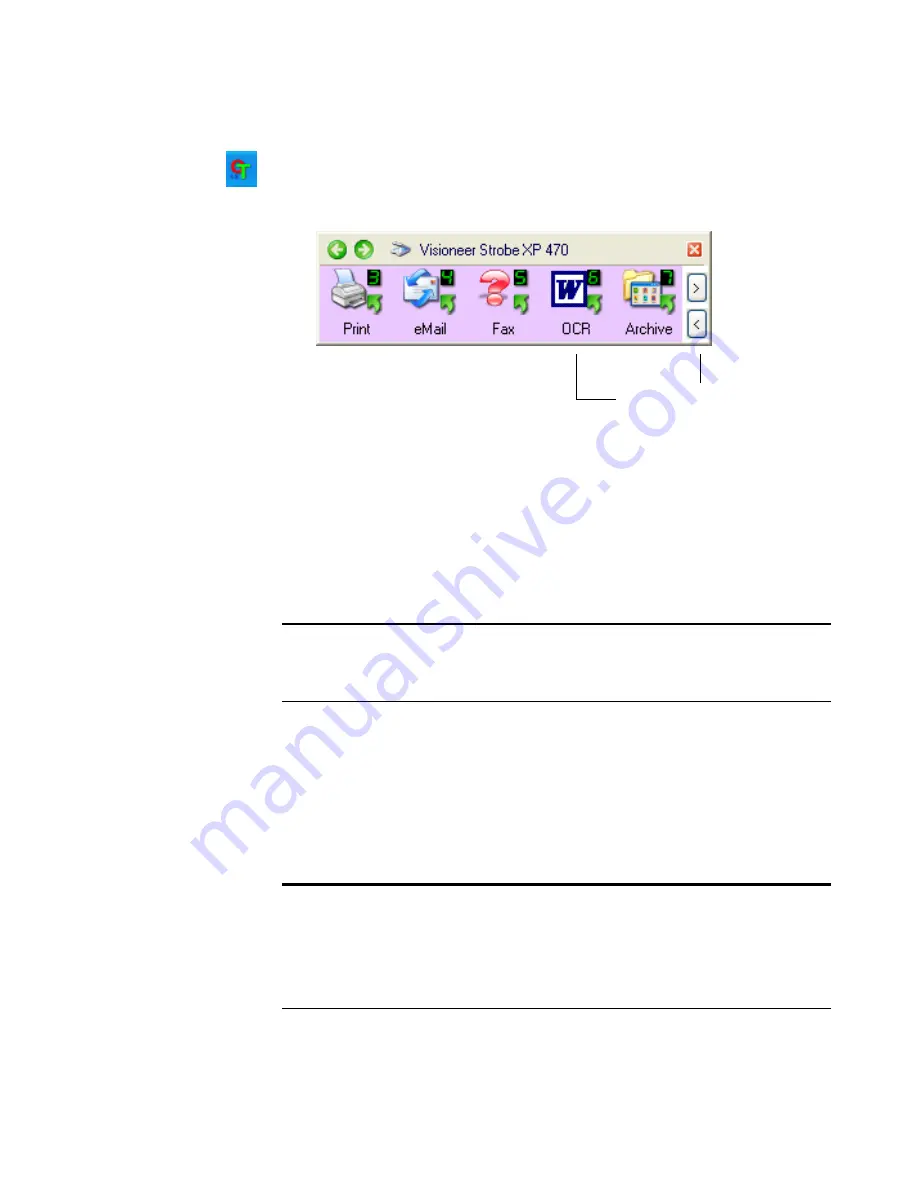
To scan from the OneTouch Button Panel, click the OneTouch
icon in the Windows system Tray, click the arrows to see Button 6,
then click Button 6.
■
To scan from the OneTouch Properties window, select a
Destination Application that has one of the Text formats.
2. Now scan the document.
Your scanned pages appear in the Destination Application with
their text ready for editing and other text processing.
U
SING
O
MNI
P
AGE
OCR O
PTIONS
The OmniPage OCR Options are only available if you have installed
OmniPage Pro 12 on your computer. OmniPage Pro 12 is on the Disc 2
CD that you received with your scanner in case you haven’t installed it
yet.
Note
: OCR scanning is also for spreadsheets so you can work in
Microsoft Excel (or other spreadsheet application) with the figures and
text from the original spreadsheets.
Note
: OmniPage OCR options apply globally to all the OneTouch
buttons that perform OCR. For example, Button 6 is set by default to
OCR text, but Button 8 is not. If you reconfigure Button 8 to also
OCR text, the OCR options you select for Button 8 will also apply to
Button 6.
Click the arrows until
Button 6 is on the panel,
then click Button 6.
Summary of Contents for Strobe XP 470
Page 1: ...for Windows Visioneer Strobe XP 470 USB Scanner User s Guide...
Page 2: ...Visioneer Strobe XP 470 USB Scanner User s Guide F O R W I N D O W S...
Page 7: ...iv TABLE OF CONTENTS...
Page 143: ...136 VISIONEER STROBE XP 470 SCANNER USER S GUIDE...
Page 147: ...INDEX 140...
Page 148: ...Copyright 2005 Visioneer Inc 05 0687 000 visioneer...


